Whirlpool GEW9868KT Use and Care Guide - Page 8
plasticandheat-sensitive
 |
View all Whirlpool GEW9868KT manuals
Add to My Manuals
Save this manual to your list of manuals |
Page 8 highlights
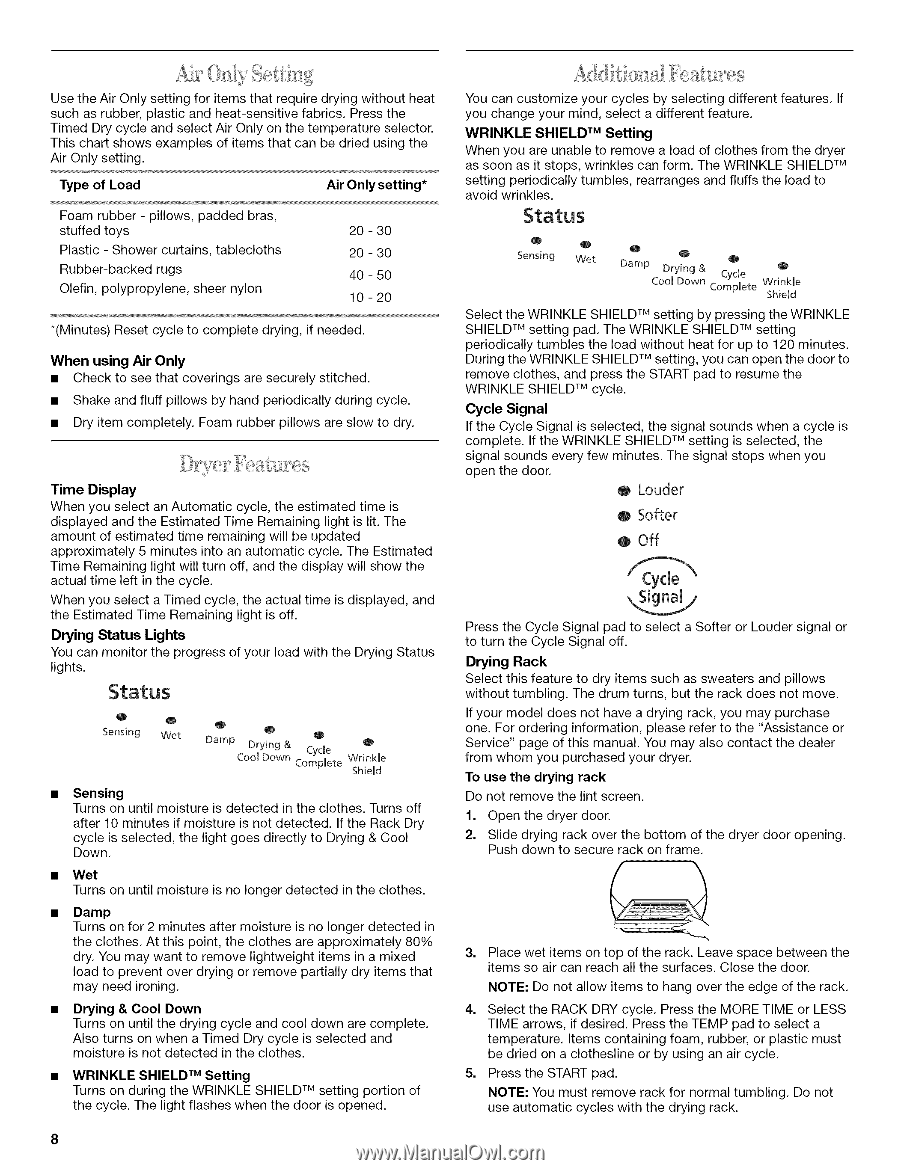
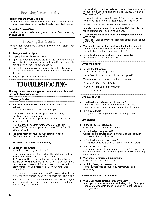
UsetheAirOnlysettingforitemsthatrequirderyingwithouhteat suchasrubberp,lasticandheat-sensitfiavebricsP. ressthe TimedDrycycleandselecAt irOnlyonthetemperatusrelector. Thischarst howesxampleosfitemsthatcanbedriedusingthe AirOnlysetting. Type of Load Air Only setting* Foam rubber - pillows, padded bras, stuffed toys Plastic - Shower curtains, tablecloths Rubber-backed rugs Olefin, polypropylene, sheer nylon 20 - 30 20 - 30 40 - 50 10 - 20 You can customize your cycles by selecting different features. If you change your mind, select a different feature. WRINKLE SHIELD TM Setting When you are unable to remove a load of clothes from the dryer as soon as it stops, wrinkles can form. The WRINKLE SHIELD TM setting periodically tumbles, rearranges and fluffs the load to avoid wrinkles. Status 0 0 Sensing Wet 0 0 0 Damp Drying & Cyde Coo[ Down CompUete 0 Wrinkle ShieUd *(Minutes) Reset cycle to complete drying, if needed. When using Air Only • Check to see that coverings are securely stitched. • Shake and fluff pillows by hand periodically during cycle. • Dry item completely. Foam rubber pillows are slow to dry. Time Display When you select an Automatic cycle, the estimated time is displayed and the Estimated Time Remaining light is lit. The amount of estimated time remaining will be updated approximately 5 minutes into an automatic cycle. The Estimated Time Remaining light will turn off, and the display will show the actual time left in the cycle. When you select a Timed cycle, the actual time is displayed, and the Estimated Time Remaining light is off. Drying Status Lights You can monitor the progress of your load with the Drying Status lights. Status O O Sensing Wet O O O O Damp Drying & Cycle Cool Down CompUete WrinkUe ShieUd Sensing Turns on until moisture is detected in the clothes. Turns off after 10 minutes if moisture is not detected. If the Rack Dry cycle is selected, the light goes directly to Drying & Cool Down. Select the WRINKLE SHIELD TM setting by pressing the WRINKLE SHIELD TM setting pad. The WRINKLE SHIELD TM setting periodically tumbles the load without heat for up to 120 minutes. During the WRINKLE SHIELD TM setting, you can open the door to remove clothes, and press the START pad to resume the WRINKLE SHIELD TM cycle. Cycle Signal If the Cycle Signal is selected, the signal sounds when a cycle is complete. If the WRINKLE SHIELD TM setting is selected, the signal sounds every few minutes. The signal stops when you open the door. O Louder @ Softer e off Press the Cycle Signal pad to select a Softer or Louder signal or to turn the Cycle Signal off. Drying Rack Select this feature to dry items such as sweaters and pillows without tumbling. The drum turns, but the rack does not move. If your model does not have a drying rack, you may purchase one. For ordering information, please refer to the "Assistance or Service" page of this manual. You may also contact the dealer from whom you purchased your dryer. To use the drying rack Do not remove the lint screen. 1. Open the dryer door. 2. Slide drying rack over the bottom of the dryer door opening. Push down to secure rack on frame. Wet Turns on until moisture is no longer detected in the clothes. Damp Turns on for 2 minutes after moisture is no longer detected in the clothes. At this point, the clothes are approximately 80% dry. You may want to remove lightweight items in a mixed load to prevent over drying or remove partially dry items that may need ironing. Place wet items on top of the rack. Leave space between the items so air can reach all the surfaces. Close the door. NOTE: Do not allow items to hang over the edge of the rack. Drying & Cool Down Turns on until the drying cycle and cool down are complete. Also turns on when a Timed Dry cycle is selected and moisture is not detected in the clothes. WRINKLE SHIELD lrM Setting Turns on during the WRINKLE SHIELD TM setting portion of the cycle. The light flashes when the door is opened. 4. Select the RACK DRY cycle. Press the MORE TIME or LESS TIME arrows, if desired. Press the TEMP pad to select a temperature. Items containing foam, rubber, or plastic must be dried on a clothesline or by using an air cycle. 5. Press the START pad. NOTE: You must remove rack for normal tumbling. Do not use automatic cycles with the drying rack.
-
 1
1 -
2
-
 3
3 -
 4
4 -
 5
5 -
 6
6 -
 7
7 -
 8
8 -
 9
9 -
 10
10 -
 11
11 -
 12
12 -
 13
13 -
14
-
15
-
16
-
17
-
18
-
19
-
20
-
21
-
22
-
23
-
24
-
25
-
26
-
27
-
28
 |
 |