Whirlpool GI5FSAXVY User Guide - Page 11
Ice Production Rate, increase ice, Remember, IM PORTANT, Dispense Ice and Water, sturdy, Failure, so - rating
 |
UPC - 883049135342
View all Whirlpool GI5FSAXVY manuals
Add to My Manuals
Save this manual to your list of manuals |
Page 11 highlights
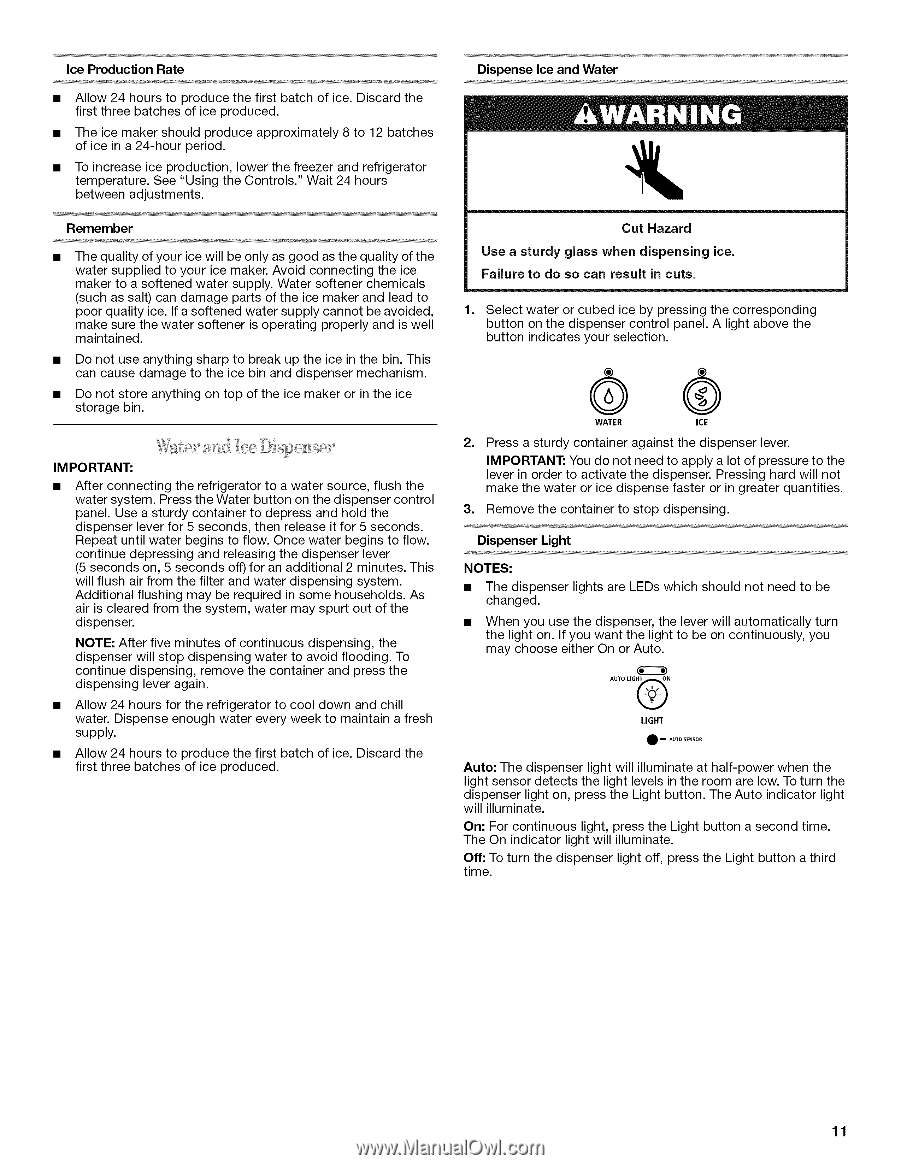
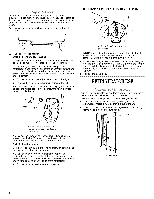
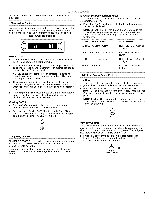
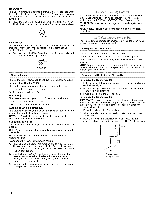
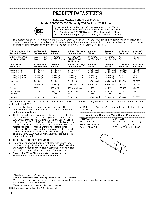
Ice Production Rate Allow 24 hours to produce the first batch of ice. Discard the first three batches of ice produced. The ice maker should produce approximately 8 to 12 batches of ice in a 24-hour period. To increase ice production, lower the freezer and refrigerator temperature. See "Using the Controls." Wait 24 hours between adjustments. Remember The quality of your ice will be only as good as the quality of the water supplied to your ice maker. Avoid connecting the ice maker to a softened water supply. Water softener chemicals (such as salt) can damage parts of the ice maker and lead to poor quality ice. If a softened water supply cannot be avoided, make sure the water softener is operating properly and is well maintained. Do not use anything sharp to break up the ice in the bin. This can cause damage to the ice bin and dispenser mechanism. Do not store anything on top of the ice maker or in the ice storage bin. IM PORTANT: After connecting the refrigerator to a water source, flush the water system. Press the Water button on the dispenser control panel. Use a sturdy container to depress and hold the dispenser lever for 5 seconds, then release it for 5 seconds. Repeat until water begins to flow. Once water begins to flow, continue depressing and releasing the dispenser lever (5 seconds on, 5 seconds off) for an additional 2 minutes. This will flush air from the filter and water dispensing system. Additional flushing may be required in some households. As air is cleared from the system, water may spurt out of the dispenser. NOTE: After five minutes of continuous dispensing, the dispenser will stop dispensing water to avoid flooding. To continue dispensing, remove the container and press the dispensing lever again. • Allow 24 hours for the refrigerator to cool down and chill water. Dispense enough water every week to maintain a fresh supply. • Allow 24 hours to produce the first batch of ice. Discard the first three batches of ice produced. Dispense Ice and Water Cut Hazard Use a sturdy glass when dispensing ice. Failure to do so can result in cuts. 1. Select water or cubed ice by pressing the corresponding button on the dispenser control panel. A light above the button indicates your selection. 0® WATER ICE 2. Press a sturdy container against the dispenser lever. IMPORTANT: You do not need to apply a lot of pressure to the lever in order to activate the dispenser. Pressing hard will not make the water or ice dispense faster or in greater quantities. 3. Remove the container to stop dispensing. Dispenser Light NOTES: • The dispenser lights are LEDs which should not need to be changed. • When you use the dispenser, the lever will automatically turn the light on. If you want the light to be on continuously, you may choose either On or Auto. AUTO LIG_N LIGHT _ AUTO S_NSOR Auto: The dispenser light will illuminate at half-power when the light sensor detects the light levels in the room are low. To turn the dispenser light on, press the Light button. The Auto indicator light will illuminate. On: For continuous light, press the Light button a second time. The On indicator light will illuminate. Off: To turn the dispenser light off, press the Light button a third time. 11
-
 1
1 -
2
-
3
-
4
-
5
-
 6
6 -
 7
7 -
 8
8 -
 9
9 -
 10
10 -
 11
11 -
 12
12 -
 13
13 -
 14
14 -
 15
15 -
 16
16 -
17
-
18
-
19
-
20
-
21
-
22
-
23
-
24
-
25
-
26
-
27
-
28
-
29
-
30
-
31
-
32
-
33
-
34
-
35
-
36
 |
 |