Whirlpool WEG750H0H Owners Manual - Page 16
Convection Cooking, Oven Light, Cook Time
 |
View all Whirlpool WEG750H0H manuals
Add to My Manuals
Save this manual to your list of manuals |
Page 16 highlights
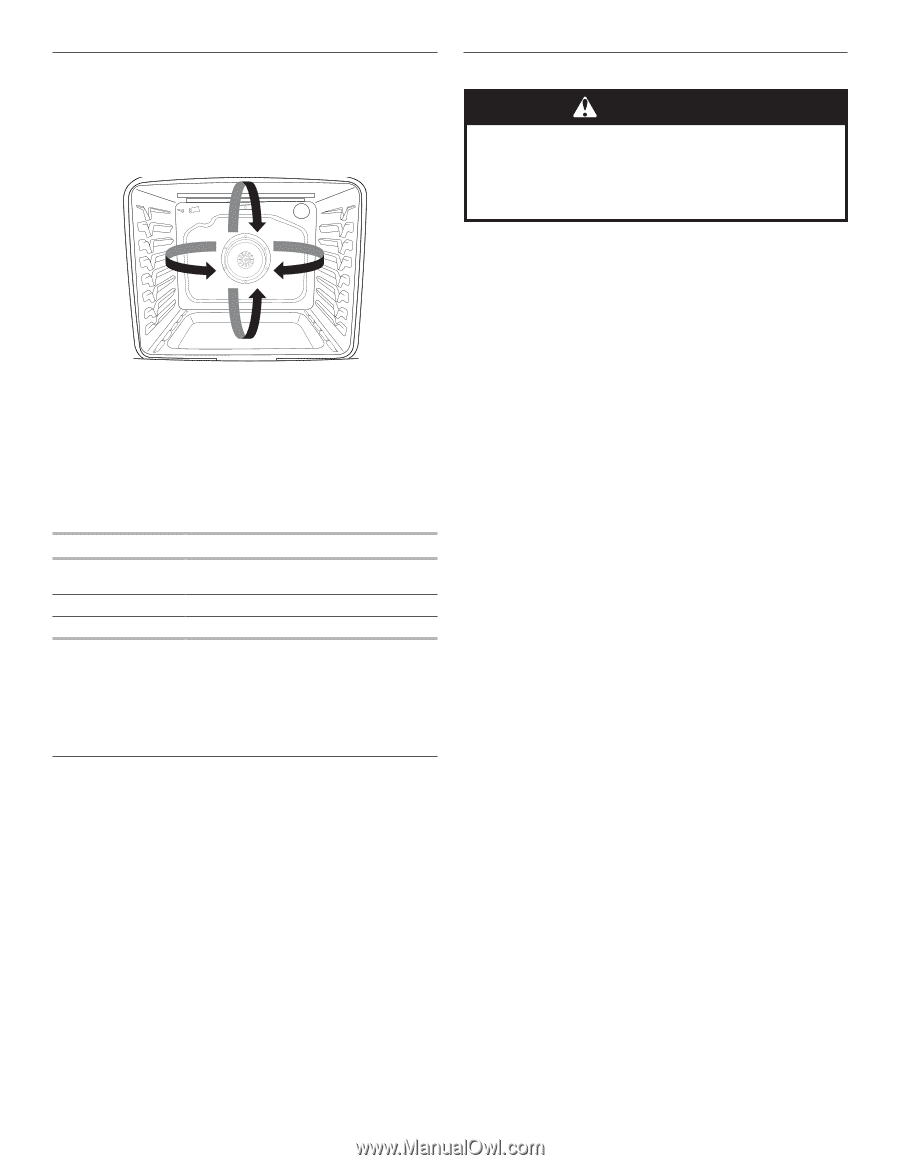
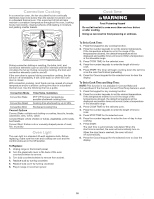
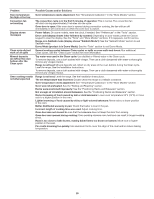
Convection Cooking In a convection oven, the fan-circulated hot air continually distributes heat more evenly than the natural movement of air in a standard thermal oven. This movement of hot air helps maintain a consistent temperature throughout the oven, cooking foods more evenly, crisping surfaces while sealing in moisture, and yielding crustier breads. Cook Time WARNING Food Poisoning Hazard Do not let food sit in oven more than one hour before or after cooking. Doing so can result in food poisoning or sickness. During convection baking or roasting, the bake, broil, and convection elements cycle on and off in intervals while the fan circulates the hot air. During convection broiling, the broil and convection elements cycle on and off. If the oven door is opened during convection cooking, the fan will turn off immediately. It will come back on when the oven door is closed. With convection cooking, most foods can be cooked at a lower temperature and/or a shorter cooking time than in a standard thermal oven. Use the following chart as a guide. Convection Mode Time/Temp. Guidelines Convection Bake 25°F (15°C) lower temperature; possible shortened cooking time Convection Roast Cooking time shortened by up to 30% Convection Broil Shortened cooking time Convect Options Convect Bake: multiple-rack baking or cookies, biscuits, breads, casseroles, tarts, tortes, cakes Convect Roast: whole chicken or turkey, vegetables, pork roasts, beef roasts Convect Broil: thicker cuts or unevenly shaped pieces of meat, fish, or poultry Oven Light The oven light is a standard 40-watt appliance bulb. Before replacing, make sure the oven and cooktop are cool and the control knobs are in the Off position. To Replace: 1. Unplug range or disconnect power. 2. Turn the glass bulb cover in the back of the oven counterclockwise to remove. 3. Turn bulb counterclockwise to remove from socket. 4. Replace bulb by turning clockwise. 5. Replace bulb cover by turning clockwise. 6. Plug in range or reconnect power. To Set a Cook Time: 1. Press the keypad for any cooking function. 2. Press the number keypads to set the desired temperature. If the temperature entered is not in the range of the temperatures allowed, the default temperature will be displayed and audible tones will sound. Enter a temperature in the allowable range. 3. Press COOK TIME for the selected oven. 4. Press the number keypads to enter the length of time to cook. 5. Press START. The timer will begin counting down the set time once the oven has finished preheating. 6. Press the Cancel keypad for the selected oven to clear the display. To Set a Cook Time and Stop Time: NOTE: This function is not available in Convect Bake and Convect Roast if the Convect Convert Time/Temp feature is used. 1. Press the keypad for any cooking function 2. Press the number keypads to set the desired temperature. If the temperature entered is not in the range of the temperatures allowed, the default temperature will be displayed and audible tones will sound. Enter a temperature in the allowable range. 3. Press COOK TIME for the selected oven. 4. Press the number keypads to enter the length of time to cook. 5. Press STOP TIME for the selected oven. 6. Press the number keypads to enter the time of day to stop cooking. 7. Press START. The start time is automatically calculated. When the start time is reached, the oven will automatically turn on. When the stop time is reached, the oven will shut off automatically. 8. Press the Cancel keypad for the selected oven to clear the display. 04-Dec-2017 14:02:55 EST | RELEASED In some European1f6actories the letter "W" of the part code mentioned herein will be automatically replaced by the number "4000" (e.g. "W12345678" becomes "400012345678")
-
 1
1 -
2
-
3
-
4
-
5
-
6
-
7
-
8
-
9
-
10
-
 11
11 -
 12
12 -
 13
13 -
 14
14 -
 15
15 -
 16
16 -
 17
17 -
 18
18 -
 19
19 -
 20
20 -
 21
21 -
22
-
23
-
24
-
25
-
26
-
27
-
28
-
29
-
30
-
31
-
32
-
33
-
34
-
35
-
36
-
37
-
38
-
39
-
40
-
41
-
42
-
43
-
44
-
45
-
46
-
47
-
48
-
49
-
50
-
51
-
52
-
53
-
54
-
55
-
56
-
57
-
58
-
59
-
60
-
61
-
62
-
63
-
64
-
65
-
66
-
67
-
68
-
69
-
70
-
71
-
72
 |
 |