Whirlpool WUW55X24HS Owners Manual - Page 10
Stocking the Wine Cellar, Wine Racks - model
 |
View all Whirlpool WUW55X24HS manuals
Add to My Manuals
Save this manual to your list of manuals |
Page 10 highlights
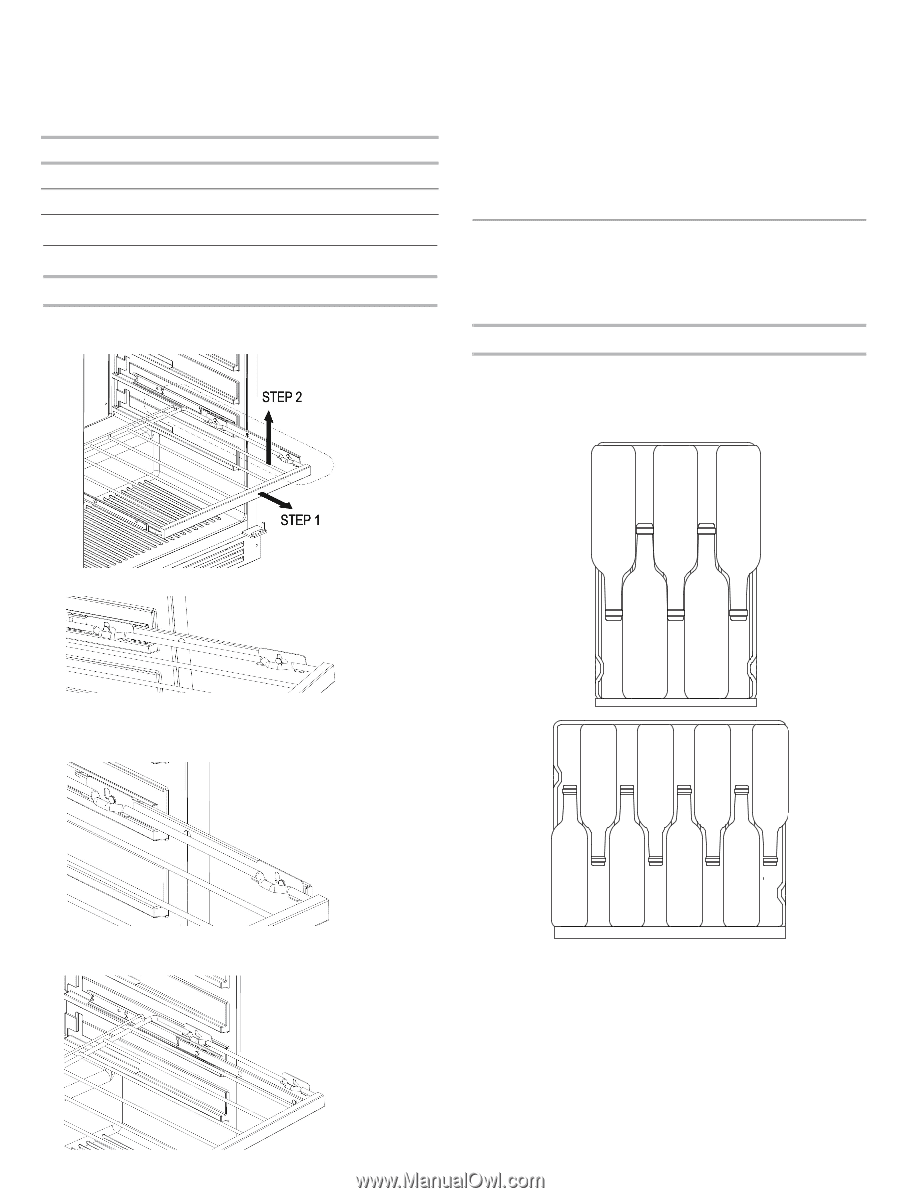
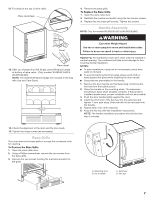
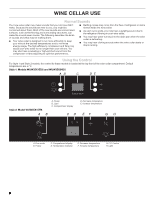
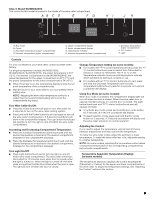
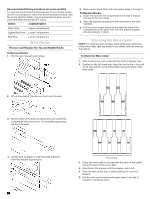
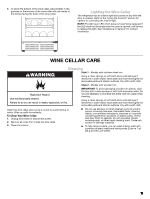
Recommended Storing Locations (on some models) For best storing and serving temperatures for your bottle of wine, use the wine producer's recommended temperature setting. See the wine's label for details. It is recommended to store wine for short-term (few months) at 55°F (13°C). WINES COMPARTMENT White Wine Upper compartment Lighter Red Wine Lower compartment Red Wine Lower compartment Wine Racks Remove and Replace the Top and Middle Racks To Remove Racks: 1. Pull the rack forward until it stops. 5. Remove the racks other side and repeat steps 1 through 4. To Replace Racks: 1. Insert the rack into the compartment and slide it toward the rear of the wine cellar. 2. Align the bracket support pins with the holes in the shelf brackets. 3. Pull the rack forward and push the slide rail toward the compartment at the same time until the bracket support pins are properly in place. Stocking the Wine Cellar NOTE: For optimum wine storage, place white wines at the top of the wine cellar, light red wines in the center, and red wines at the bottom. To Stock the Wine Cellar 1. Start stocking the wine cellar with the bottom display rack. 2. Starting on the left-hand side, place the first bottle in the rack on its side with the neck of the bottle facing the front of the wine cellar. 2. Lift up one side of the rack and hold onto the rack. 3. Pull the slide rail forward and push the rack toward the compartment the same time. The bracket support pins will move forward. 4. Lift the rack up again to clear the shelf brackets from the bracket support pins. 10 Front of rack 3. Place the next bottle on its side with the neck of the bottle facing the back of the wine cellar. 4. Alternate in this manner until the display rack is full. 5. Push the rack all the way in before pulling the next one forward. 6. Pull the next rack forward and repeat steps 2 through 4; repeat for remaining racks.
-
 1
1 -
2
-
3
-
4
-
 5
5 -
 6
6 -
 7
7 -
 8
8 -
 9
9 -
 10
10 -
 11
11 -
 12
12 -
 13
13 -
 14
14 -
 15
15 -
16
-
17
-
18
-
19
-
20
-
21
-
22
-
23
-
24
-
25
-
26
-
27
-
28
-
29
-
30
-
31
-
32
-
33
-
34
-
35
-
36
-
37
-
38
-
39
-
40
-
41
-
42
-
43
-
44
 |
 |