Xerox 6180N FreeFlow® PrInteract Remote Services User Guide - Page 7
How do I start using Remote Services?, Remote Services network configuration - network settings
 |
UPC - 095205425307
View all Xerox 6180N manuals
Add to My Manuals
Save this manual to your list of manuals |
Page 7 highlights
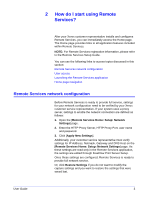
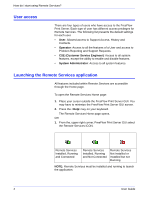
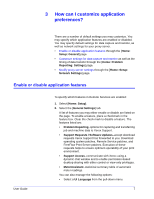
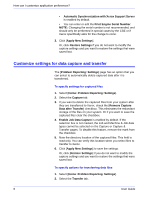
2 How do I start using Remote Services? After your Xerox customer representative installs and configures Remote Services, you can immediately access the Home page. The Home page provides links to all application features included within Remote Services. NOTE: For Remote Services registration information, please refer to the Remote Services Setup Guide. You can use the following links to access topics discussed in this section: Remote Services network configuration User access Launching the Remote Services application Home page navigation Remote Services network configuration Before Remote Services is ready to provide full service, settings for your network configuration need to be verified by your Xerox customer service representative. If your system uses a proxy server, settings to enable the network connection are defined as follows: 1. Open the [Remote Services Home: Setup: Network Settings] page. 2. Enter the HTTP Proxy Server, HTTP Proxy Port, user name and password. 3. Click [Apply New Settings]. Additionally, your customer service representative must verify settings for IP Address, Netmask, Gateway and DNS Host on the [Remote Services Home: Setup: Network Settings] page. As these settings are read-only in the Remote Services application, the settings are edited through FreeFlow Print Server Setup. Once these settings are configured, Remote Services is ready to provide full network service. Or, click Restore Settings if you do not want to modify the capture settings and you want to restore the settings that were saved last. User Guide 3
-
 1
1 -
 2
2 -
 3
3 -
 4
4 -
 5
5 -
 6
6 -
 7
7 -
 8
8 -
 9
9 -
 10
10 -
 11
11 -
 12
12 -
13
-
14
-
15
-
16
-
17
-
18
-
19
-
20
-
21
-
22
-
23
-
24
-
25
-
26
-
27
-
28
-
29
-
30
-
31
-
32
 |
 |