Yamaha CVP-409 Owner's Manual - Page 195
Connecting to a USB-type LAN Adaptor and USB Storage Device (9 via the [USB TO DEVICE] Terminal
 |
View all Yamaha CVP-409 manuals
Add to My Manuals
Save this manual to your list of manuals |
Page 195 highlights
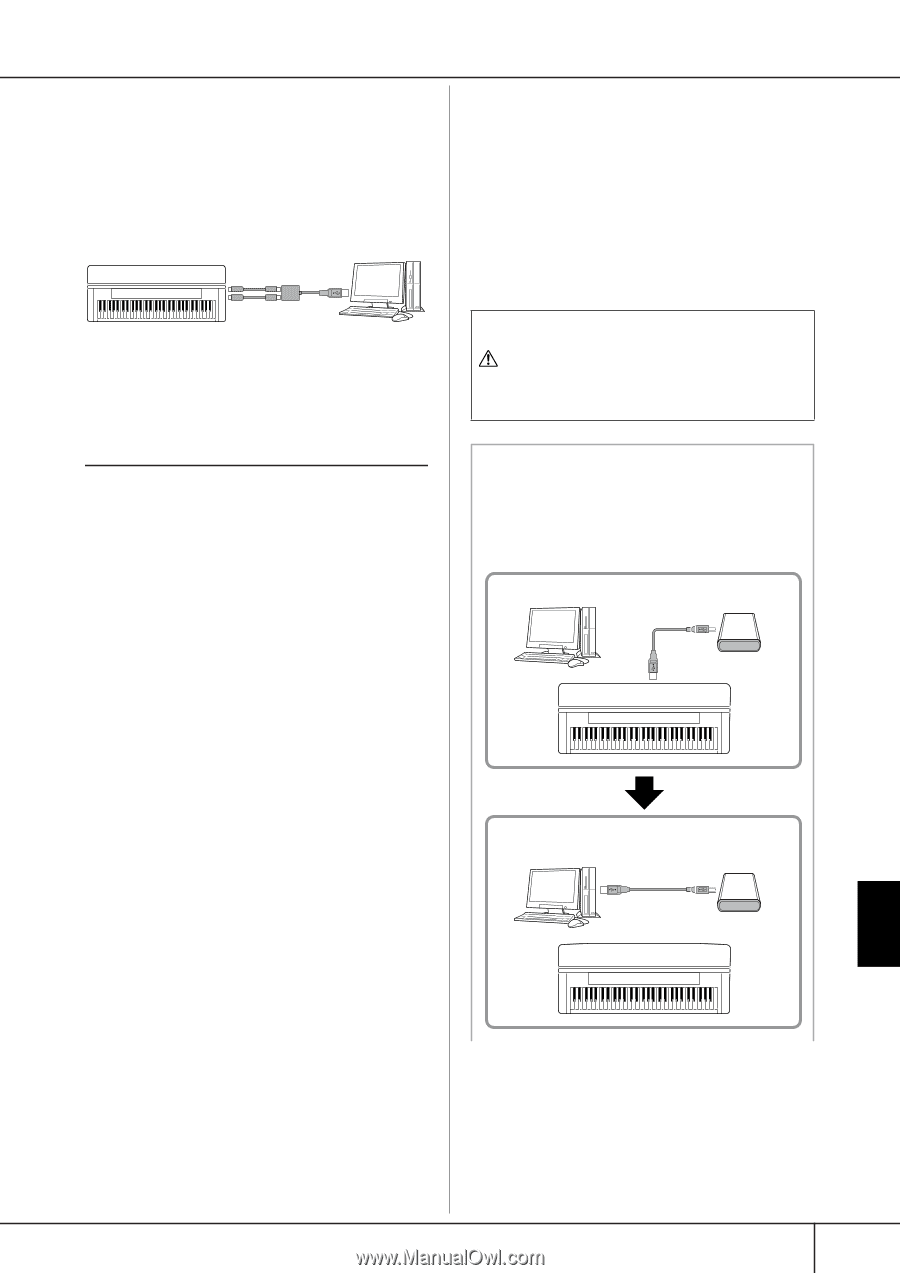
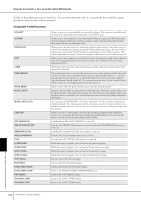
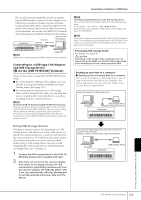
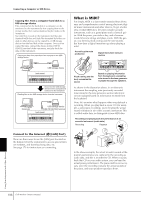
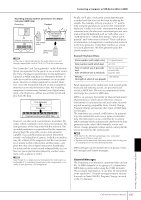
Connecting a Computer or USB Device The second connection possibility involves a separate, external MIDI interface connected to the computer via a USB port or a serial port (modem or printer terminal). Using standard MIDI cables, connect the MIDI OUT ter- minal of the external interface to the [MIDI IN] terminal of the instrument, and connect the [MIDI OUT] terminal of the instrument to the MIDI IN terminal of the interface. MIDI cable USB port or serial port (modem or printer terminal) Instrument [MIDI IN] terminal MIDI interface [MIDI OUT] terminal Computer n Make sure to use the appropriate MIDI interface for your computer. Connecting to a USB-type LAN Adaptor and USB Storage Device (9 via the [USB TO DEVICE] Terminal) There are two ways of using the [USB TO DEVICE] terminal. ■ By connecting the USB-type LAN adaptor, you can directly access special Internet websites for downloading music data (page 176). ■ By connecting the instrument to a USB storage device with a standard USB cable, you can save data you've created to the connected device, as well as read data from the connected device. n About the [USB TO HOST] and [USB TO DEVICE] terminals There are two different types of USB terminals on the instrument: [USB TO HOST] and [USB TO DEVICE]. Take care not to confuse the two terminals and the corresponding cable connectors. Be careful to connect the proper plug in the proper direction. Explanations on the [USB TO HOST] terminal can be found in the previous section. Using USB Storage Devices This type is used to connect the instrument to a USB storage device, and allows you to save data you've created to the connected device, as well as read data from the connected device. The following description generally explains about how to connect and use them. Before using a USB storage device, be sure to read "Handling the USB Storage Device (USB Flash Memory/Floppy Disk, etc)" on page 22. 1 Connect the USB storage device to the [USB TO DEVICE] terminal with a standard USB cable. 2 After that, exit once from the selection display then return to the display (or press the Tab switch buttons [√] and [®] simultaneously from the selection display). The USB tabs (USB 1, USB 2, etc.) are automatically called up, allowing you to save files and play back music data from the devices. n Checking remaining memory on the USB storage device You can check this in the display called up by the following operation: [FUNCTION] → [J] UTILITY → TAB [√][®] MEDIA Select the device by using the [A]/[B] buttons in this display and press [F] (PROPERTY). n Even with a computer connected to the [USB TO HOST] terminal and a USB storage device connected to the [USB TO DEVICE] terminal, you cannot access the USB storage device from the computer via the instrument. Formatting USB storage media For details, see page 68. CAUTION Formatting a USB storage media completely erases all data on the media. Make sure that the USB storage media you're formatting does not contain important data! Backing up your data to a computer ■ Backing up the instrument data to a computer Once you've saved data to a USB storage device, you can copy the data to the hard disk of your computer, then archive and organize the files as desired. Simply reconnect the device as shown below. Saves internal data to a USB storage device. Computer USB storage device USB TO DEVICE terminal Instrument Disconnect the USB storage device from the instrument and connect it to the computer Backing up data to a computer and organizing files/folders Computer USB storage device Instrument Using Your Instrument with Other Devices CVP-409/407 Owner's Manual 195
-
 1
1 -
2
-
3
-
4
-
5
-
6
-
7
-
8
-
9
-
10
-
11
-
12
-
13
-
14
-
15
-
16
-
17
-
18
-
19
-
20
-
21
-
22
-
23
-
24
-
25
-
26
-
27
-
28
-
29
-
30
-
31
-
32
-
33
-
34
-
35
-
36
-
37
-
38
-
39
-
40
-
41
-
42
-
43
-
44
-
45
-
46
-
47
-
48
-
49
-
50
-
51
-
52
-
53
-
54
-
55
-
56
-
57
-
58
-
59
-
60
-
61
-
62
-
63
-
64
-
65
-
66
-
67
-
68
-
69
-
70
-
71
-
72
-
73
-
74
-
75
-
76
-
77
-
78
-
79
-
80
-
81
-
82
-
83
-
84
-
85
-
86
-
87
-
88
-
89
-
90
-
91
-
92
-
93
-
94
-
95
-
96
-
97
-
98
-
99
-
100
-
101
-
102
-
103
-
104
-
105
-
106
-
107
-
108
-
109
-
110
-
111
-
112
-
113
-
114
-
115
-
116
-
117
-
118
-
119
-
120
-
121
-
122
-
123
-
124
-
125
-
126
-
127
-
128
-
129
-
130
-
131
-
132
-
133
-
134
-
135
-
136
-
137
-
138
-
139
-
140
-
141
-
142
-
143
-
144
-
145
-
146
-
147
-
148
-
149
-
150
-
151
-
152
-
153
-
154
-
155
-
156
-
157
-
158
-
159
-
160
-
161
-
162
-
163
-
164
-
165
-
166
-
167
-
168
-
169
-
170
-
171
-
172
-
173
-
174
-
175
-
176
-
177
-
178
-
179
-
180
-
181
-
182
-
183
-
184
-
185
-
186
-
187
-
188
-
189
-
 190
190 -
 191
191 -
 192
192 -
 193
193 -
 194
194 -
 195
195 -
 196
196 -
 197
197 -
 198
198 -
 199
199 -
 200
200 -
201
-
202
-
203
-
204
-
205
-
206
-
207
-
208
-
209
-
210
-
211
-
212
-
213
-
214
-
215
-
216
-
217
-
218
-
219
-
220
-
221
-
222
-
223
-
224
-
225
-
226
-
227
-
228
-
229
-
230
-
231
-
232
 |
 |