Yamaha DVD-S2300MK2 Owner's Manual - Page 18
DVD-Audio features
 |
View all Yamaha DVD-S2300MK2 manuals
Add to My Manuals
Save this manual to your list of manuals |
Page 18 highlights
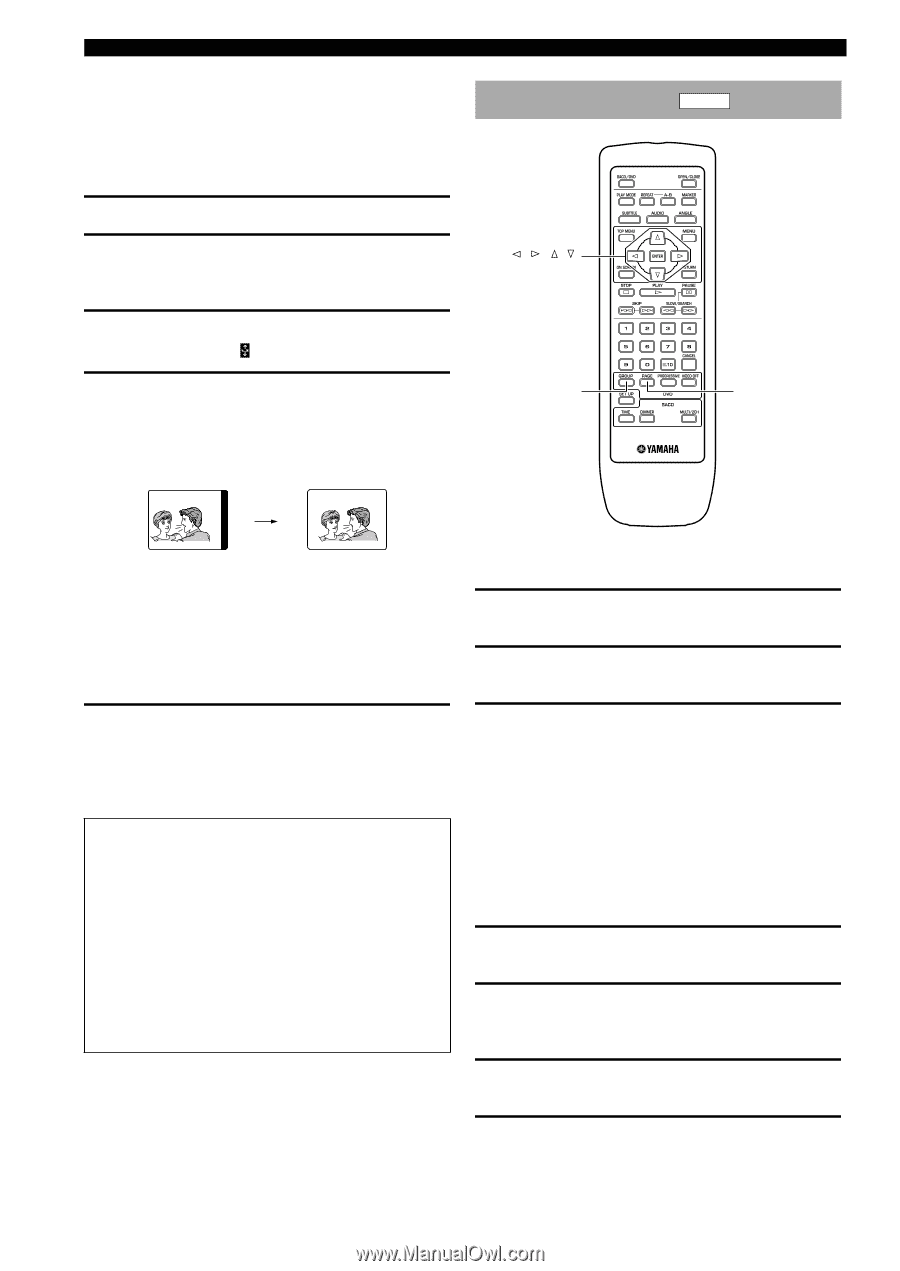
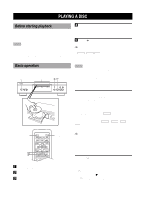
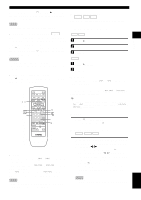
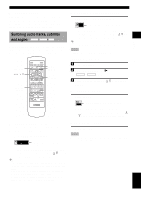
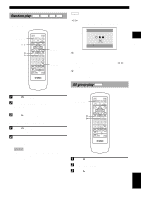
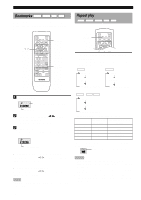
MISCELLANEOUS FUNCTIONS ■ Adjusting the screen position (when using progressive output) Progressive signals output from the unit may shift off center on certain monitors. To adjust the screen position, use the remote control as follows: 1 Press d to pause playback. 2 Follow step 1 under "Operating the menu bar" on page 20 to display the Picture setting. 3 Press the cursor buttons (l, h) to select the right-most icon ( ). 4 Adjust the screen position. To move the image to the left, press numeric button 1. To move the image to the right, press numeric button 3. Example: DVD-Audio features DVD-A , , , / ENTER GROUP PAGE Press 3 to move to the right. • Pressing numeric button 2 after pressing 1 or 3 sets the screen back to the original position. • To check whether the picture is centered, switch to normal output (press PROGRESSIVE to turn the indicator off). 5 Save the adjusted position. First press a, then press SETUP to display the setup menu. Press SETUP again (or RETURN) to save the position. (Even if you skip this step, the position will be saved until you turn the power off.) CONSUMERS SHOULD NOTE THAT NOT ALL HIGH DEFINITION TELEVISION SETS ARE FULLY COMPATIBLE WITH THIS PRODUCT AND MAY CAUSE ARTIFACTS TO BE DISPLAYED IN THE PICTURE. IN CASE OF 525 PROGRESSIVE SCAN PICTURE PROBLEMS, IT IS RECOMMENDED THAT YOU SWITCH THE CONNECTION TO THE "STANDARD DEFINITION" OUTPUT. IF THERE ARE QUESTIONS REGARDING YOUR VIDEO MONITOR COMPATIBILITY WITH THIS UNIT, PLEASE CONTACT OUR CUSTOMER SERVICE CENTER. This unit is compatible with the complete line of YAMAHA projectors, including the DPX-1, LPX-500, PDM-1 and DPX-1000. ■ Playing a track in a specific group 1 Press GROUP. The video monitor displays group and track icons. 2 Press the cursor buttons (k, n) to select a group number, then press ENTER. 3 Press the cursor buttons (k, n) to select a track number, then press ENTER. The selected track starts to play. y • You can also use the numeric buttons to select a group and a track. ■ Playing bonus groups Some discs contain bonus groups that require a four-digit password to gain access. In this case, consult the disc jacket and other packaging for information. 1 While playback is stopped, press GROUP. The video monitor displays group and track icons. 2 Press the cursor buttons (k, n) to select a bonus group, then press ENTER or the cursor button (h). 3 Enter a four-digit password using the numeric buttons, then press ENTER. 4 Press the cursor buttons (k, n) to select a track, then press ENTER. 14
-
 1
1 -
2
-
3
-
4
-
5
-
6
-
7
-
8
-
9
-
10
-
11
-
12
-
 13
13 -
 14
14 -
 15
15 -
 16
16 -
 17
17 -
 18
18 -
 19
19 -
 20
20 -
 21
21 -
 22
22 -
 23
23 -
24
-
25
-
26
-
27
-
28
-
29
-
30
-
31
-
32
-
33
-
34
-
35
-
36
-
37
-
38
-
39
-
40
-
41
-
42
 |
 |