Yamaha EXi8 EXi8/EXo8 Owners Manual - Page 11
Initializing the EXi8/EXo8
 |
View all Yamaha EXi8 manuals
Add to My Manuals
Save this manual to your list of manuals |
Page 11 highlights
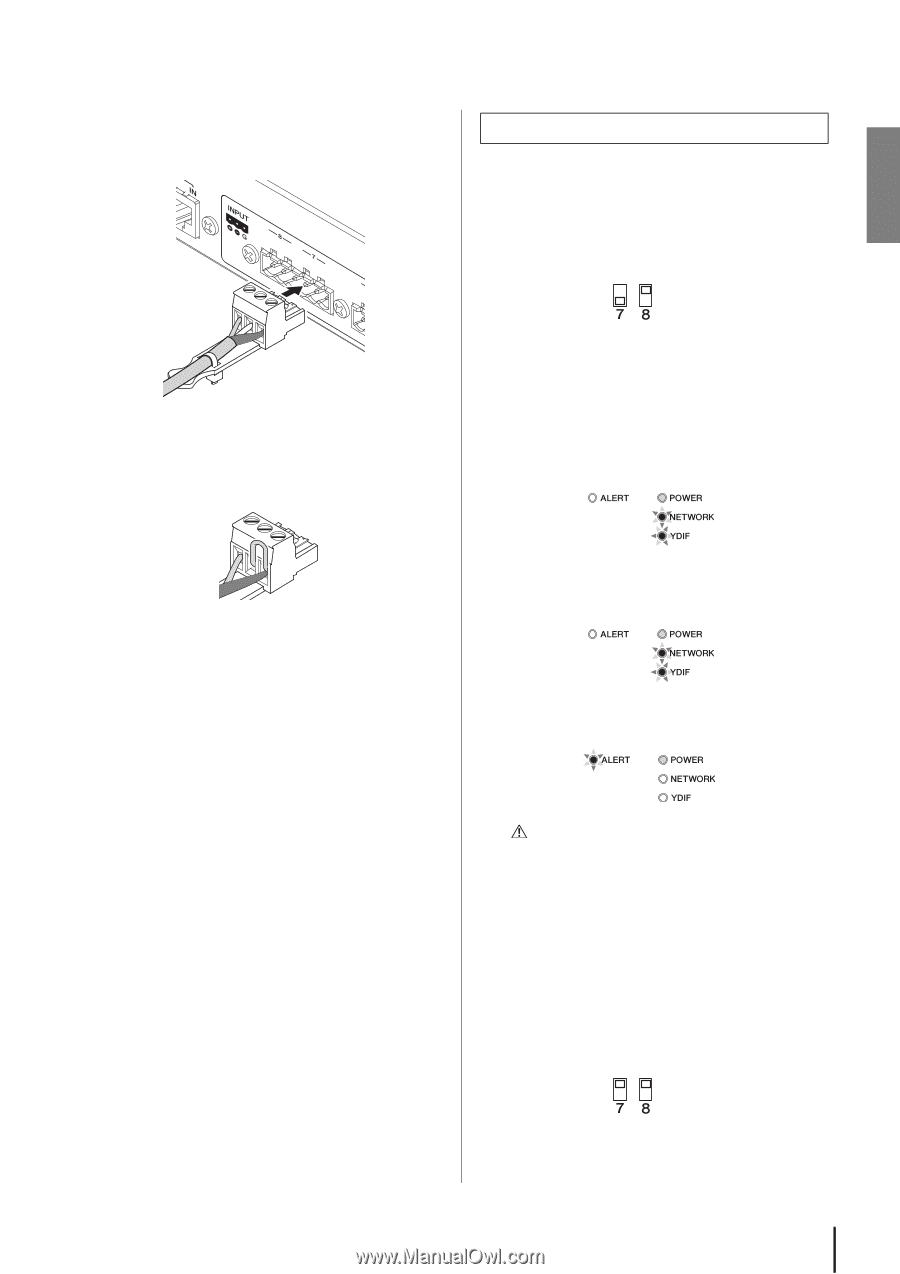
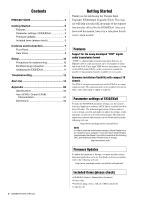
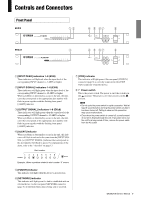
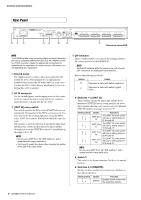
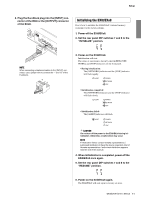
Setup 5. Plug the Euroblock plug into the [INPUT] connector of the EXi8 or the [OUTPUT] connector of the EXo8. Initializing the EXi8/EXo8 Here's how to initialize the EXi8/EXo8's internal memory, restoring it to the factory settings. 1. Power-off the EXi8/EXo8. 2. Set the rear panel DIP switches 7 and 8 to the "INITIALIZE" position. NOTE When connecting unbalanced cables to the [INPUT] connector, use a jumper wire to connect the "-" and "G" of the Euroblock. +- G 3. Power-on the EXi8/EXo8. Initialization will start. The status of execution is shown by the [ALERT], [NETWORK], and [YDIF] indicators on the front panel. • During initialization: The [NETWORK] indicator and the [YDIF] indicator will flash rapidly. • Initialization completed: The [NETWORK] indicator and the [YDIF] indicator will flash slowly. • Initialization failed: The [ALERT] indicator will flash. CAUTION Do not turn off the power to the EXi8/EXo8 during initialization. Otherwise, a malfunction may occur NOTE If initialization failed, contact Yamaha representatives / authorized distributors to have the device inspected. A list of Yamaha representatives / authorized distributors appears near the end of this manual. 4. When initialization is completed, power-off the EXi8/EXo8 once again. 5. Set the rear panel DIP switches 7 and 8 to the "RESUME" position. 6. Power-on the EXi8/EXo8 again. The EXi8/EXo8 will start up in its factory-set state. EXi8/EXo8 Owner's Manual 11
-
 1
1 -
2
-
3
-
4
-
5
-
 6
6 -
 7
7 -
 8
8 -
 9
9 -
 10
10 -
 11
11 -
 12
12 -
 13
13 -
 14
14 -
 15
15 -
 16
16 -
17
-
18
-
19
-
20
 |
 |