Yamaha MOXF8 Owner's Manual - Page 42
Tips in Step Recording, MOXF6/MOXF8 Owner's Manual, Quick Guide
 |
View all Yamaha MOXF8 manuals
Add to My Manuals
Save this manual to your list of manuals |
Page 42 highlights
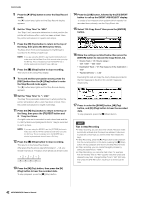
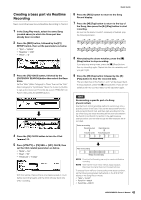
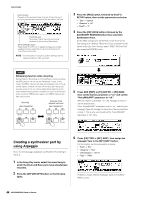
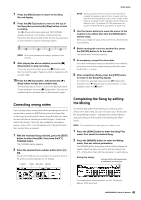
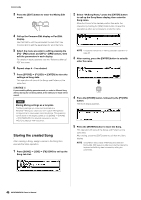
Quick Guide 5 Press the [F] (Play) button to enter the Step Record mode. The [F] button lamp lights and the Step Record display appears. 6 Set the "Step Time" to "480." The "Step Time" parameter determines to what position the pointer will advance after a note has been entered. Here, the pointer will advance in quarter-note steps. 7 Press the [P] (Top) button to return to the top of the Song, then press the B0 key four times. The Bass Drum Kick sound (assigned to the B0 key) is recorded to the timing of each beat. NOTE If you are using the MOXF6, use the [OCTAVE] buttons to make sure that the Bass Drum Kick sounds when you play the B0 key. This is necessary since the MOXF6 has a shorter keyboard and doesn't have a B0 key. 8 Press the [J] (Stop) button to stop recording. This returns to the Song Play display. 9 To record another percussion sound, press the [REC] button then the [F] (Play) button to enter the Step Record mode again. The [F] button lamp lights and the Step Record display appears. 10 Set the "Step Time" to " 240." The Step Time parameter determines to what position the pointer will advance after a note has been entered. Here, the pointer will advance in eighth-note steps. 11 Press the [P] (Top) button to return to the top of the Song, then press the [F3] REST button and G 1 key four times. An eighth-note rest is recorded to each down beat and the Hi-Hat Cymbal sound (assigned to the G 1 key) is recorded to each up beat. NOTE If you are using the MOXF6, use the [OCTAVE] buttons to make sure that the Hi-Hat Cymbal sounds when you play the G 1 key. This is necessary since the MOXF6 has a shorter keyboard and doesn't have a G 1 key. 12 Press the [J] (Stop) button to stop recording. This returns to the Song Play display. After executing the above operations (steps 1 - 12), you should now have a 1-measure drum phrase as shown below. 13 Press the [P] (Top) button, then press the [F] (Play) button to hear the recorded data. To stop playback, press the [J] (Stop) button. 14 Press the [JOB] button, followed by the [F3] EVENT button to call up the EVENT JOB SELECT display. To create a four-measure drum pattern (which repeats the recorded drum phrase), use the Copy Event Job. 15 Select "02: Copy Event" then press the [ENTER] button. 16 Make the settings as listed below then press the [ENTER] button to execute the Copy Event Job. • Source Track = "01", Source range = "001:1:000" - "002:1:000" • Destination Track = "01", Top measure of the destination = "002" • "NumberOfTimes" = "x 03" Executing this Job will copy the drum phrase (recorded to the first measure) to the 2nd, 3rd, and 4th measures respectively. 17 Press in order the [SONG] button, [P] (Top) button, and [F] (Play) button to hear the recorded data. To stop playback, press the [J] (Stop) button. HINT Tips in Step Recording • In Step recording, you can also enter chords. Because notes are actually entered when the keys are released, make sure to press all correct keys you want to enter then release the keys. • In Step Recording, press the [F] (Play) button to start playback from the current position. In this status, pressing the [J] (Stop) button will stop playback and return to the Step Record mode. • In Step recording, you can create the legato phrases by setting the GateTime to "100%." • In Step Recording, you can enter tied notes. For example, first set the Step Time to "480" (quarter note) then press and release the key. Next, change the Step Time to "240" (8th note) then press the [F4] TIE button, resulting in a dotted quarter note. 42 MOXF6/MOXF8 Owner's Manual
-
 1
1 -
2
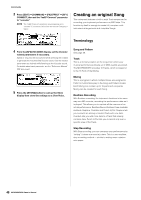
-
3
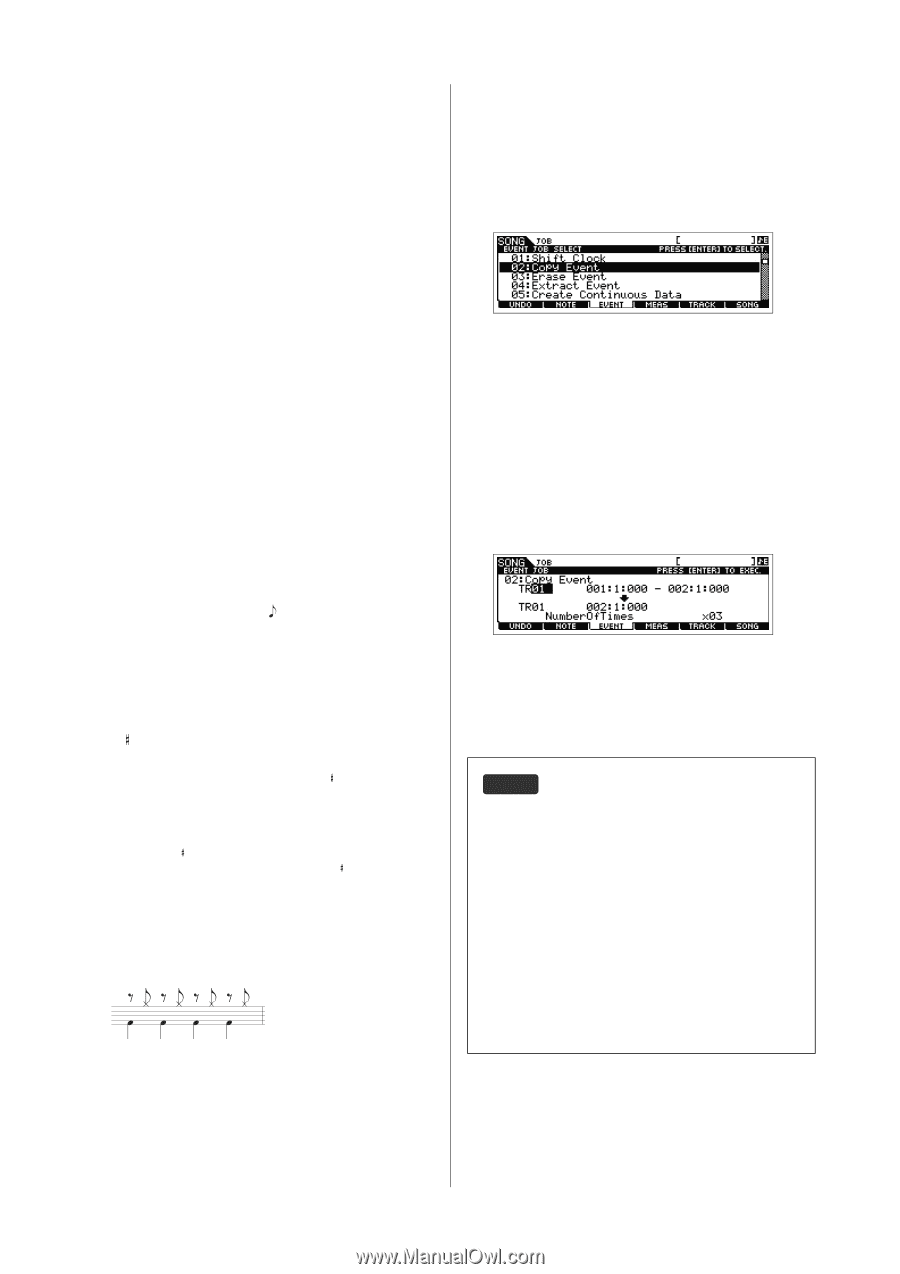
-
4
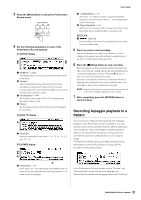
-
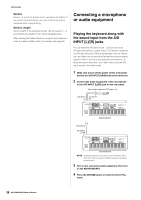
5
-
6
-
7
-
8
-
9
-
10
-
11
-
12
-
13
-
14
-
15
-
16
-
17
-
18
-
19
-
20
-
21
-
22
-
23
-
24
-
25
-
26
-
27
-
28
-
29
-
30
-
31
-
32
-
33
-
34
-
35
-
36
-
 37
37 -
 38
38 -
 39
39 -
 40
40 -
 41
41 -
 42
42 -
 43
43 -
 44
44 -
 45
45 -
 46
46 -
 47
47 -
48
-
49
-
50
-
51
-
52
-
53
-
54
-
55
-
56
-
57
-
58
-
59
-
60
-
61
-
62
-
63
-
64
-
65
-
66
-
67
-
68
-
69
-
70
-
71
-
72
-
73
-
74
-
75
-
76
-
77
-
78
-
79
-
80
 |
 |