Yamaha PSR-S710 Owner's Manual - Page 45
Appropriate Panel Settings for the Selected Style (One Touch Setting)
 |
View all Yamaha PSR-S710 manuals
Add to My Manuals
Save this manual to your list of manuals |
Page 45 highlights
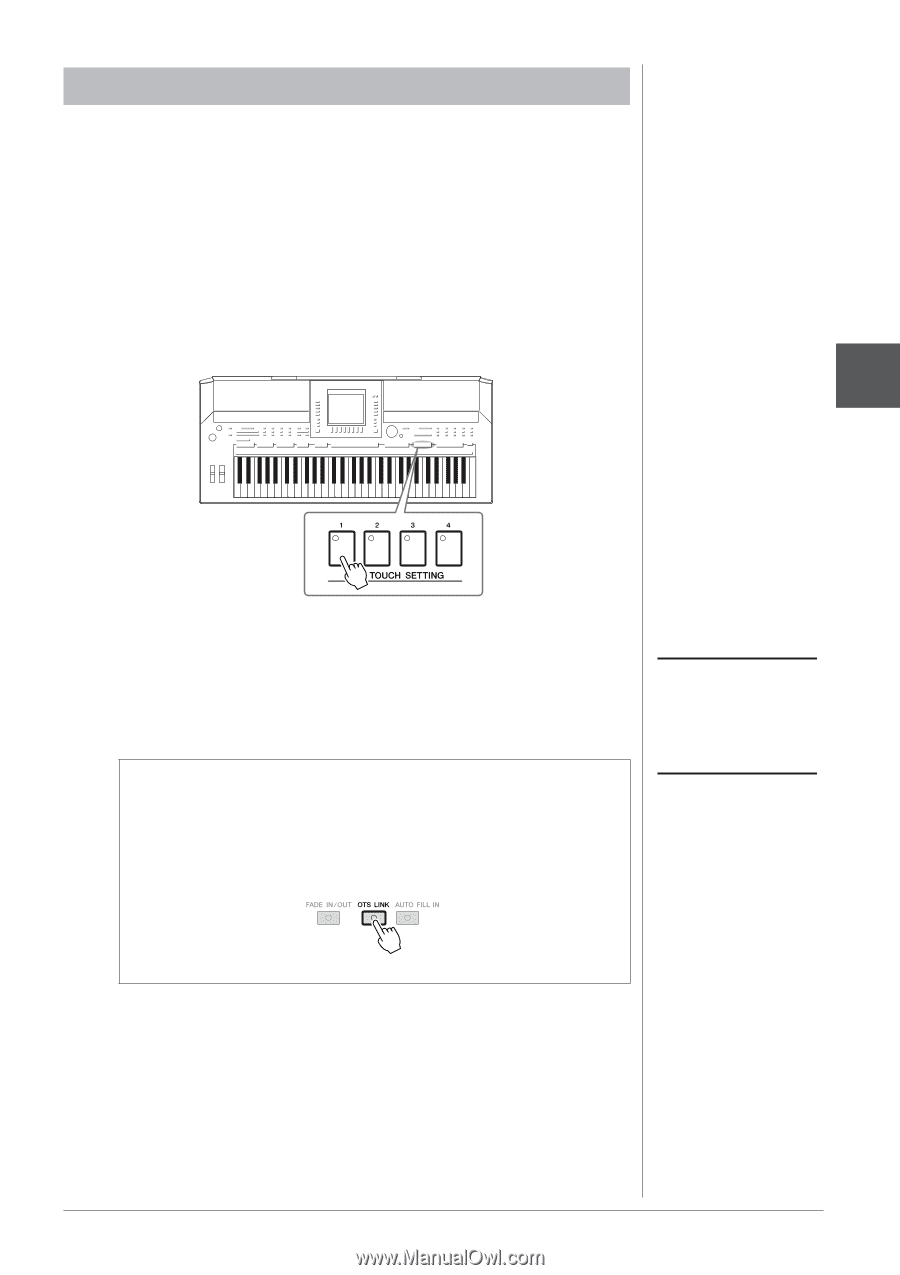
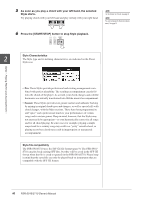
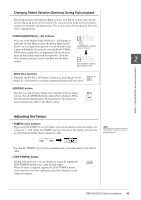
Appropriate Panel Settings for the Selected Style (One Touch Setting) One Touch Setting is a powerful and convenient feature that automatically calls up the most appropriate panel settings (Voices or effects, etc.) for the currently selected Style, with the touch of a single button. If you've already decided which Style you wish to use, you can have One Touch Setting automatically select the appropriate Voice for you. 1 Select a Style (steps 1 - 2 on page 39). 2 Press one of the ONE TOUCH SETTING [1] - [4] buttons. Not only does this instantly call up all the settings (Voices, effects, etc.) that match the current Style, it also automatically turns on ACMP and SYNC START, so that you can immediately start playing the Style. 2 Styles - Playing Rhythm and Accompaniment - 3 As soon as you play a chord with your left hand, the selected Style starts. Each Style has four One Touch Setting setups. Press other ONE TOUCH SETTING [1] - [4] button to try out other setups. NOTE You can also create your own One Touch Setting setups. For details, refer to the Reference Manual on the website. Automatically changing One Touch Settings with the Main sections The convenient OTS (One Touch Setting) Link function lets you automatically have One Touch Settings change when you select a different Main section (A - D). The Main sections A, B, C and D correspond to One Touch Settings 1, 2, 3 and 4 respectively. To use the OTS Link function, turn the [OTS LINK] button on. NOTE You can change the timing in which the One Touch Settings change with MAIN VARIATION [A] - [D] change. Refer to the Reference Manual on the website. PSR-S910/S710 Owner's Manual 45
-
 1
1 -
2
-
3
-
4
-
5
-
6
-
7
-
8
-
9
-
10
-
11
-
12
-
13
-
14
-
15
-
16
-
17
-
18
-
19
-
20
-
21
-
22
-
23
-
24
-
25
-
26
-
27
-
28
-
29
-
30
-
31
-
32
-
33
-
34
-
35
-
36
-
37
-
38
-
39
-
 40
40 -
 41
41 -
 42
42 -
 43
43 -
 44
44 -
 45
45 -
 46
46 -
 47
47 -
 48
48 -
 49
49 -
 50
50 -
51
-
52
-
53
-
54
-
55
-
56
-
57
-
58
-
59
-
60
-
61
-
62
-
63
-
64
-
65
-
66
-
67
-
68
-
69
-
70
-
71
-
72
-
73
-
74
-
75
-
76
-
77
-
78
-
79
-
80
-
81
-
82
-
83
-
84
-
85
-
86
-
87
-
88
-
89
-
90
-
91
-
92
-
93
-
94
-
95
-
96
-
97
-
98
-
99
-
100
-
101
-
102
-
103
-
104
-
105
-
106
-
107
-
108
-
109
-
110
-
111
-
112
 |
 |