2009 Ford Mustang Owner Guide 1st Printing - Page 216
2009 Ford Mustang Manual
Page 216 highlights
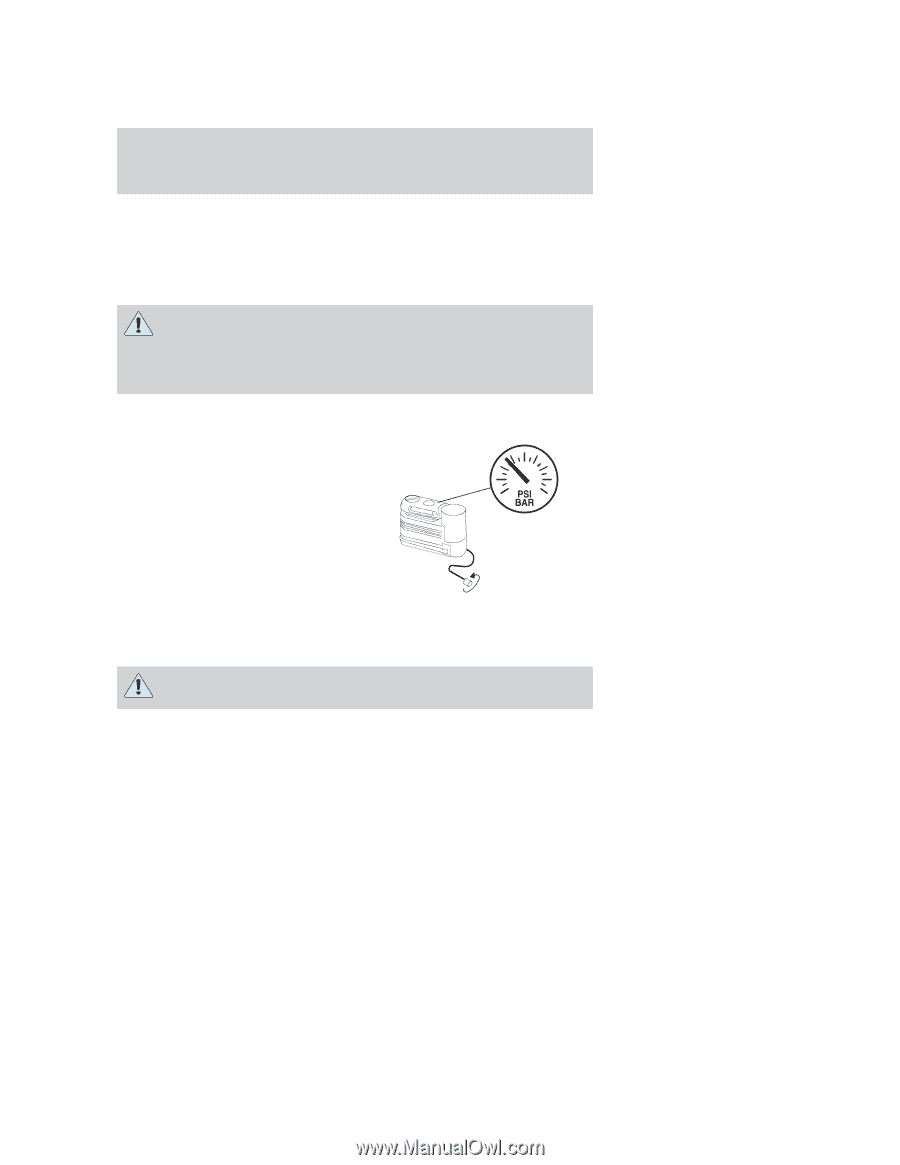
Roadside Emergencies Second stage: Checking tire pressure Check the air pressure of your tires as follows: 1. Remove the valve cap from the tire valve. 2. Unhook the black hose from the side of the compressor and fasten firmly on the valve stem by turning clockwise. WARNING: If you are proceeding from the First stage: Reinflating the tire with sealing compound and air section and have injected sealant in the tire and the pressure is below 20 psi (1.4 bar), stop and call roadside assistance. If tire pressure is above 20 psi (1.4 bar), continue to the next step. 3. Turn the dial clockwise to the air position. Turn on the kit by pressing the control button. 4. Adjust the tire to the recommended inflation pressure from the tire label located on the driver's door or door jam area. Note: The tire pressure has to be checked with the compressor in the OFF position to get the correct tire pressure reading. 5. Turn the compressor off by pressing down on the control button. 6. Unplug the hoses, re-install the valve cap on the tire and return the kit to the stowage area. WARNING: The power plug may get hot after use and should be handled carefully while unplugging. What to do after the tire has been sealed After using the temporary mobility kit to seal your tire, you will need to replace the sealant canister and clear tube (hose). Sealing compound and spare parts can be obtained and replaced at an authorized Ford Motor Company dealership or tire dealer. Empty sealant bottles may be disposed of at home; however, liquid residue from the sealing compound should be disposed by your local Ford Motor Company dealership or tire dealer, or in accordance with local waste disposal regulations. 216 2009 05+ Mustang (197) Owners Guide USA (fus)
-
 1
1 -
2
-
3
-
4
-
5
-
6
-
7
-
8
-
9
-
10
-
11
-
12
-
13
-
14
-
15
-
16
-
17
-
18
-
19
-
20
-
21
-
22
-
23
-
24
-
25
-
26
-
27
-
28
-
29
-
30
-
31
-
32
-
33
-
34
-
35
-
36
-
37
-
38
-
39
-
40
-
41
-
42
-
43
-
44
-
45
-
46
-
47
-
48
-
49
-
50
-
51
-
52
-
53
-
54
-
55
-
56
-
57
-
58
-
59
-
60
-
61
-
62
-
63
-
64
-
65
-
66
-
67
-
68
-
69
-
70
-
71
-
72
-
73
-
74
-
75
-
76
-
77
-
78
-
79
-
80
-
81
-
82
-
83
-
84
-
85
-
86
-
87
-
88
-
89
-
90
-
91
-
92
-
93
-
94
-
95
-
96
-
97
-
98
-
99
-
100
-
101
-
102
-
103
-
104
-
105
-
106
-
107
-
108
-
109
-
110
-
111
-
112
-
113
-
114
-
115
-
116
-
117
-
118
-
119
-
120
-
121
-
122
-
123
-
124
-
125
-
126
-
127
-
128
-
129
-
130
-
131
-
132
-
133
-
134
-
135
-
136
-
137
-
138
-
139
-
140
-
141
-
142
-
143
-
144
-
145
-
146
-
147
-
148
-
149
-
150
-
151
-
152
-
153
-
154
-
155
-
156
-
157
-
158
-
159
-
160
-
161
-
162
-
163
-
164
-
165
-
166
-
167
-
168
-
169
-
170
-
171
-
172
-
173
-
174
-
175
-
176
-
177
-
178
-
179
-
180
-
181
-
182
-
183
-
184
-
185
-
186
-
187
-
188
-
189
-
190
-
191
-
192
-
193
-
194
-
195
-
196
-
197
-
198
-
199
-
200
-
201
-
202
-
203
-
204
-
205
-
206
-
207
-
208
-
209
-
210
-
 211
211 -
 212
212 -
 213
213 -
 214
214 -
 215
215 -
 216
216 -
 217
217 -
 218
218 -
 219
219 -
 220
220 -
 221
221 -
222
-
223
-
224
-
225
-
226
-
227
-
228
-
229
-
230
-
231
-
232
-
233
-
234
-
235
-
236
-
237
-
238
-
239
-
240
-
241
-
242
-
243
-
244
-
245
-
246
-
247
-
248
-
249
-
250
-
251
-
252
-
253
-
254
-
255
-
256
-
257
-
258
-
259
-
260
-
261
-
262
-
263
-
264
-
265
-
266
-
267
-
268
-
269
-
270
-
271
-
272
-
273
-
274
-
275
-
276
-
277
-
278
-
279
-
280
-
281
-
282
-
283
-
284
-
285
-
286
-
287
-
288
-
289
-
290
-
291
-
292
 |
 |