Brother International MFC-9010CN Network Users Manual - English - Page 62
machine using the PIN Personal Identification Number Method, see, SES/WPS/AOSS, Connecting AOSS
 |
UPC - 012502622383
View all Brother International MFC-9010CN manuals
Add to My Manuals
Save this manual to your list of manuals |
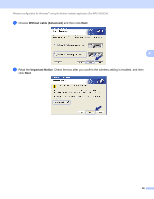
Page 62 highlights
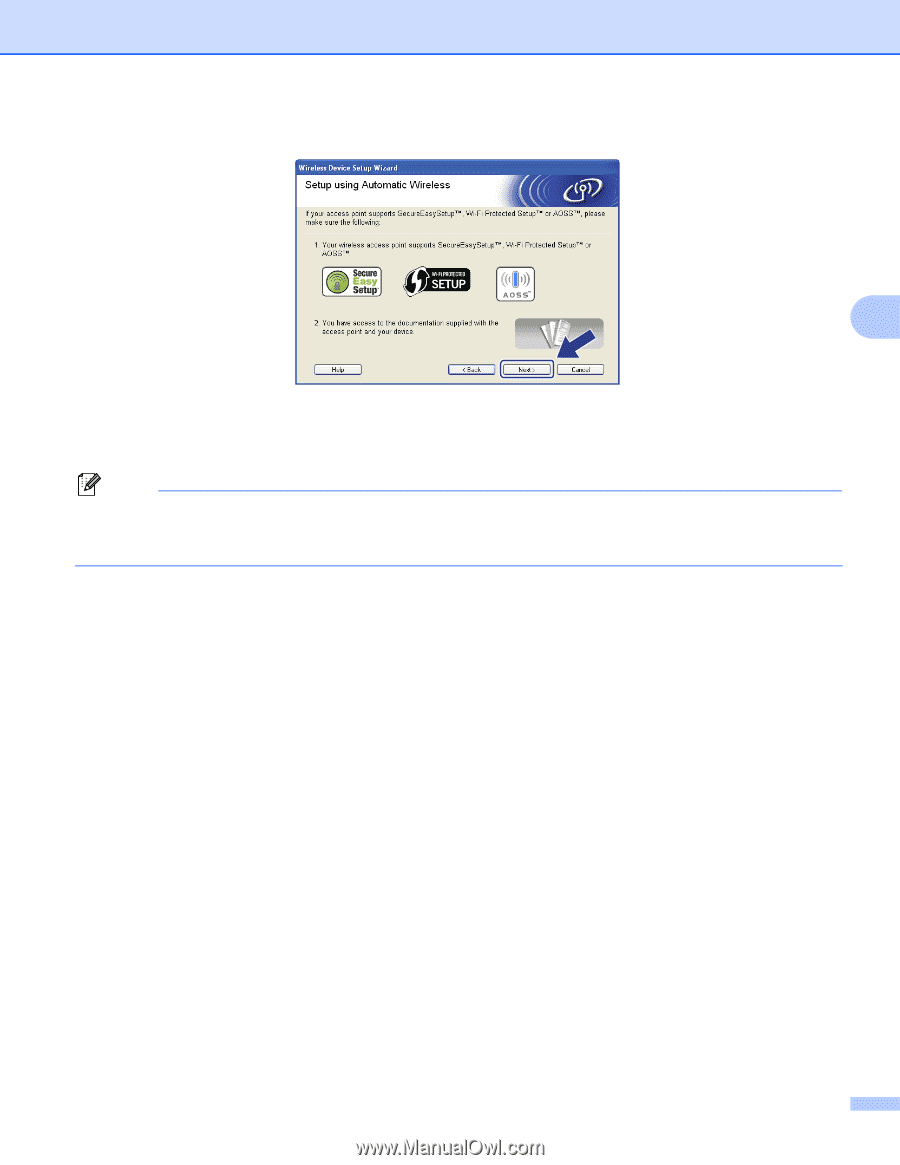
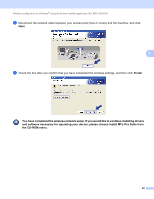
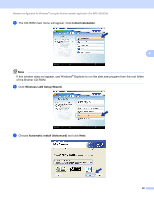
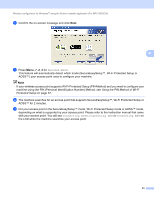
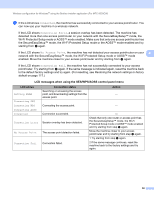
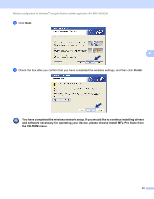
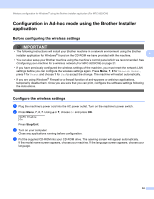
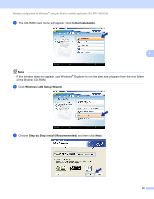
Wireless configuration for Windows® using the Brother installer application (For MFC-9320CW) h Confirm the on-screen message and click Next. 4 i Press Menu, 7, 2, 3 for SES/WPS/AOSS. This feature will automatically detect which mode (SecureEasySetup™, Wi-Fi Protected Setup or AOSS™) your access point uses to configure your machine. Note If your wireless access point supports Wi-Fi Protected Setup (PIN Method) and you want to configure your machine using the PIN (Personal Identification Number) Method, see Using the PIN Method of Wi-Fi Protected Setup on page 37. j The machine searches for an access point that supports SecureEasySetup™, Wi-Fi Protected Setup or AOSS™ for 2 minutes. k Put your access point in the SecureEasySetup™ mode, Wi-Fi Protected Setup mode or AOSS™ mode, depending on what is supported by your access point. Please refer to the instruction manual that came with your access point. You will see Connecting AOSS, Connecting SES or Connecting WPS on the LCD while the machine searches your access point. 51
-
 1
1 -
2
-
3
-
4
-
5
-
6
-
7
-
8
-
9
-
10
-
11
-
12
-
13
-
14
-
15
-
16
-
17
-
18
-
19
-
20
-
21
-
22
-
23
-
24
-
25
-
26
-
27
-
28
-
29
-
30
-
31
-
32
-
33
-
34
-
35
-
36
-
37
-
38
-
39
-
40
-
41
-
42
-
43
-
44
-
45
-
46
-
47
-
48
-
49
-
50
-
51
-
52
-
53
-
54
-
55
-
56
-
 57
57 -
 58
58 -
 59
59 -
 60
60 -
 61
61 -
 62
62 -
 63
63 -
 64
64 -
 65
65 -
 66
66 -
 67
67 -
68
-
69
-
70
-
71
-
72
-
73
-
74
-
75
-
76
-
77
-
78
-
79
-
80
-
81
-
82
-
83
-
84
-
85
-
86
-
87
-
88
-
89
-
90
-
91
-
92
-
93
-
94
-
95
-
96
-
97
-
98
-
99
-
100
-
101
-
102
-
103
-
104
-
105
-
106
-
107
-
108
-
109
-
110
-
111
-
112
-
113
-
114
-
115
-
116
-
117
-
118
-
119
-
120
-
121
-
122
-
123
-
124
-
125
-
126
-
127
-
128
-
129
-
130
-
131
-
132
-
133
-
134
-
135
-
136
-
137
-
138
-
139
-
140
-
141
-
142
-
143
-
144
-
145
-
146
-
147
-
148
-
149
-
150
-
151
-
152
-
153
-
154
-
155
-
156
-
157
-
158
-
159
-
160
-
161
-
162
-
163
-
164
-
165
-
166
-
167
-
168
-
169
-
170
-
171
-
172
-
173
-
174
-
175
-
176
-
177
-
178
-
179
-
180
-
181
-
182
-
183
-
184
-
185
-
186
-
187
-
188
-
189
-
190
-
191
-
192
-
193
-
194
-
195
-
196
-
197
-
198
-
199
-
200
-
201
-
202
-
203
-
204
-
205
-
206
-
207
-
208
-
209
-
210
-
211
-
212
-
213
-
214
-
215
-
216
-
217
-
218
-
219
-
220
-
221
-
222
-
223
-
224
-
225
-
226
-
227
-
228
-
229
-
230
-
231
-
232
-
233
-
234
-
235
-
236
-
237
-
238
-
239
-
240
-
241
-
242
-
243
-
244
-
245
-
246
-
247
-
248
-
249
 |
 |