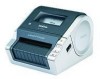
Brother International QL-1060N Users Manual - English
Brother International QL-1060N - B/W Direct Thermal Printer Manual
 |
UPC - 012502618812
View all Brother International QL-1060N manuals
Add to My Manuals
Save this manual to your list of manuals |
Brother International QL-1060N manual content summary:
- Brother International QL-1060N | Users Manual - English - Page 1
Introduction Creating Labels Appendix User's Guide The contents of this guide and the specifications of this product are subject to change without notice. Brother reserves the right to relating to the publications. The screen images in this guide can be differed depending on your OS or printer. 1 - Brother International QL-1060N | Users Manual - English - Page 2
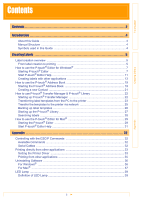
Contents 2 Introduction 4 About this Guide ...4 Manual Structure ...4 Symbols used in this Guide 4 Creating Labels 5 Label creation overview ...5 From label creation to printing 5 How to use the P-touch® Editor for Windows 7 Starting P-touch® Editor 7 Start P-touch® Editor Help 11 Creating - Brother International QL-1060N | Users Manual - English - Page 3
Introduction Creating Labels Maintenance ...40 Print head maintenance 40 Roller maintenance ...40 Label outlet maintenance 40 Troubleshooting ...41 Potential types of problems 41 3 Appendix - Brother International QL-1060N | Users Manual - English - Page 4
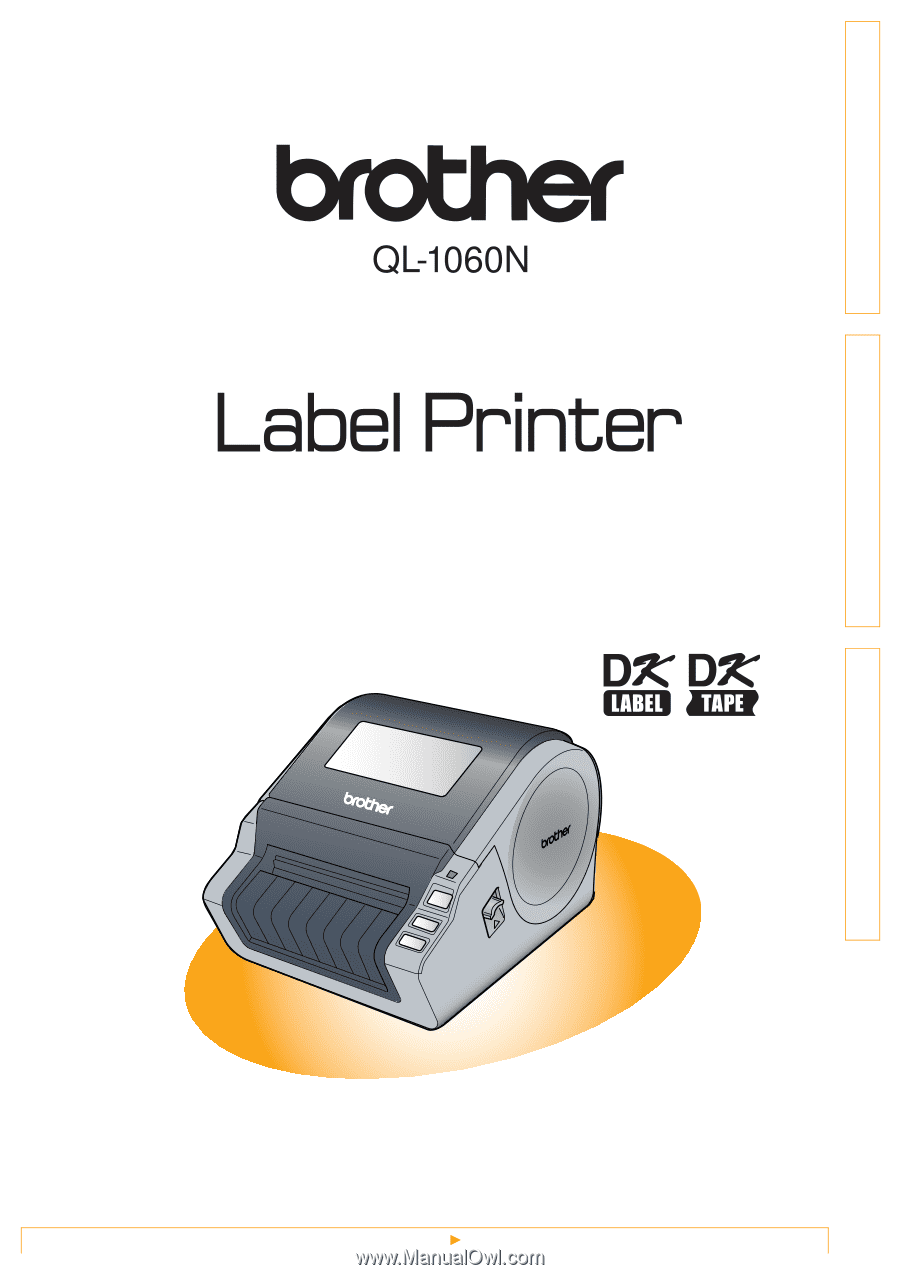
Introduction Creating Labels The Brother QL-1060N label printer (hereafter referred to as "the machine") enables you to quickly and easily print custom labels created with the label software, P-touch Editor. About this Guide This guide (PDF) is included on the CD-ROM. In this guide, when the - Brother International QL-1060N | Users Manual - English - Page 5
. For details on step-by-step instructions, see Help files. From label creation to printing 1 Choose the type of label you want to create. There is a variety to choose from. Label examples Creating Labels Appendix 2 Prepare the appropriate DK Roll for the label you want to create. The machine - Brother International QL-1060N | Users Manual - English - Page 6
3 Create and print the label. Create a label Using P-touch Editor Windows Express Mode Print the label Mac Enter the text Standard Mode Edit the label Express Mode Enter the text Windows Professional Mode Edit the label Standard Mode Enter the text Windows/Mac Snap Mode Edit the - Brother International QL-1060N | Users Manual - English - Page 7
, and saving the labels. The following is the example for Windows Vista®. Read the printer name in each image as your purchased machine model name. Starting P-touch® Editor 1 Click [Start]-[All Programs (Programs)]- [Brother P-touch]-[P-touch Editor 5.0]. You can also start P-touch Editor using the - Brother International QL-1060N | Users Manual - English - Page 8
mode provides easy label creation with texts and images. The layout window consists of the following sections: 1 2 3 5 4 Creating Labels Appendix 6 1 text, image, etc. 5 Layout window The layout window is used to display and edit objects. 6 Database window Displays a connected database. • The - Brother International QL-1060N | Users Manual - English - Page 9
Introduction „Professional Mode This mode provides full-scale label creation from creating the templates. The layout window consists of the following sections: 1 2 3 4 5 7 Creating Labels Appendix 6 1 Menu bar Commands are categorized under each menu (File, Edit, View, and Insert, etc.) by - Brother International QL-1060N | Users Manual - English - Page 10
Introduction Creating Labels „Snap Mode With this mode, you can capture the screen, print it as image, and save it go to Snap mode directly from next time. • You can also start from [Start]-[All Programs (Programs)]-[Brother P-touch]-[P-touch Editor 5.0 (Snap mode)]. 2 Snap mode appears. See the - Brother International QL-1060N | Users Manual - English - Page 11
the task bar, point to All Programs (or Programs). Click Brother P-touch and P-touch Editor 5.0. 2 In the New/Open dialog, click Help-How To. „Start from P-touch Editor Click Help menu and choose P-touch Editor Help. Creating Labels Appendix Express Mode Professional Mode „Start from Snap mode - Brother International QL-1060N | Users Manual - English - Page 12
] tab, choose any topic you want to print. 2 Click on the Toolbar. 3 Choose the range of topics to be printed, and click . 4 Specify the [Printer] and click . Choose a normal printer that supports general paper sizes, such as Letter. Creating Labels Appendix 12 Start P-touch® Editor Help - Brother International QL-1060N | Users Manual - English - Page 13
The [Brother P-touch Add-In Settings] dialog box appears. 2 Click on the checkboxes for the Microsoft application where you would like the P-touch Editor add-in function button to be installed. Now for each Microsoft application you must select which version of the label creation software you would - Brother International QL-1060N | Users Manual - English - Page 14
ZIP/Postal code Date field Title field Body field Code field Added field Example of label list data being stored in the database window in P-touch editor screen If you click No in the message "Record data in the Label List?" is displayed and want to register, go to [Tools][Options], and check - Brother International QL-1060N | Users Manual - English - Page 15
from your Excel spreadsheet. 2 On the Microsoft® Excel standard toolbar, click . The [Brother P-touch Import Setup] dialog box appears. 3 In [Label Layout], make adjustments to the line feed in the cells and click . 3 [Label Layout] enables you to change the way your text is displayed/printed - Brother International QL-1060N | Users Manual - English - Page 16
and the text is added to each field shown below from next time you register the text: Each time you add new information into your label list it also records the following information for your reference. The text Date of creation Date field The first line in the text that is - Brother International QL-1060N | Users Manual - English - Page 17
Tasks windows. Creating labels using Label List, see "How to add text from Microsoft® Outlook® to a Label List" described on the page 18. • If you want to include the data into the Code field of the Label List, choose [Text Imported Into the "Code" Field of the Label List] in the [Brother P-touch - Brother International QL-1060N | Users Manual - English - Page 18
and the text is added to each field shown below from next time you register the text: Each time you add new information into your label list it also records the following information for your reference. The text Date of creation Date field The first line in the text that is - Brother International QL-1060N | Users Manual - English - Page 19
for creating labels from contacts efficiently using the P-touch Address Book. The P-touch Address Book is valid for Windows only. The following is the example for Windows XP. Starting the P-touch® Address Book 1 Click [Start]-[All Programs(Programs)]- [Brother P-touch]-[P-touch Address Book - Brother International QL-1060N | Users Manual - English - Page 20
Introduction Creating Labels Layout window The layout window consists of the following eight sections: 1 2 3 4 5 6 7 8 1 Menu bar Commands are categorized under each menu (File, Edit, View data can also be edited (added to, deleted or modified). Appendix 20 Starting the P-touch® Address Book - Brother International QL-1060N | Users Manual - English - Page 21
box appears. 2 Enter data for each item. 1 2 Creating Labels Appendix 1 New Contact form toolbar The following commands are categorized in are supported: • Bitmap (*.bmp, *.dib) • JPEG file (*.jpg, *.jpeg) • TIFF file (uncompressed) (*.tif ) • GIF file (*.gif ) • Icon (*.ico) • Windows Meta - Brother International QL-1060N | Users Manual - English - Page 22
Transfer Manager: This application can transfer label template data to the printer's main unit and can make backups of data transferred to the printer's main unit. This is needed when you use P-touch Template function. For details of P-touch Template function, refer to the manuals in the CD-ROM. To - Brother International QL-1060N | Users Manual - English - Page 23
Backs up the data you have transferred to the Brother P-touch printer using the P-touch Transfer Manager. Edits the selected data. Prints the selected label template with the printer. Searches the data managed with the P-touch Library. Display Style Changes the file display format. Transferring - Brother International QL-1060N | Users Manual - English - Page 24
can be transferred depends on your printer model. For details, refer to your printer's manual. 4 Key Assign numbers are printer main unit, it is overwritten. You can check the Key Assign number used for data already transferred to printer by backing up the data as explained in "Backing up label - Brother International QL-1060N | Users Manual - English - Page 25
Creating Labels Transfer the templates to the printer via network To transfer the templates to the printer via network, you need BRAdmin Professional or Web BRAdmin. Download it from our website first. 1 Start the P-touch Transfer Manager. 2 Create the template you want to transfer with P-touch - Brother International QL-1060N | Users Manual - English - Page 26
Labels Backing up label templates This transfers label templates and other data in the printer to the PC. • Valid only when connecting USB cable. • Backed up data cannot be edited on the PC. • For some printer model specifications, it may not be possible to retransfer backed-up data to a printer - Brother International QL-1060N | Users Manual - English - Page 27
All data in the printer is erased. Starting up the P-touch® Library You can start up the P-touch Library and edit and print labels. 1 Click the [Start] button, then choose [All programs (Programs)] - [Brother P-touch] - [P-touch Tools] - [P-touch Library 2.1]. The P-touch Library starts up. Opening - Brother International QL-1060N | Users Manual - English - Page 28
and dropping to the All contents folder or its list view. To have label templates created with P-touch Editor automatically registered in the P-touch Library, use the following method. 1. From the P-touch Editor menu, choose [Tools] - [Options]. 2. In the [Options] dialog box [General] tab, click - Brother International QL-1060N | Users Manual - English - Page 29
for Mac® This section gives an overview of P-touch Editor. See the P-touch Editor Help for details. Starting the P-touch® Editor 1 Double click the [Applications] and then [P-touch Editor 5.0]. If an Alias has been created, double-click the Alias. The Layout Window is displayed. 2 Double click the - Brother International QL-1060N | Users Manual - English - Page 30
This mode provides easy label creation with texts and images. The layout window consists of the following window The layout window is used to display and edit objects. 5 Database window Displays a database. • The [View] menu allows you to show/hide the toolbars and windows. • See the P-touch - Brother International QL-1060N | Users Manual - English - Page 31
Introduction Creating Labels „Snap Mode With this mode, you can capture the directly from next time. 2 Snap mode appears. See the P-touch Editor Help for details. Start P-touch® Editor Help This section explains how to start P-touch Editor Help for Mac. The following is the example for Mac - Brother International QL-1060N | Users Manual - English - Page 32
Labels Appendix Controlling with the ESC/P Commands Fonts and several bar codes are embedded within this machine. You can send commands to print embedded characters and barcodes. Available Commands Commands available are P-touch than 6 feet (2.0 meters). Brother QL-1060N side (D-sub female, lock - Brother International QL-1060N | Users Manual - English - Page 33
open [Printers]. For details, see Windows® Help. 2 Choose "Brother QL-XXX", and click [Select printing preferences]. The [Brother QL-XXX printing preferences] dialog box appears. 3 Choose each item and click . • [Paper] Tab This tab is used to set the Format and Width. Creating Labels Appendix - Brother International QL-1060N | Users Manual - English - Page 34
", "Brightness", and "Contrast" in this tab. • [Option] Tab You can set Auto cut with number of labels between cuts, "Mirror Printing", "Cut at end", and "Unit" in this tab. The cutting options will vary according to the model. 4 Close the [Printers] window. 34 Setting the Printer Driver Appendix - Brother International QL-1060N | Users Manual - English - Page 35
Introduction Creating Labels Printing from other applications We will use Microsoft® Word as an example. 1 Click and . The [Print] dialog box appears. 2 Choose "Brother QL-XXX". You can change the settings of the Printer Driver from the [Properties] dialog box which appears by clicking . 3 - Brother International QL-1060N | Users Manual - English - Page 36
describes how to uninstall the software and printer driver. In the following steps, you will see QL-XXX. Read "XXX" as your printer name. The printer names in the following screens may differ from your purchased printer name. For Windows® Uninstalling P-touch Editor The following is the example - Brother International QL-1060N | Users Manual - English - Page 37
Creating Labels Uninstalling the Printer Driver 1 Turn off the Brother QL-XXX. 2 From [Control Panel], go to [Hardware and Sound] and open [Printers]. For details, see Windows® Help. 3 Choose "Brother QL-XXX", and click [Delete this printer]. 4 Close the [Printers] window. The printer driver has - Brother International QL-1060N | Users Manual - English - Page 38
to close the terminal window. 3 Delete [Applications]-[P-touch Editor 5.0] folder. Before you delete the [P-touch Editor 5.0] folder, please check if any necessary files are saved in it. P-touch Editor has been uninstalled. Uninstalling the Printer Driver 1 Turn off the Brother QL-XXX. 2 Double - Brother International QL-1060N | Users Manual - English - Page 39
LED Lamp Definition of LED Lamp LED lamp on the QL-1060N indicates the current operating condition. Lamp Not lit Power Red lamp is flashing Indicates one of the following errors. • Label sensor error (End of DK Roll or label jam) • Incorrect DK Roll installed • Transmission error Creating - Brother International QL-1060N | Users Manual - English - Page 40
(e.g. in dusty conditions). Print head maintenance The DK Roll (thermal printing paper type) used with the machine is designed to clean automatically. When the DK Roll Print head passes the print head during printing and label feeding, the print head Roller is cleaned. If the print head is not - Brother International QL-1060N | Users Manual - English - Page 41
Brother QL-1060N and on again. If the problem is still occurred, contact Brother Customer Service at 1-877-BROTHER in the Printer Properties dialog box. • A data transmission error • Is the QL-1060N in Was a new label roll installed before activating the P-touch Add-In (The P-touch updated when - Brother International QL-1060N | Users Manual - English - Page 42
with print setting as Give priority to quality. Also, set the label vertical to the print head as shown right. Print head Label Recommended print direction • I want to reset the printer/ • To reset the printer, turn OFF the printer. Press ON/OFF button and CUT delete the data button six times
-
 1
1 -
 2
2 -
 3
3 -
 4
4 -
 5
5 -
 6
6 -
 7
7 -
8
-
9
-
10
-
11
-
12
-
13
-
14
-
15
-
16
-
17
-
18
-
19
-
20
-
21
-
22
-
23
-
24
-
25
-
26
-
27
-
28
-
29
-
30
-
31
-
32
-
33
-
34
-
35
-
36
-
37
-
38
-
39
-
40
-
41
-
42
 |
 |
1
Introduction
Creating Labels
Appendix
User's Guide
The contents of this guide and the specifications of this product are subject to change without notice.
Brother reserves the right to make changes without notice in the specifications and materials contained herein
and shall not be responsible for any damages (including consequential) caused by reliance on the materials
presented, including but not limited to typographical and other errors relating to the publications.
The screen images in this guide can be differed depending on your OS or printer.