Canon EOS Digital Rebel XTi User Manual - Page 31
How to Shoot
 |
View all Canon EOS Digital Rebel XTi manuals
Add to My Manuals
Save this manual to your list of manuals |
Page 31 highlights
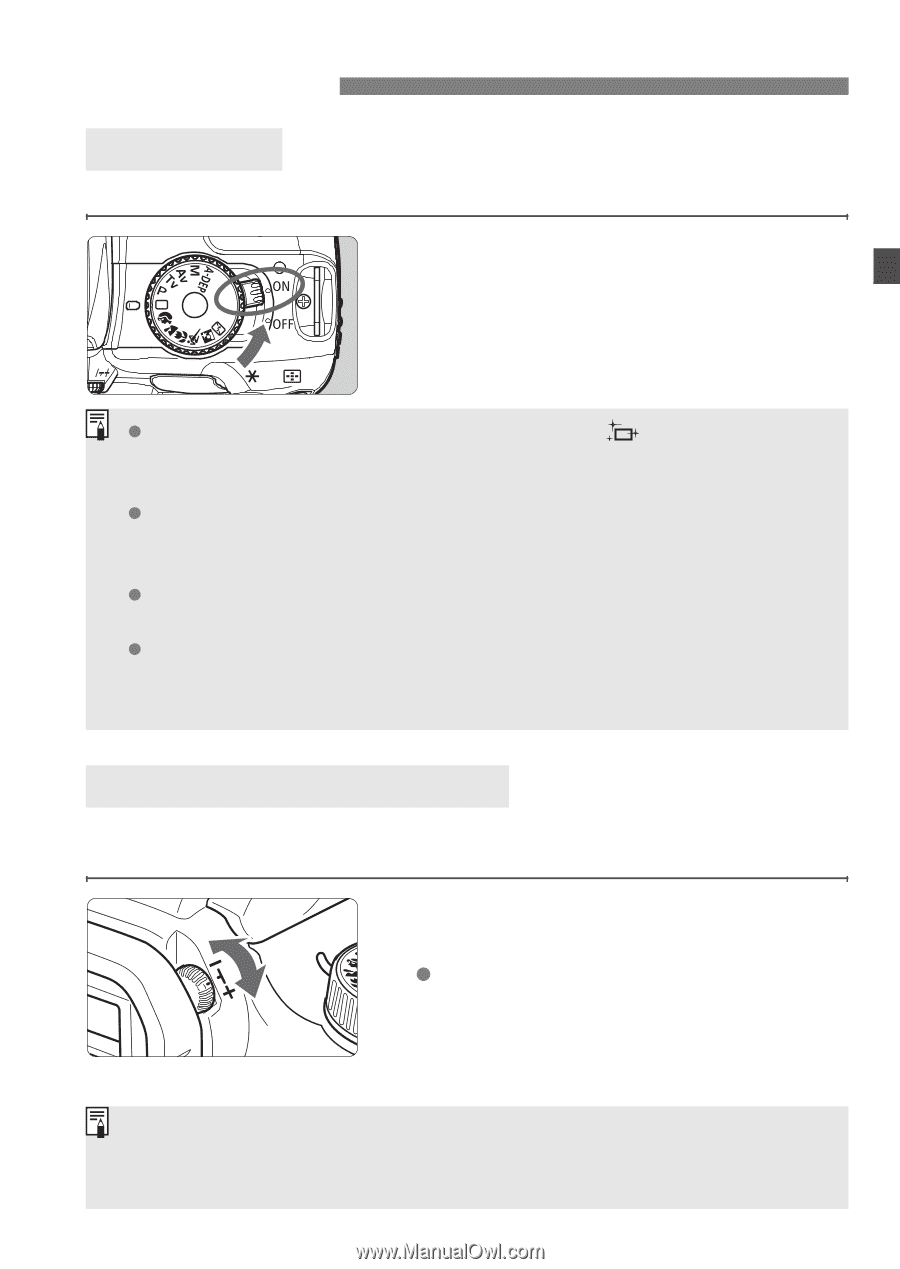
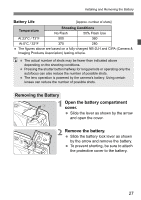
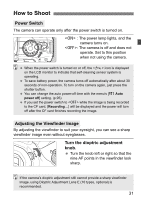
How to Shoot Power Switch The camera can operate only after the power switch is turned on. : The power lamp lights, and the camera turns on. : The camera is off and does not operate. Set to this position when not using the camera. When the power switch is turned on or off, the < > icon is displayed on the LCD monitor to indicate that self-cleaning sensor system is operating. To save battery power, the camera turns off automatically after about 30 seconds of non-operation. To turn on the camera again, just press the shutter button. You can change the auto power-off time with the menu's [c Auto power off] setting. (p.95) If you set the power switch to while the image is being recorded to the CF card, [Recording ...] will be displayed and the power will turn off after the CF card finishes recording the image. Adjusting the Viewfinder Image By adjusting the viewfinder to suit your eyesight, you can see a sharp viewfinder image even without eyeglasses. Turn the dioptric adjustment knob. Turn the knob left or right so that the nine AF points in the viewfinder look sharp. If the camera's dioptric adjustment still cannot provide a sharp viewfinder image, using Dioptric Adjustment Lens E (10 types, optional) is recommended. 31
-
 1
1 -
2
-
3
-
4
-
5
-
6
-
7
-
8
-
9
-
10
-
11
-
12
-
13
-
14
-
15
-
16
-
17
-
18
-
19
-
20
-
21
-
22
-
23
-
24
-
25
-
 26
26 -
 27
27 -
 28
28 -
 29
29 -
 30
30 -
 31
31 -
 32
32 -
 33
33 -
 34
34 -
 35
35 -
 36
36 -
37
-
38
-
39
-
40
-
41
-
42
-
43
-
44
-
45
-
46
-
47
-
48
-
49
-
50
-
51
-
52
-
53
-
54
-
55
-
56
-
57
-
58
-
59
-
60
-
61
-
62
-
63
-
64
-
65
-
66
-
67
-
68
-
69
-
70
-
71
-
72
-
73
-
74
-
75
-
76
-
77
-
78
-
79
-
80
-
81
-
82
-
83
-
84
-
85
-
86
-
87
-
88
-
89
-
90
-
91
-
92
-
93
-
94
-
95
-
96
-
97
-
98
-
99
-
100
-
101
-
102
-
103
-
104
-
105
-
106
-
107
-
108
-
109
-
110
-
111
-
112
-
113
-
114
-
115
-
116
-
117
-
118
-
119
-
120
-
121
-
122
-
123
-
124
-
125
-
126
-
127
-
128
-
129
-
130
-
131
-
132
-
133
-
134
-
135
-
136
-
137
-
138
-
139
-
140
-
141
-
142
-
143
-
144
-
145
-
146
-
147
-
148
-
149
-
150
-
151
-
152
-
153
-
154
-
155
-
156
-
157
-
158
-
159
-
160
-
161
-
162
-
163
-
164
-
165
-
166
-
167
-
168
-
169
-
170
-
171
-
172
-
173
-
174
-
175
-
176
-
177
-
178
-
179
-
180
 |
 |