Canon PowerShot ELPH 320 HS Getting Started Guide - Page 57
Access the wireless LAN, screen., Choose a Web service., Connect to an access point.
 |
View all Canon PowerShot ELPH 320 HS manuals
Add to My Manuals
Save this manual to your list of manuals |
Page 57 highlights
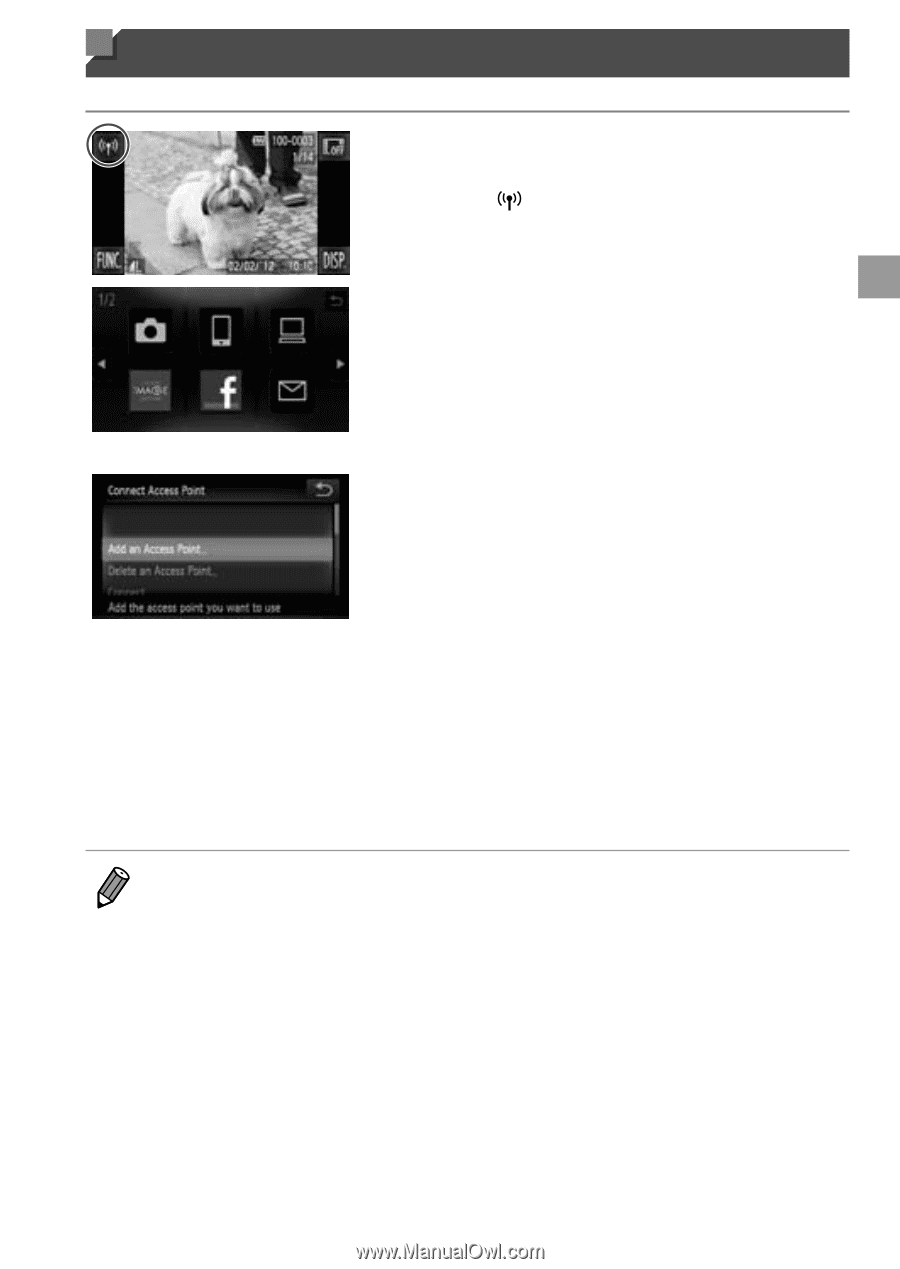
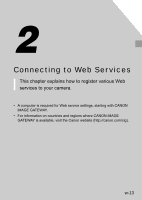
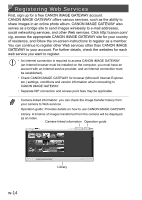
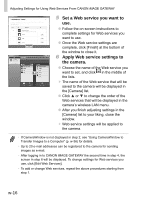
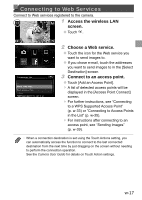
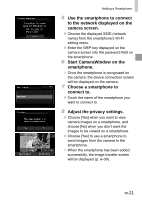
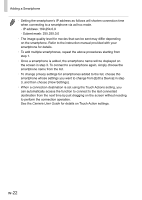
Connecting to Web Services Connect to Web services registered to the camera. 1 Access the wireless LAN screen. ●● Touch . 2 Choose a Web service. ●● Touch the icon for the Web service you want to send images to. ●● If you chose e-mail, touch the addresses you want to send images to in the [Select Destination] screen. 3 Connect to an access point. ●● Touch [Add an Access Point]. ▶▶ A list of detected access points will be displayed in the [Access Point Connect] screen. ▶▶ For further instructions, see "Connecting to a WPS Supported Access Point" (p. w-33) or "Connecting to Access Points in the List" (p. w-35). ▶▶ For instructions after connecting to an access point, see "Sending Images" (p. w-39). • When a connection destination is set using the Touch Actions setting, you can automatically access the function to connect to the last connected destination from the next time by just dragging on the screen without needing to perform the connection operation. See the Camera User Guide for details on Touch Action settings. w-17
-
 1
1 -
2
-
3
-
4
-
5
-
6
-
7
-
8
-
9
-
10
-
11
-
12
-
13
-
14
-
15
-
16
-
17
-
18
-
19
-
20
-
21
-
22
-
23
-
24
-
25
-
26
-
27
-
28
-
29
-
30
-
31
-
32
-
33
-
34
-
35
-
36
-
37
-
38
-
39
-
40
-
41
-
42
-
43
-
44
-
45
-
46
-
47
-
48
-
49
-
50
-
51
-
 52
52 -
 53
53 -
 54
54 -
 55
55 -
 56
56 -
 57
57 -
 58
58 -
 59
59 -
 60
60 -
 61
61 -
 62
62 -
63
-
64
-
65
-
66
-
67
-
68
-
69
-
70
-
71
-
72
-
73
-
74
-
75
-
76
-
77
-
78
-
79
-
80
-
81
-
82
-
83
-
84
-
85
-
86
-
87
-
88
-
89
-
90
-
91
-
92
-
93
-
94
-
95
-
96
-
97
-
98
-
99
-
100
 |
 |