Canon imageCLASS MF6550 MF6500 Series Scanner Drivere Guide - Page 58
Specify the scanned area., Specify a name, a file format, and the location, for saving the group
 |
View all Canon imageCLASS MF6550 manuals
Add to My Manuals
Save this manual to your list of manuals |
Page 58 highlights
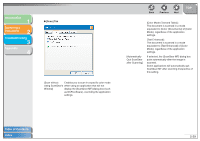
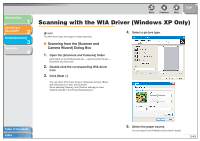
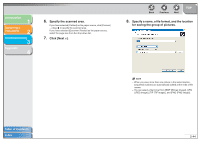
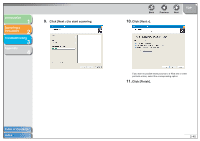
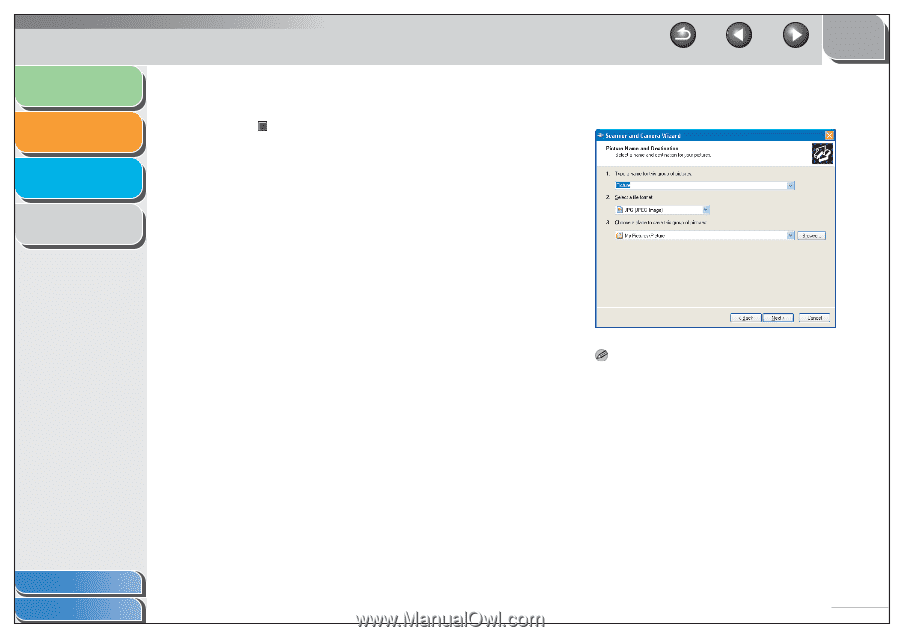
Introduction 1 Scanning a Document 2 Troubleshooting 3 Appendix 4 6. Specify the scanned area. If you have selected [Flatbed] as the paper source, click [Preview] → drag to specify the scanned area. If you have selected [Document Feeder] as the paper source, select the page size from the drop-down list. 7. Click [Next >]. Back Previous Next TOP 8. Specify a name, a file format, and the location for saving the group of pictures. NOTE - When you save more than one picture in the same location, sequential numbers are automatically added at the ends of file names. - You can select a file format from [BMP (Bitmap Image)], [JPG (JPEG Image)], [TIF (TIF Image)], and [PNG (PNG Image)]. Table of Contents Index 2-44
-
 1
1 -
2
-
3
-
4
-
5
-
6
-
7
-
8
-
9
-
10
-
11
-
12
-
13
-
14
-
15
-
16
-
17
-
18
-
19
-
20
-
21
-
22
-
23
-
24
-
25
-
26
-
27
-
28
-
29
-
30
-
31
-
32
-
33
-
34
-
35
-
36
-
37
-
38
-
39
-
40
-
41
-
42
-
43
-
44
-
45
-
46
-
47
-
48
-
49
-
50
-
51
-
52
-
 53
53 -
 54
54 -
 55
55 -
 56
56 -
 57
57 -
 58
58 -
 59
59 -
 60
60 -
 61
61 -
 62
62 -
 63
63 -
64
-
65
-
66
-
67
-
68
-
69
-
70
-
71
-
72
-
73
-
74
-
75
-
76
-
77
-
78
-
79
-
80
 |
 |
1
2
3
4
TOP
Back
Previous
Next
2-44
Introduction
Scanning a
Document
Troubleshooting
Appendix
Table of Contents
Index
6.
Specify the scanned area.
If you have selected [Flatbed] as the paper source, click [Preview]
→
drag
to specify the scanned area.
If you have selected [Document Feeder] as the paper source,
select the page size from the drop-down list.
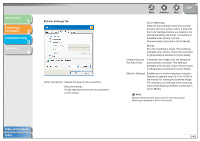
7.
Click [Next >].
8.
Specify a name, a file format, and the location
for saving the group of pictures.
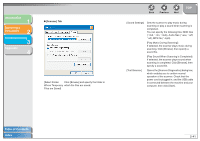
NOTE
– When you save more than one picture in the same location,
sequential numbers are automatically added at the ends of file
names.
– You can select a file format from [BMP (Bitmap Image)], [JPG
(JPEG Image)], [TIF (TIF Image)], and [PNG (PNG Image)].