Casio PX330 User Guide - Page 14
Using Octave Shift, Adjusting the Brilliance of
 |
View all Casio PX330 manuals
Add to My Manuals
Save this manual to your list of manuals |
Page 14 highlights
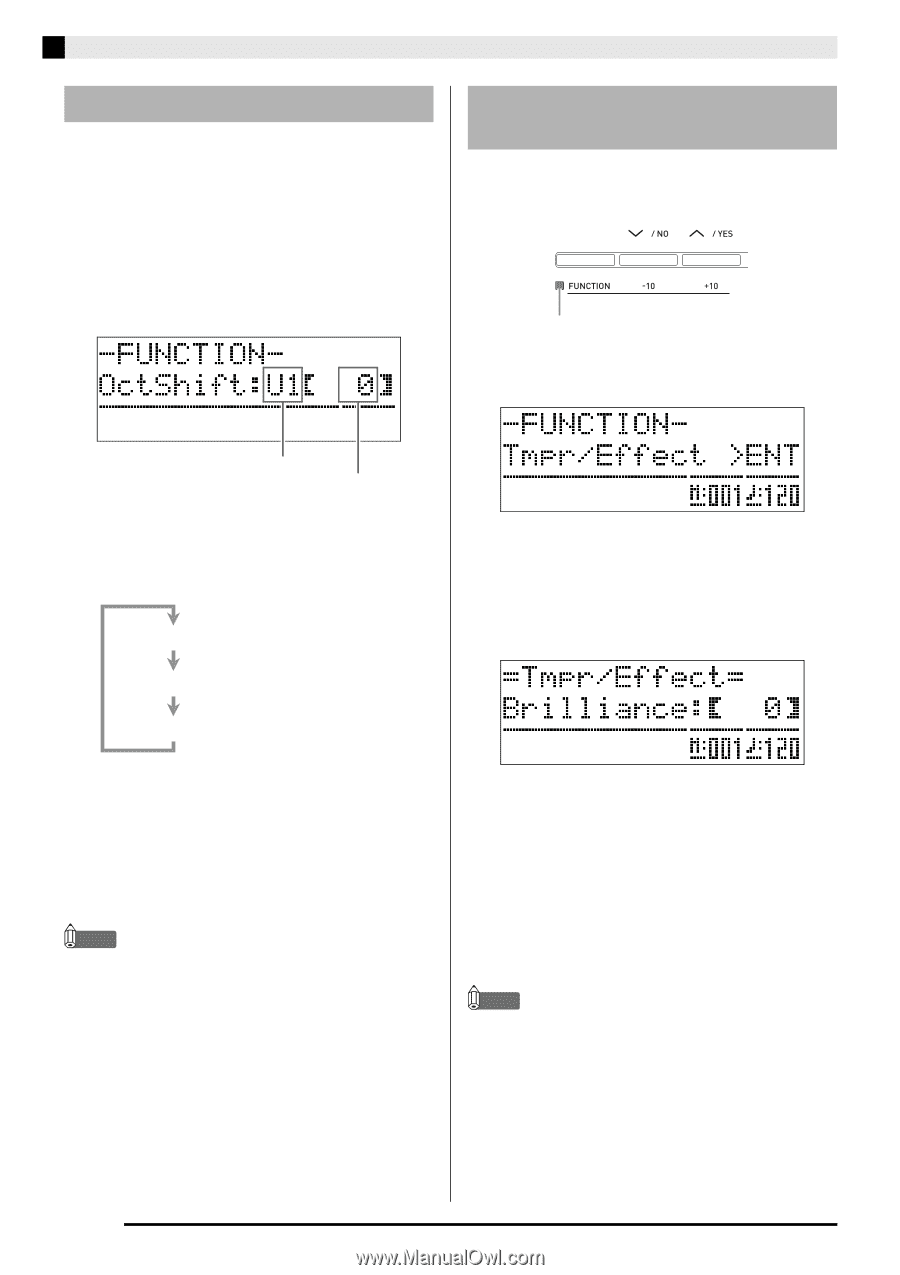
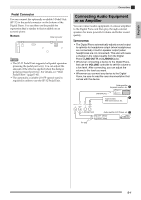
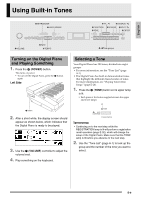
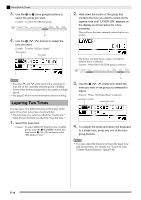
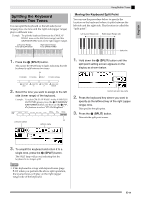
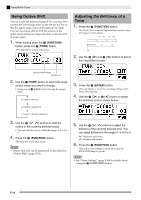
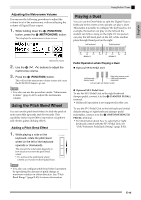
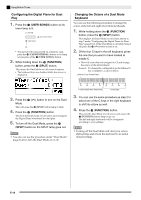
Using Built-in Tones Using Octave Shift After you split the keyboard (page E-11), you may find out that the lower range notes on the left are too low or that the upper range notes on the right are too high. You can use octave shift to shift the octaves of the upper range and lower range upwards or downwards in octave units. 1. While holding down the bs (FUNCTION) button, press the br (TONE) button. This displays the octave shift screen. Adjusting the Brilliance of a Tone 1. Press the bs (FUNCTION) button. The FUNCTION lamp will light and the function screen will appear on the display. Lit 2. Use the dk (i) and ct (u) buttons to select the Tmpr/Effect screen. Currently selected range Shift amount 2. Use the 7 (PART) button to select the range whose octave you want to change. • Each press of 7 (PART) cycles through the ranges below. U1 (Upper1): Main tone U2 (Upper2): Layered tone 3. Press the dl (ENTER) button. This will display a screen for selecting settings in the Tmpr/Effect group. 4. Use the dk (i) or ct (u) button to select the brilliance screen shown below. L1 (Lower1): Left (lower range) tone 3. Use the bt (w, q) buttons to shift the octave of the currently selected range. • You can shift the octave within the range of -2 to 0 to 2. 4. Press the bs (FUNCTION) button. This exits the octave shift screen. NOTE • Octave shift also can be performed as described for "Octave Shift" (page E-41). 5. Use the bt (w, q) buttons to adjust the brilliance of the currently selected tone. You can adjust brilliance in the range of -3 to 0 to 3. w : Mellower and softer q : Brighter and harder 6. Press the bs (FUNCTION) button. This will exit the brilliance screen and cause the FUNCTION lamp to go out. NOTE • See "Other Settings" (page E-40) for details about using the bs (FUNCTION) button. E-12
-
 1
1 -
2
-
3
-
4
-
5
-
6
-
7
-
8
-
 9
9 -
 10
10 -
 11
11 -
 12
12 -
 13
13 -
 14
14 -
 15
15 -
 16
16 -
 17
17 -
 18
18 -
 19
19 -
20
-
21
-
22
-
23
-
24
-
25
-
26
-
27
-
28
-
29
-
30
-
31
-
32
-
33
-
34
-
35
-
36
-
37
-
38
-
39
-
40
-
41
-
42
-
43
-
44
-
45
-
46
-
47
-
48
-
49
-
50
-
51
-
52
-
53
-
54
-
55
-
56
-
57
-
58
-
59
-
60
-
61
-
62
-
63
-
64
-
65
-
66
-
67
-
68
-
69
-
70
-
71
-
72
 |
 |