Cub Cadet Z-Force SX 60 Operation Manual
Cub Cadet Z-Force SX 60 Manual
 |
View all Cub Cadet Z-Force SX 60 manuals
Add to My Manuals
Save this manual to your list of manuals |
Cub Cadet Z-Force SX 60 manual content summary:
- Cub Cadet Z-Force SX 60 | Operation Manual - Page 1
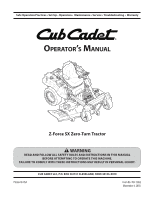
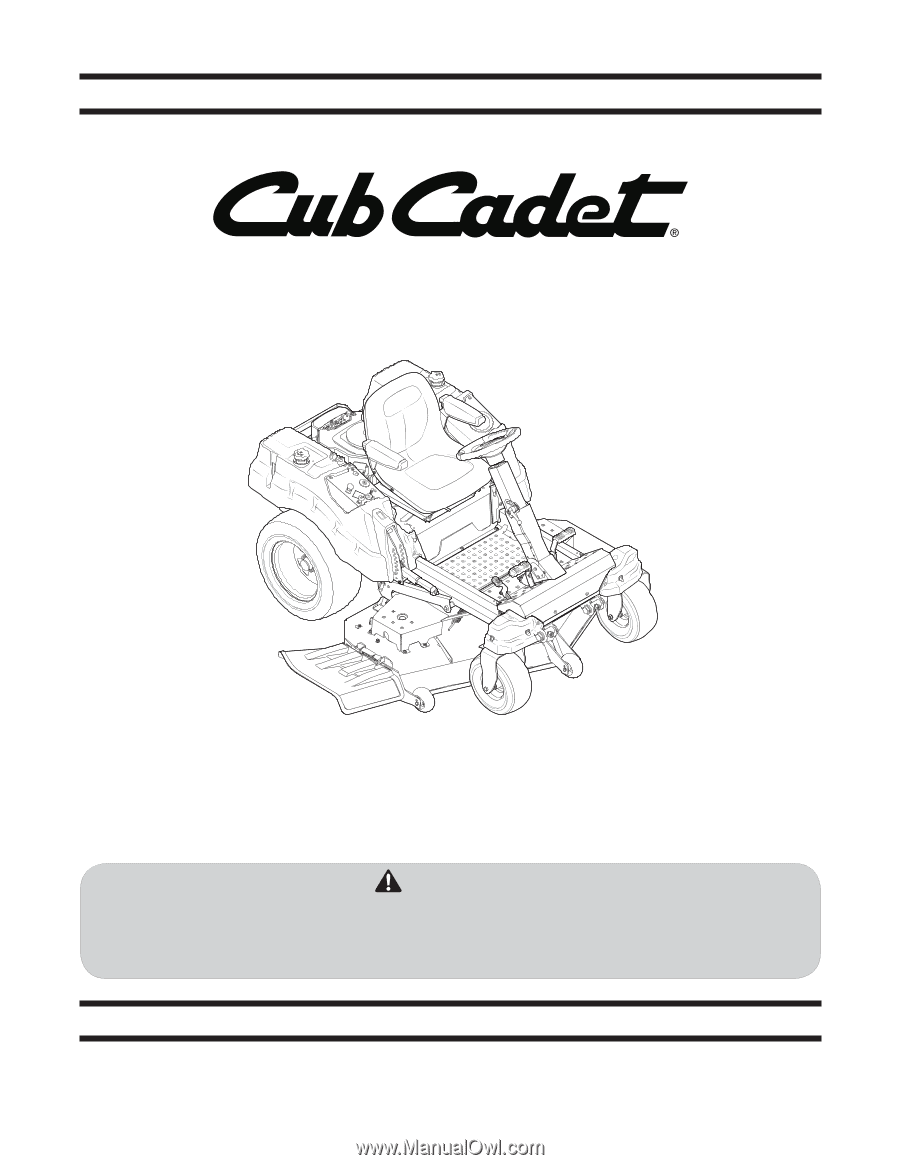
• Service • Troubleshooting • Warranty Operator's Manual Z-Force SX Zero-Turn Tractor WARNING READ AND FOLLOW ALL SAFETY RULES AND INSTRUCTIONS IN THIS MANUAL BEFORE ATTEMPTING TO OPERATE THIS MACHINE. FAILURE TO COMPLY WITH THESE INSTRUCTIONS MAY RESULT IN PERSONAL INJURY. Printed In USA CUB - Cub Cadet Z-Force SX 60 | Operation Manual - Page 2
found at www.opei.org or the engine manufacturer's web site. If you have any problems or questions concerning the machine, phone your local Cub Cadet dealer or contact us directly. Cub Cadet's Customer Support telephone numbers, website address and mailing address can be found on this page. We want - Cub Cadet Z-Force SX 60 | Operation Manual - Page 3
stones, sticks, wire, bones, toys, and other 1. Read, understand, and follow all instructions on the foreign objects which could be picked up and thrown by machine and in the manual(s) before attempting to the blade(s). Thrown objects can cause serious personal assemble and operate. Keep this - Cub Cadet Z-Force SX 60 | Operation Manual - Page 4
blade(s) when crossing gravel drives, walks, or roads and while not cutting grass. themselves and others from serious injury. 29. If situations occur which are not covered in this manual, use care and good judgment. Contact your customer service all instructions provided with , age 60 years and - Cub Cadet Z-Force SX 60 | Operation Manual - Page 5
14 and over should read and understand the instructions and safe operation practices in this manual and on the machine and should be trained manual. If the safety interlock system does not function properly, have your machine serviced professionally by an authorized dealer. 5. Check the blade - Cub Cadet Z-Force SX 60 | Operation Manual - Page 6
. Wrap the blade or wear gloves, and use extra caution when servicing them. 7. a carbon canister. Please contact Customer Support for information regarding the evaporative emission warnings and instructions in this manual and on the machine. SAVE THESE INSTRUCTIONS! 6 Section 2 - - Cub Cadet Z-Force SX 60 | Operation Manual - Page 7
on the machine before attempting to assemble and operate. Symbol Description READ THE OPERATOR'S MANUAL(S) Read, understand, and follow all instructions in the manual(s) before attempting to assemble and operate DANGER - ROTATING BLADES Never carry passengers. Never carry children, even with the - Cub Cadet Z-Force SX 60 | Operation Manual - Page 8
8 Slope Gauge Section 2 - Safe Operation Practices (OK) Figure 1 15° Slope (TOO STEEP) Figure 2 15° Slope 15° dashed line USE THIS SLOPE GAUGE TO DETERMINE IF A SLOPE IS TOO STEEP FOR SAFE OPERATION! To check the slope, proceed as follows: 1. Remove this page and fold along the dashed line. - Cub Cadet Z-Force SX 60 | Operation Manual - Page 9
Moving the Tractor 1. Engage the transmission bypass rods, one on each side of the tractor, to move the tractor manually without starting it. The transmission bypass rods are located on the rear of the tractor, just inside each rear wheel. Engage the bypass rods by - Cub Cadet Z-Force SX 60 | Operation Manual - Page 10
Install Operator's Seat To install the seat proceed as follows: NOTE: The seat is shipped with the seat switch and seat pan attached. 1. Cut any straps securing the seat assembly to the tractor. Remove any packing material. NOTE: Be careful not to cut the wiring harness connecting the seat and the - Cub Cadet Z-Force SX 60 | Operation Manual - Page 11
Steering Wheel 1. Remove the hardware for attaching the steering wheel from beneath the steering wheel cap. Carefully pry off the steering wheel cover to remove the hardware. 2. With the wheels of the machine pointing straight forward, place the steering wheel over the steering shaft. 3. Place the - Cub Cadet Z-Force SX 60 | Operation Manual - Page 12
battery terminal to help protect it from corrosion. NOTE: If the battery is put into service after the date shown on top/side of battery, charge the battery as instructed in the Maintenance section your Operator's Manual prior to operating the tractor. 12 Section 3 - Assembly & Set-Up Figure 3-11 - Cub Cadet Z-Force SX 60 | Operation Manual - Page 13
Deck Lift Handle Deck Height Index Throttle Control Choke Control LCD Service Minder & Hour Meter PTO Switch Ignition Switch Fuel Valve Fuel Rod NOTE: This Operator's Manual covers several models. Tractor features may vary by model. Not all features in this manual are applicable to all tractor - Cub Cadet Z-Force SX 60 | Operation Manual - Page 14
: Prior to operating the tractor, refer to both Safety Interlock Switches and Starting The Engine in the Operation section of this manual for detailed instructions regarding the Ignition Switch Module and operating the tractor in REVERSE CAUTION MODE . Power Take-Off (PTO) Switch The PTO switch - Cub Cadet Z-Force SX 60 | Operation Manual - Page 15
the engine's charging system is not generating sufficient amperage. Charge the battery as instructed in the Service section of this manual or have the charging system checked by your local service dealer. Air Filter Service The letters "CLN" will display, followed by the letters "AIR", followed by - Cub Cadet Z-Force SX 60 | Operation Manual - Page 16
key. Wait for all movement to stop before servicing or cleaning. • Avoid any sudden movements of the steering not operate the tractor. Contact your Cub Cadet dealer. • The safety interlock system oil level. Refer to the Engine Operator's manual for instructions on checking the engine oil level. 7. - Cub Cadet Z-Force SX 60 | Operation Manual - Page 17
the Engine Operator's Manual for oil fill-up instructions and refer to the Assembly & Set-Up section for gasoline fill-up instructions. 1. Open the fuel immediately stop the engine. Have the tractor inspected by your Cub Cadet dealer. Cold Weather Starting When starting the engine at temperatures - Cub Cadet Z-Force SX 60 | Operation Manual - Page 18
cable to the frame of the disabled tractor, as far from the battery as possible. 3. Start the disabled tractor following the normal starting instructions previously provided; then disconnect the jumper cables in the exact reverse order of their connection. Reverse Drive Pedal 4. Have the tractor - Cub Cadet Z-Force SX 60 | Operation Manual - Page 19
The operator MUST be seated in the tractor seat. 1. Start the engine as instructed on the previous page. 2. Turn the key from the NORMAL MOWING (Green) indicator light ON), the tractor can be driven in reverse with the cutting blades (PTO) engaged. 5. Always look down and behind before and while - Cub Cadet Z-Force SX 60 | Operation Manual - Page 20
WARNING! Make certain the area to be mowed is free of debris, sticks, stones, wire or other objects that can be thrown by the rotating blades. NOTE: Do not engage the mower deck when lowered in grass. Premature wear and possible failure of the 'V" belt and PTO clutch will result. Fully - Cub Cadet Z-Force SX 60 | Operation Manual - Page 21
Slots P Clean Battery Terminals P Grease All Lubrication Points P Check Blades/Sharpen or Replace as Needed P Check Tire Pressure P Lube Front Checked & Adjusted * * -- Have this item performed by an authorized service dealer Every 25 Hours P P P Every 50 Hours P P P P P Every - Cub Cadet Z-Force SX 60 | Operation Manual - Page 22
instructions. NOTE: Maintenance, repair, or replacement of the emission control devices and systems which are being done at owner's expense may be performed by any engine repair establishment or individual. Warranty repairs must be performed by a Cub Cadet instructed in the engine operator's manual - Cub Cadet Z-Force SX 60 | Operation Manual - Page 23
after every 50 hours of operation or weekly. Keep the tires inflated to the recommended pressures. Improper inflation will shorten the tire service life. See the tire side wall for proper inflation pressures. Observe the following guidelines: • Do not inflate a tire above the maximum pressure - Cub Cadet Z-Force SX 60 | Operation Manual - Page 24
cold temperatures than hot. 4. Recharge the battery before returning to service. Although the tractor may start, the engine charging system may not bypass rods, one on each side of the tractor, to move the tractor manually without starting it. The transmission bypass rods are located on the rear of - Cub Cadet Z-Force SX 60 | Operation Manual - Page 25
instructions provided in the engine manual packed with this manual problems. b. Using a fuel stabilizer such as STA-BIL® for storage between 30 and 90 days: • Read the product manufacturer's instructions shortened life and reduce serviceability. Removing The Tractor handling the blades. Deck Leveling - Cub Cadet Z-Force SX 60 | Operation Manual - Page 26
Nut Deck Lift Arm Figure 6-7 4. The deck is properly leveled when both blade tip measurements are equal. Leveling the Deck (Front-To-Rear) NOTE: See Figure 6-8. 7. The deck is properly leveled when the front tip of the blade is 1⁄4" lower than the rear tip. Retighten the hex bolt on the left rear - Cub Cadet Z-Force SX 60 | Operation Manual - Page 27
is in need of adjustment. See your Cub Cadet dealer to have the brake properly adjusted. , clothes dryer, etc. 2. Service the engine as instructed in the separate engine manual. 3. Engines stored between 30 on any unpainted surfaces including the pulleys and blades. (Be careful not to get any oil - Cub Cadet Z-Force SX 60 | Operation Manual - Page 28
. If the electrical system does not function, check for a blown fuse. If you have a recurring problem with blown fuses, have the tractor's electrical system checked by your Cub Cadet Service Dealer. Relays and Switches There are several safety switches in the electrical system. If a function of the - Cub Cadet Z-Force SX 60 | Operation Manual - Page 29
Removal/ Installation Position Lowest Mowing Position c. Pull the left side of the belt rearward and downward while manually turning the PTO pulley to the right until the belt rides out onto the edge of the lower deck lift handle. See Figure 7-3. e. Skip ahead to step 6. Section 7 - Service 29 - Cub Cadet Z-Force SX 60 | Operation Manual - Page 30
tractor, (refer to Deck Removal on page 28). 2. Remove the hex washer screws securing the belt covers to the deck. See Figure 7-7. Figure 7-7 30 Section 7- Service - Cub Cadet Z-Force SX 60 | Operation Manual - Page 31
. 4. Tighten the blade nuts to 70-90 ft. lbs. 5. Reinstall the deck (refer to Deck Installation on page 30). Changing the Transmission Drive Belt Several components must be removed and special tools used in order to change the tractor's transmission drive belt. See your Cub Cadet dealer to have - Cub Cadet Z-Force SX 60 | Operation Manual - Page 32
Troubleshooting Problem Excessive vibration Uneven cut Mower will not mulch grass (If Equipped w/Mulching Kit) Cause 1. Cutting blade loose or unbalanced. 2. Damaged or bent cutting blade. 1. Deck not leveled properly. 2. Dull blade. 3. Uneven tire pressure. 1. Engine speed too low. 2. Wet grass. - Cub Cadet Z-Force SX 60 | Operation Manual - Page 33
-X 942-04415 02005019-X Blades, 48" Xtreme Blades, 48" Blades, 54" Xtreme Blades, 54" Blades, 60" Xtreme Blades, 60" 918-06994A 918-06993A 918-06076A Deck Spindle, 48" Deck Spindle, 54" Deck Spindle, 60" Phone (800) 965-4CUB to order replacement parts or a complete Parts Manual (have your full - Cub Cadet Z-Force SX 60 | Operation Manual - Page 34
Component Part Number and Description 634-3159 Deck Wheel 925-1707D Battery 951-12179B Gas Cap 946-05099 946-04847 Throttle Control Cable Choke Cable 625-05000 Ignition Key 631-05176A Discharge Chute Assembly 634-05181 Rear Tire Assembly, 22 x 9.5 x 12 634-04623A Front Wheel Assembly, - Cub Cadet Z-Force SX 60 | Operation Manual - Page 35
-290-0013 490-850-0008 490-850-0005 490-900-0045 490-850-0018 10 Part Bagger 48" Mulch Kit 54" Mulch Kit 60" Mulch Kit Cub Hauler Hitch Kit Tire Chains (48" Deck) Tire Chains (54" & 60" Deck) Tractor Cover Oil Siphon Blade Removal Tool Oil Filter Wrench Extended Spark Plug Wrench 35 - Cub Cadet Z-Force SX 60 | Operation Manual - Page 36
Notes 11 36 - Cub Cadet Z-Force SX 60 | Operation Manual - Page 37
Section 11 - Notes 37 - Cub Cadet Z-Force SX 60 | Operation Manual - Page 38
manual problem exists. The warranty repairs should be completed in a reasonable amount of time, not to exceed 30 days. If you have a question regarding your warranty coverage, you should contact the MTD Consumer Group Inc Service Department at 1-800-800-7310 or at http://support written instructions - Cub Cadet Z-Force SX 60 | Operation Manual - Page 39
WARRANTED PARTS: The repair or replacement of any warranted part otherwise eligible for warranty coverage may be excluded from such warranty coverage if MTD Consumer Group Inc demonstrates that the outdoor equipment has been abused, neglected, or improperly maintained, and that such abuse, neglect, - Cub Cadet Z-Force SX 60 | Operation Manual - Page 40
CUB CADET LLC MANUFACTURER'S LIMITED WARRANTY FOR Z-FORCE S/Z-FORCE ZERO-TURN RIDING MOWER IMPORTANT: To obtain warranty coverage owner must present an original proof of purchase and applicable maintenance records to the servicing dealer. Please see the operator's manual , blades, blade adapters
-
 1
1 -
 2
2 -
 3
3 -
 4
4 -
 5
5 -
 6
6 -
 7
7 -
8
-
9
-
10
-
11
-
12
-
13
-
14
-
15
-
16
-
17
-
18
-
19
-
20
-
21
-
22
-
23
-
24
-
25
-
26
-
27
-
28
-
29
-
30
-
31
-
32
-
33
-
34
-
35
-
36
-
37
-
38
-
39
-
40
 |
 |
CUB CADET LLC, P.O. BOX 361131 CLEVELAND, OHIO 44136-0019
Printed In USA
O
PERATOR
’
S
M
ANUAL
Safe Operation Practices • Set-Up • Operation •
Maintenance • Service • Troubleshooting •
Warranty
WARNING
READ AND FOLLOW ALL SAFETY RULES AND INSTRUCTIONS IN THIS MANUAL
BEFORE ATTEMPTING TO OPERATE THIS MACHINE.
FAILURE TO COMPLY WITH THESE INSTRUCTIONS MAY RESULT IN PERSONAL INJURY.
Z-Force SX Zero-Turn Tractor
Form No. 769-11262
(November 4, 2015)