Dell 1600n Multifunction Mono Laser Printer Dell Laser Multi-Function Printer - Page 8
The Drivers and Utilities CD contains Dell printer drivers, Scan Dell™ Toner Management System
 |
View all Dell 1600n Multifunction Mono Laser Printer manuals
Add to My Manuals
Save this manual to your list of manuals |
Page 8 highlights
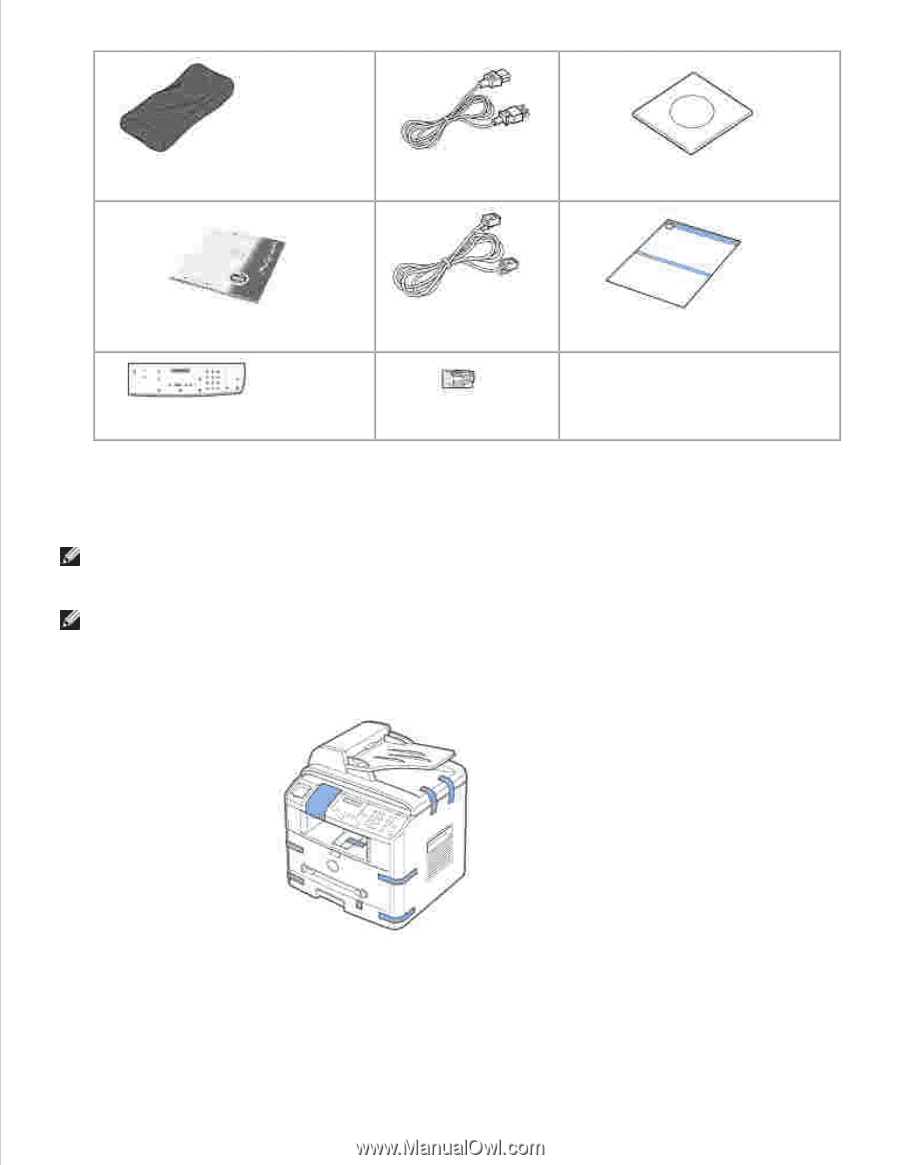
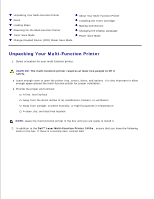
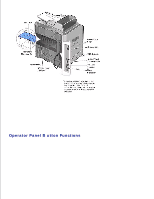
2. Toner Cartridge AC Power Corda Drivers and Utilities CDb Owner's Manual Telephone Line Corda Setup Diagram Operator Panel Coverc Terminatorc a. The appearance of the power cord and the telephone line cord may country's specifications. b. The Drivers and Utilities CD contains Dell printer drivers, Scan Dell™ Toner Management System, Dell ScanCenter™, Paper Port. c. These items are only provided in some countries. NOTE: Use the telephone line cord supplied with your multi-function printer. If you choose to use a different cord, use an AWG #26 or lower gauge cord that is a maximum 250 cm in length. NOTE: The power cord must be plugged into a grounded power socket. 3. Save the carton and packing material in case the multi-function printer needs to be repacked. 4. Remove the packing tape from the front, back and sides of the multi-function printer. 5. Remove the label completely from the scanner module by gently pulling it. The scan unlock switch automatically moves FORWARD to the unlock position.
-
 1
1 -
2
-
 3
3 -
 4
4 -
 5
5 -
 6
6 -
 7
7 -
 8
8 -
 9
9 -
 10
10 -
 11
11 -
 12
12 -
 13
13 -
14
-
15
-
16
-
17
-
18
-
19
-
20
-
21
-
22
-
23
-
24
-
25
-
26
-
27
-
28
-
29
-
30
-
31
-
32
-
33
-
34
-
35
-
36
-
37
-
38
-
39
-
40
-
41
-
42
-
43
-
44
-
45
-
46
-
47
-
48
-
49
-
50
-
51
-
52
-
53
-
54
-
55
-
56
-
57
-
58
-
59
-
60
-
61
-
62
-
63
-
64
-
65
-
66
-
67
-
68
-
69
-
70
-
71
-
72
-
73
-
74
-
75
-
76
-
77
-
78
-
79
-
80
-
81
-
82
-
83
-
84
-
85
-
86
-
87
-
88
-
89
-
90
-
91
-
92
-
93
-
94
-
95
-
96
-
97
-
98
-
99
-
100
-
101
-
102
-
103
-
104
-
105
-
106
-
107
-
108
-
109
-
110
-
111
-
112
-
113
-
114
-
115
-
116
-
117
-
118
-
119
-
120
-
121
-
122
-
123
-
124
-
125
-
126
-
127
-
128
-
129
-
130
-
131
-
132
-
133
-
134
-
135
-
136
-
137
-
138
-
139
-
140
-
141
-
142
-
143
-
144
-
145
-
146
-
147
-
148
-
149
-
150
-
151
-
152
-
153
-
154
-
155
-
156
-
157
-
158
-
159
-
160
-
161
-
162
-
163
-
164
-
165
-
166
-
167
-
168
-
169
-
170
-
171
-
172
-
173
-
174
-
175
-
176
-
177
-
178
-
179
-
180
-
181
-
182
-
183
-
184
-
185
-
186
-
187
-
188
 |
 |