Dell 948 All In One Printer User Guide - Page 138
Using Speed Dial, Creating a Speed or Group Dial List
 |
View all Dell 948 All In One Printer manuals
Add to My Manuals
Save this manual to your list of manuals |
Page 138 highlights
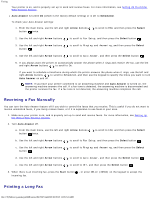
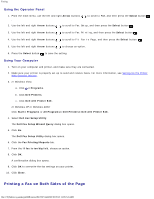
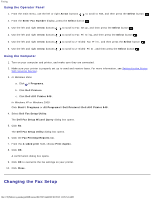
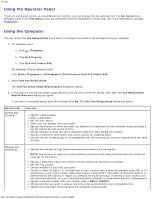
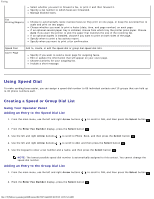
Faxing Select whether you want to forward a fax, or print it and then forward it. Specify a fax number to which faxes are forwarded. Manage blocked faxes. Fax Printing/Reports Choose to automatically resize oversize faxes so they print on one page, or keep the oversized fax to scale and print on two pages. Choose whether you want to print a footer (date, time, and page number) on each page. If an optional second paper tray is installed, choose from which tray the printer picks paper. Choose Auto if you want the printer to pick the paper that matches the size of the incoming fax. If an optional duplex is installed, choose if you want to print on both sides of the page. Specify when to print a fax activity report. Specify when you want to print a fax confirmation. Speed Dial Cover Page Add to, create, or edit the speed dial or group dial speed dial lists. Specify if you want to send a cover page for outgoing faxes. Edit or update the information that will appear on your cover page. Choose a priority for your outgoing fax. Include a short message. Using Speed Dial To make sending faxes easier, you can assign a speed dial number to 89 individual contacts and 10 groups that can hold up to 30 phone numbers each. Creating a Speed or Group Dial List Using Your Operator Panel Adding an Entry to the Speed Dial List 1. From the main menu, use the left and right Arrow buttons . to scroll to FAX, and then press the Select button 2. From the Enter Fax Number display, press the Select button . 3. Use the left and right Arrow buttons to scroll to Phone Book, and then press the Select button . 4. Use the left and right Arrow buttons to scroll to Add, and then press the Select button . 5. Use the keypad to enter a fax number and a name, and then press the Select button . NOTE: The lowest possible speed dial number is automatically assigned to this contact. You cannot change the speed dial number. Adding an Entry to the Group Dial List 1. From the main menu, use the left and right Arrow buttons . to scroll to FAX, and then press the Select button 2. From the Enter Fax Number display, press the Select button . file:///T|/htdocs/systems/prn948/en/en/d0e7047.html[10/10/2012 11:05:54 AM]
-
 1
1 -
2
-
3
-
4
-
5
-
6
-
7
-
8
-
9
-
10
-
11
-
12
-
13
-
14
-
15
-
16
-
17
-
18
-
19
-
20
-
21
-
22
-
23
-
24
-
25
-
26
-
27
-
28
-
29
-
30
-
31
-
32
-
33
-
34
-
35
-
36
-
37
-
38
-
39
-
40
-
41
-
42
-
43
-
44
-
45
-
46
-
47
-
48
-
49
-
50
-
51
-
52
-
53
-
54
-
55
-
56
-
57
-
58
-
59
-
60
-
61
-
62
-
63
-
64
-
65
-
66
-
67
-
68
-
69
-
70
-
71
-
72
-
73
-
74
-
75
-
76
-
77
-
78
-
79
-
80
-
81
-
82
-
83
-
84
-
85
-
86
-
87
-
88
-
89
-
90
-
91
-
92
-
93
-
94
-
95
-
96
-
97
-
98
-
99
-
100
-
101
-
102
-
103
-
104
-
105
-
106
-
107
-
108
-
109
-
110
-
111
-
112
-
113
-
114
-
115
-
116
-
117
-
118
-
119
-
120
-
121
-
122
-
123
-
124
-
125
-
126
-
127
-
128
-
129
-
130
-
131
-
132
-
 133
133 -
 134
134 -
 135
135 -
 136
136 -
 137
137 -
 138
138 -
 139
139 -
 140
140 -
 141
141 -
 142
142 -
 143
143 -
144
 |
 |
