Dell Alienware Aurora - R2 Service Manual (English only) - Page 68
Removing the System Board
 |
View all Dell Alienware Aurora - R2 manuals
Add to My Manuals
Save this manual to your list of manuals |
Page 68 highlights
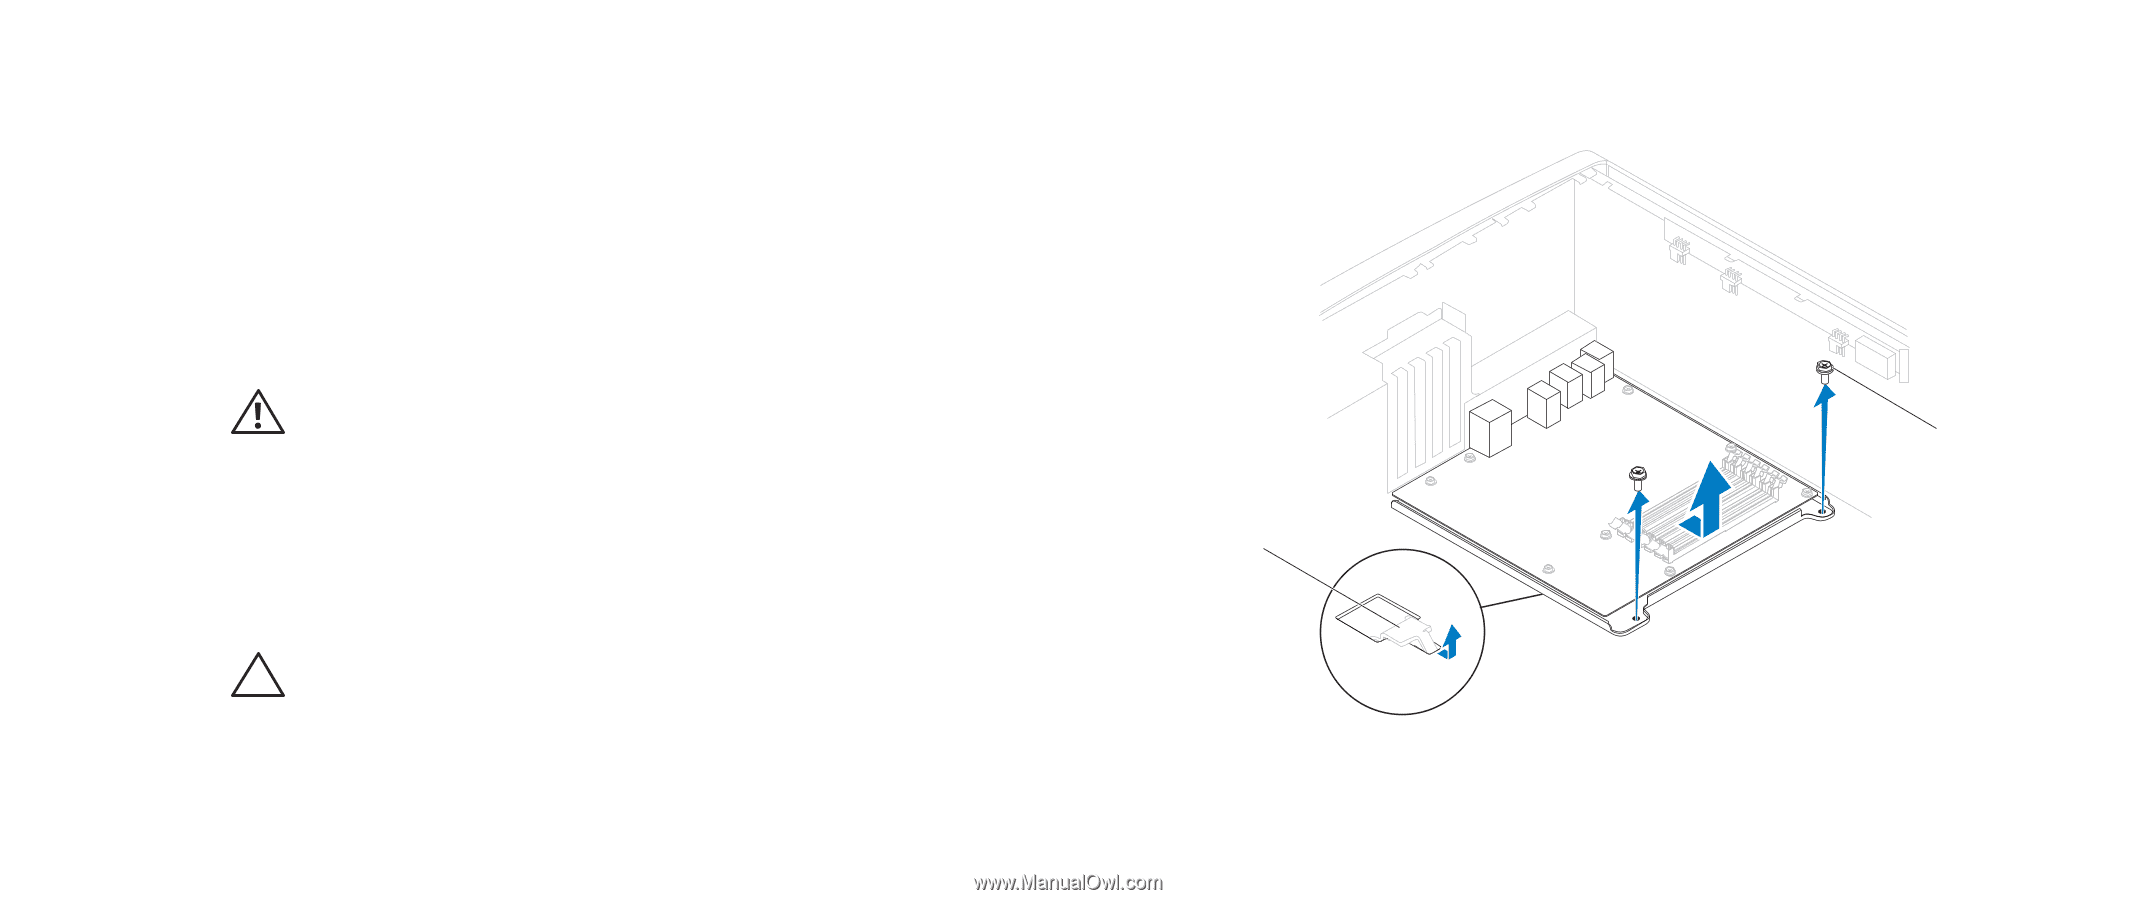
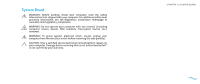
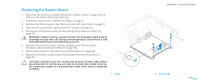
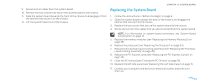
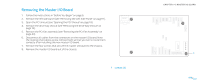
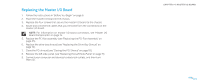
Removing the System Board 1. Record all the screens in system setup (see "System Setup" on page 107) so that you can restore the correct settings. 2. Follow the instructions in "Before You Begin" on page 6. 3. Remove the left side-panel (see "Removing the Left Side-Panel" on page 11). 4. Open the PCI shroud (see "Opening the PCI Shroud" on page 18). 5. Remove any PCI-Express cards (see "Removing the PCI-Express Card(s)" on page 32). WARNING: Despite having a plastic shield, the processor liquid-cooling assembly may be very hot during normal operation. Ensure that it has had sufficient time to cool before you touch it. 6. Remove the processor liquid-cooling assembly (see "Removing the Processor Liquid-Cooling Assembly" on page 48). 7. Remove the processor (see "Removing the Processor" on page 52). 8. Remove the memory modules (see "Removing the Memory Module(s)" on page 37). CAUTION: Carefully note the routing and location of each cable before you disconnect it, so that you are sure to re-route the cables correctly. An incorrectly routed or a disconnected cable could lead to computer problems. 1 1 latch CHAPTER 13: SYSTEM BOARD 2 2 screws (2) 068 /068
-
 1
1 -
2
-
3
-
4
-
5
-
6
-
7
-
8
-
9
-
10
-
11
-
12
-
13
-
14
-
15
-
16
-
17
-
18
-
19
-
20
-
21
-
22
-
23
-
24
-
25
-
26
-
27
-
28
-
29
-
30
-
31
-
32
-
33
-
34
-
35
-
36
-
37
-
38
-
39
-
40
-
41
-
42
-
43
-
44
-
45
-
46
-
47
-
48
-
49
-
50
-
51
-
52
-
53
-
54
-
55
-
56
-
57
-
58
-
59
-
60
-
61
-
62
-
 63
63 -
 64
64 -
 65
65 -
 66
66 -
 67
67 -
 68
68 -
 69
69 -
 70
70 -
 71
71 -
 72
72 -
 73
73 -
74
-
75
-
76
-
77
-
78
-
79
-
80
-
81
-
82
-
83
-
84
-
85
-
86
-
87
-
88
-
89
-
90
-
91
-
92
-
93
-
94
-
95
-
96
-
97
-
98
-
99
-
100
-
101
-
102
-
103
-
104
-
105
-
106
-
107
-
108
-
109
-
110
-
111
-
112
-
113
-
114
-
115
-
116
-
117
 |
 |