Dell Force10 Z9000 Installing the Z9000 System - Page 46
For more information, contact the Dell Force10 Technical Assistance Center TAC see, Contacting
 |
View all Dell Force10 Z9000 manuals
Add to My Manuals
Save this manual to your list of manuals |
Page 46 highlights
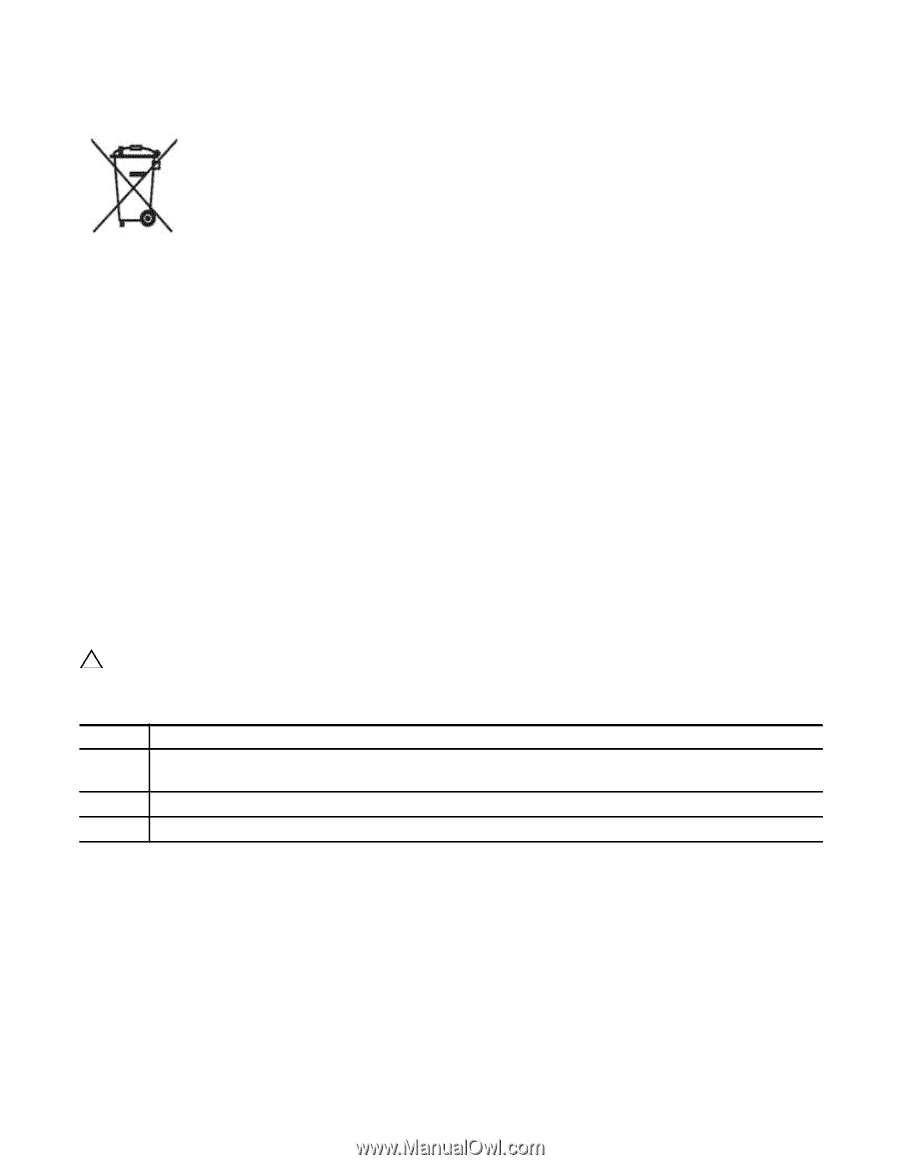
www.dell.com | support.dell.com The European WEEE Symbol In accordance with the European WEEE Directive, electrical and electronic equipment (EEE) is to be collected separately and to be reused, recycled, or recovered at end of life. Users of EEE with the WEEE marking per Annex IV of the WEEE Directive, as shown above, must not dispose of end of life EEE as unsorted municipal waste, but use the collection framework available to customers for the return, recycling and recovery of WEEE. Customer participation is important to minimize any potential effects of EEE on the environment and human health due to the potential presence of hazardous substances in EEE. Dell Force10 products, which fall within the scope of the WEEE, are labeled with the crossed-out wheelie-bin symbol, as shown above, as required by WEEE. For information on Dell Force10 product recycling offerings, see the WEEE Recycling instructions on iSupport at: https://www.force10networks.com/CSPortal20/Support/WEEEandRecycling.pdf. For more information, contact the Dell Force10 Technical Assistance Center (TAC) (see Contacting the Technical Assistance Center). SD Card Removal To support high security environments, you can remove and re-install the SD card. Dell Force10 recommends removing the card only when necessary. In addition, the card should only be removed and replaced by authorized personnel. CAUTION: The SD card must only be removed to support high security operations and after discussions with Dell Force10 Technical Support or your Dell Force10 representative. To open the case and remove the SD card, follow these steps: Step Task 1 Remove the small phillips screws that connect the top of the SD card to the body. The screws are located on the top and the sides of the chassis. 2 Slide the top backwards until the front flange slides free of the faceplate. Lift the top off. 3 Gently push the SD card to release it from the slot. 46 | Specifications
-
 1
1 -
2
-
3
-
4
-
5
-
6
-
7
-
8
-
9
-
10
-
11
-
12
-
13
-
14
-
15
-
16
-
17
-
18
-
19
-
20
-
21
-
22
-
23
-
24
-
25
-
26
-
27
-
28
-
29
-
30
-
31
-
32
-
33
-
34
-
35
-
36
-
37
-
38
-
39
-
40
-
 41
41 -
 42
42 -
 43
43 -
 44
44 -
 45
45 -
 46
46 -
 47
47 -
 48
48 -
 49
49 -
 50
50 -
 51
51 -
52
-
53
-
54
-
55
-
56
 |
 |