Dewalt DWMIIIFS Instruction Manual - Floor Kit
Dewalt DWMIIIFS Manual
 |
View all Dewalt DWMIIIFS manuals
Add to My Manuals
Save this manual to your list of manuals |
Dewalt DWMIIIFS manual content summary:
- Dewalt DWMIIIFS | Instruction Manual - Floor Kit - Page 1
KIT INSTALLATION INSTRUCTIONS FOR MODELS: DWMIIIFS PARTS INCLUDED IN others in the work area when loading, operating or servicing this tool. Eye protection is guide and in the Operation and Maintenance Manual covering the specific tool. USE EXTRA CARE WHEN EVALUATING PROBLEM TOOLS. 9R212755 3/16 - Dewalt DWMIIIFS | Instruction Manual - Floor Kit - Page 2
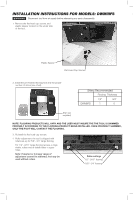
INSTALLATION INSTRUCTIONS FOR MODELS: DWMIIIFS G Disconnect tool from air supply before attempting any parts disassembly. 1. Remove the flat head cap screws and plastic spacer located on the under side of the tool. Plastic Spacer Flat Head Cap Screws 2. Install - Dewalt DWMIIIFS | Instruction Manual - Floor Kit - Page 3
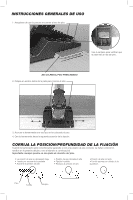
GENERAL USAGE INSTRUCTIONS 1. Be sure foot is flush to flooring. Use the window to verify that the foot is flush against flooring. DO NOT STRIKE PRE-FINISHED FLOORING!! 2. - Dewalt DWMIIIFS | Instruction Manual - Floor Kit - Page 4
PREACABADOS INSTRUCCIONES DE INSTALACIÓN PARA MODELOS: DWMIIIFS PIEZAS INCLUIDAS EN ESTE KIT: 1- PATA las especificaciones de ANSI y proporcione protección contra partículas volátiles en el FRENTE y los LADOS y precauciones en esta guía y en el Manual de Operación y Mantenimiento con respecto a la - Dewalt DWMIIIFS | Instruction Manual - Floor Kit - Page 5
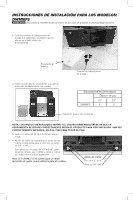
INSTRUCCIONES DE INSTALACIÓN PARA LOS MODELOS: DWMIIIFS Desconecte la herramienta del suministro de aire antes de proceder al desensamblaje las partes. 1. Quite los tornillos de cabeza plana de la tapa y el espaciador de plástico que se ubican en el lado inferior de la herramienta. Espaciador - Dewalt DWMIIIFS | Instruction Manual - Floor Kit - Page 6
INSTRUCCIONES GENERALES DE USO 1. Asegúrese de que la pata se encuentre al ras del piso. Use la ventana para verificar que la pata está al ras del piso. ¡NO GOLPEE EL PISO PREACABADO! 2. Golpee en ambos lados de la pata para colocar el piso. 3. Accione la herramienta una vez que se ha colocado el - Dewalt DWMIIIFS | Instruction Manual - Floor Kit - Page 7
KIT PARA PISOS PREACABADOS DIRECTIVES D'INSTALLATION POUR LES MODÈLES : DWMIIIFS e PIÈCES INCLUSES DANS LE KIT: 1- PIED DE FIXATION POUR outils pneumatiques, notez les avertissements et les précautions inscrits dans le guide et dans le manuel d'utilisation et d'entretien couvrant l'outil spécifique - Dewalt DWMIIIFS | Instruction Manual - Floor Kit - Page 8
INSTRUCTIONS D'INSTALLATION POUR LES IN MODÈLES: DWMIIIFS Débranchez l'outil de l'alimentation d'air avant de tenter de (voir le graphique). Cales recommandées Épaisseur du revêtement de sol 1/2 3/4" DWMIIIFS 1 0 Cale (au besoin) REMARQUE : LES PRODUITS DE REVÊTEMENT DE SOL VARIERONT - Dewalt DWMIIIFS | Instruction Manual - Floor Kit - Page 9
INSTRUCTIONS D'UTILISATION GÉNÉRALE 1. Assurez-vous que le pied est affleuré au revêtement de sol. Utilisez la fenêtre pour vérifier que le pied est affleuré - Dewalt DWMIIIFS | Instruction Manual - Floor Kit - Page 10
NOTES: DEWALT Industrial Tool Co. 701 East Joppa Road, Towson, MD 21286 www.DEWALT.com Page Size: A5 148 mm x 210 mm
-
 1
1 -
 2
2 -
 3
3 -
 4
4 -
 5
5 -
 6
6 -
 7
7 -
8
-
9
-
10
 |
 |
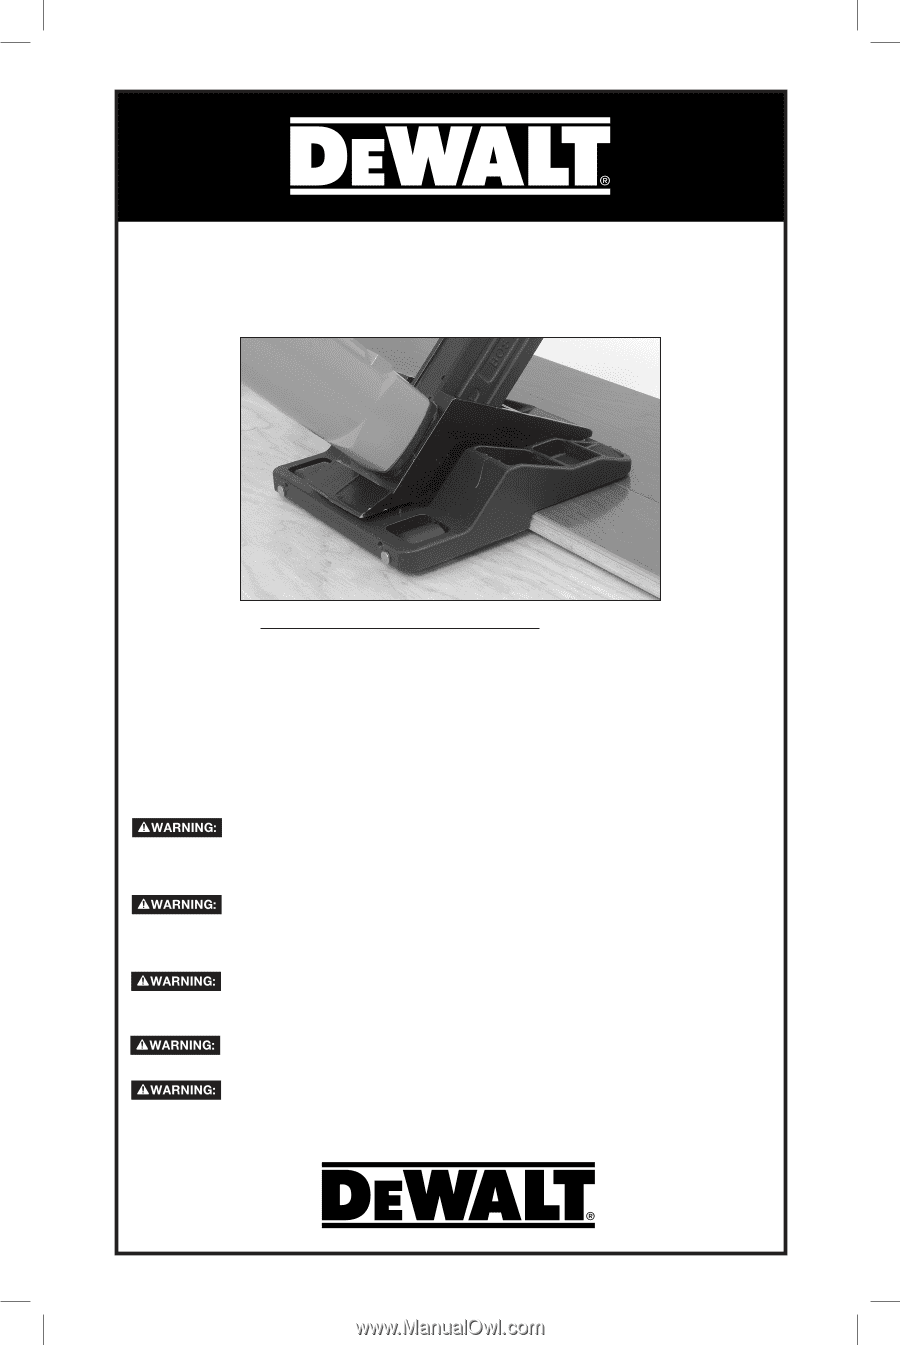
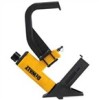
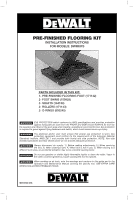
PRE-FINISHED FLOORING KIT
INSTALLATION INSTRUCTIONS
FOR MODELS: DWMIIIFS
PARTS INCLUDED IN THIS KIT:
1- PRE-FINISHED FLOORING FOOT (171142)
2- FOOT SHIMS (159828)
2- SHAFTS (164188)
2- ROLLERS (171143)
2- O-RINGS (850240)
EYE PROTECTION which conforms to ANSI specifications and provides protection
against flying particles both from the FRONT and SIDE should ALWAYS be worn by
the operator and others in the work area when loading, operating or servicing this tool. Eye protection
is required to guard against flying fasteners and debris, which could cause severe eye injury.
The employer and/or user must ensure that proper eye protection is worn. Eye
protection equipment must conform to the requirements of the American National
Standards Institute, ANSI Z87.1 and provide both frontal and side protection. NOTE: Non-side
shielded spectacles and face shields alone do not provide adequate protection.
Always disconnect air supply: 1.) Before making adjustments; 2.) When servicing
the tool; 3.) When clearing a jam; 4.) When tool is not in use; 5.) When moving to a
different work area, as accidental actuation may occur, possibly causing injury.
Do not use gasoline or similar highly flammable liquids to clean the nailer. Vapor in
the nailer could be ignited by a spark causing the tool to explode.
When working on air tools, note the warnings and cautions in this guide and in the
Operation and Maintenance Manual covering the specific tool. USE EXTRA CARE
WHEN EVALUATING PROBLEM TOOLS.
9R212755 3/16