Epson 4180 Start Here Card - Page 4
Scanner Basics - perfection photo scanner
 |
UPC - 010343850880
View all Epson 4180 manuals
Add to My Manuals
Save this manual to your list of manuals |
Page 4 highlights
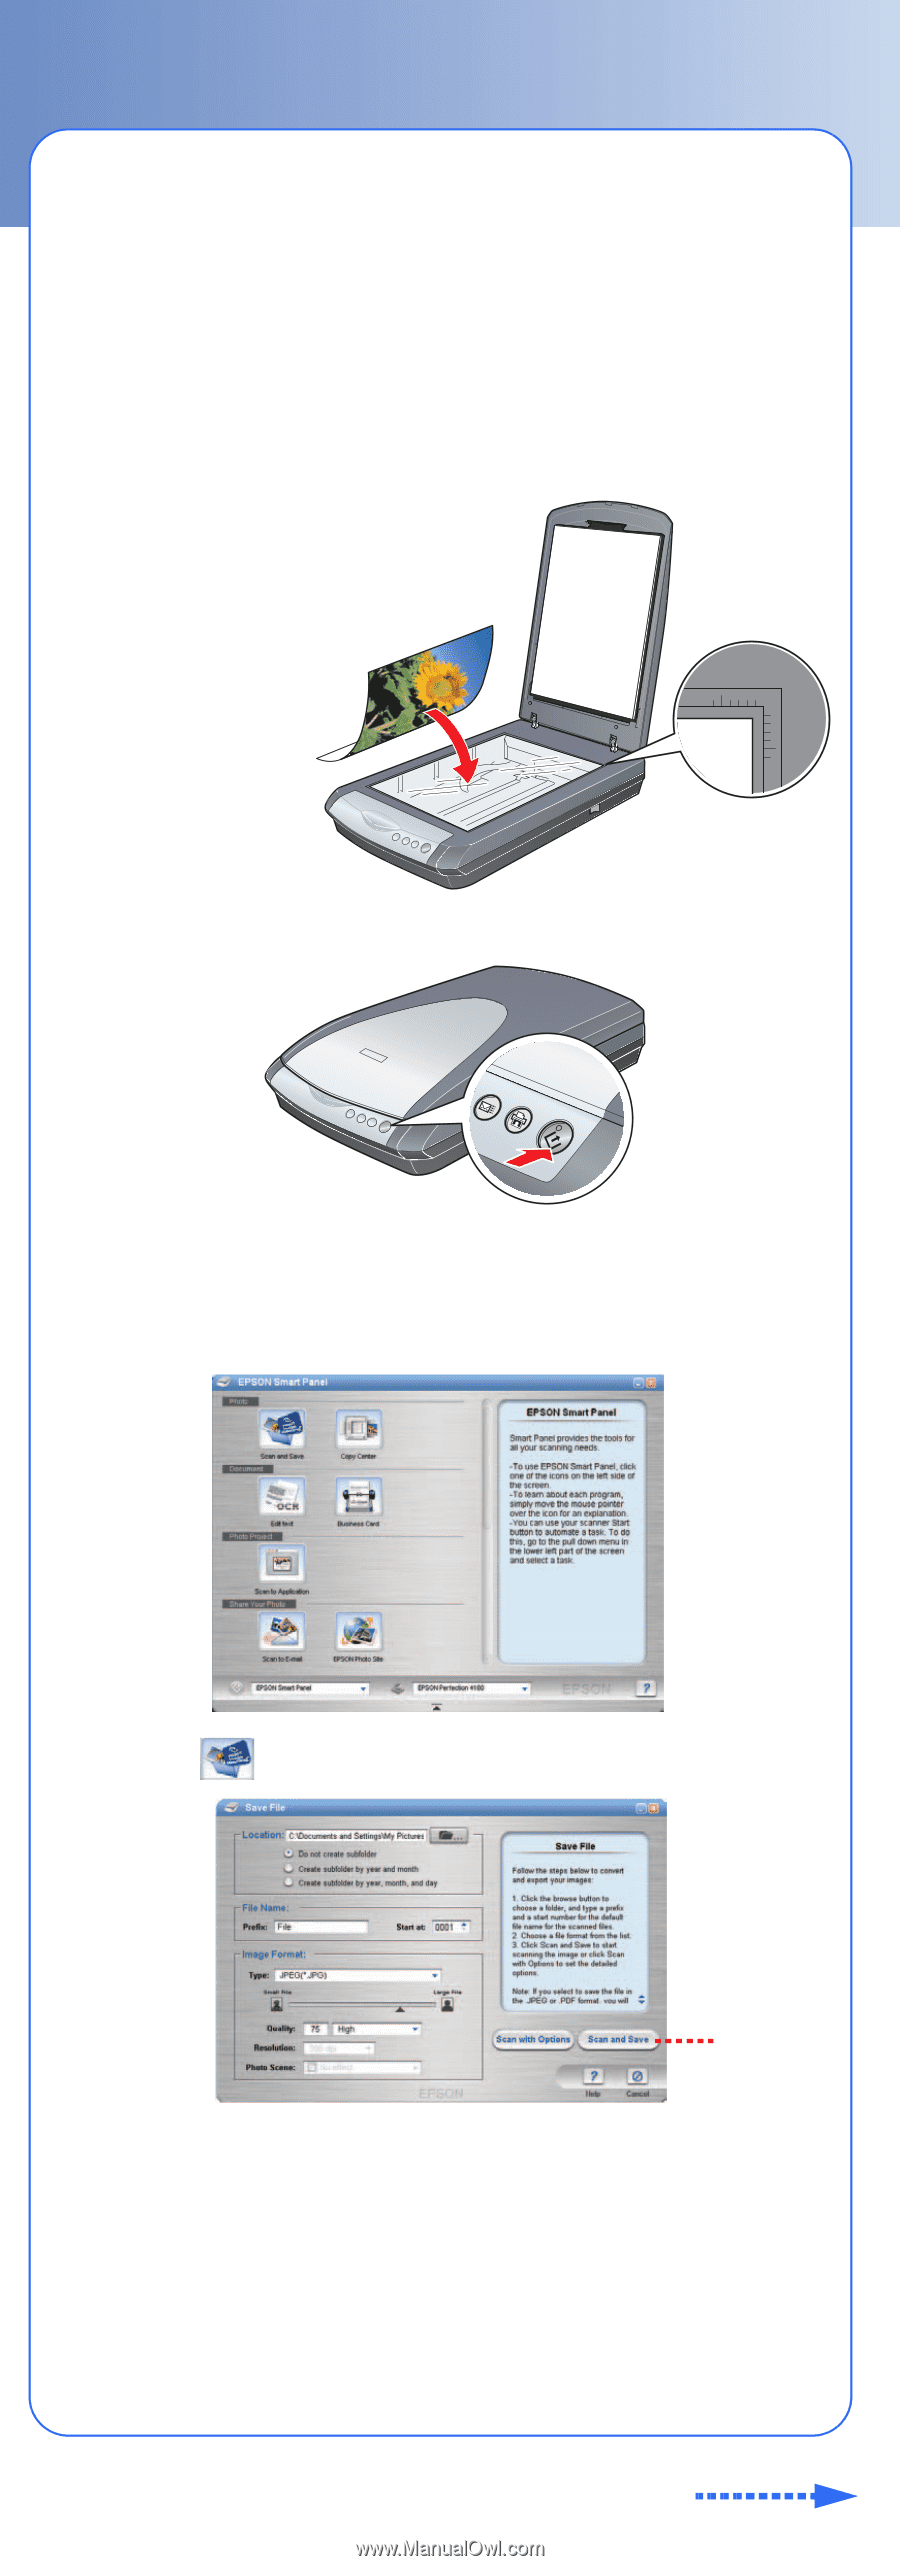
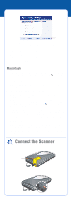
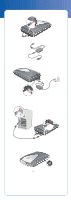
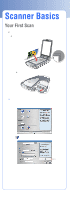
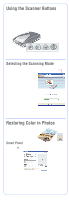
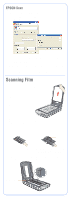
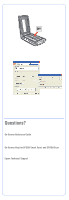
Scanner Basics Your First Scan The ] Start button on your scanner automatically opens EPSON Smart Panel, making it easy for you to scan your images for many different uses. Here's how to use the ] Start button to scan photos and save them on your computer. 1 Raise the scanner cover and place your photo face down on the glass. Make sure the top right corner of the photo is aligned with the top right corner of the scanner. 2 Carefully close the cover. 3 Press the ] Start button on your scanner. Note: In Windows XP, you will see a message the first time you press the ] Start button. Select EPSON Smart Panel, click Always use this program for this action, then click OK. EPSON Smart Panel opens on your computer. 4 Click the Scan and Save icon. You see the following screen: Click Scan and Save You can change the file name and other settings, or use the default settings as shown above. 5 Click the Scan and Save button. Your photo is automatically scanned and saved to a folder on your computer. The folder opens so you can view your scanned image. For more information about scanning or using the optional automatic document feeder, double-click the Perfection 4180 Reference Guide icon on your desktop.
-
 1
1 -
 2
2 -
 3
3 -
 4
4 -
 5
5 -
 6
6 -
 7
7 -
 8
8
 |
 |