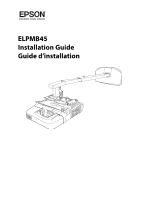
Epson BrightLink 536Wi Installation Guide - Short-Throw Wall Mount (ELPMB45) - Page 5
Package Contents, Specifications, Connecting Devices, Positioning the Projector, Appendix
 |
View all Epson BrightLink 536Wi manuals
Add to My Manuals
Save this manual to your list of manuals |
Page 5 highlights
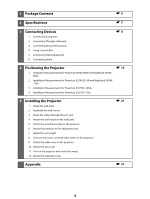
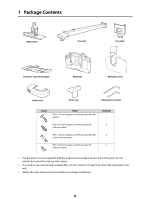
1 Package Contents s6 2 Specifications s7 3 Connecting Devices 1. Connecting Computers 2. Connecting Through a Network 3. Connecting Document Cameras 4. Using a Switch Box 5. Connecting Video Equipment 6. Connecting Audio s8 4 Positioning the Projector s 13 1. Installation Measurements for PowerLite 525W/535W and BrightLink 536Wi Wide 2. Installation Measurements for PowerLite 525W/535 W and BrightLink 536Wi - Tele 3. Installation Measurements for PowerLite 520/530 - Wide 4. Installation Measurements for PowerLite 520/530 - Tele 5 Installing the Projector 1. Install the wall plate 2. Assemble the wall mount 3. Route the cables through the arm unit 4. Attach the wall mount to the wall plate 5. Attach the attachment plate to the projector 6. Attach the projector to the adjustment unit 7. Adjust the arm length 8. Connect the power cord and other cables to the projector 9. Attach the cable cover to the projector 10. Attach the arm cover 11. Turn on the projector and check the image 12. Attach the wall plate cover s 21 Appendix s 31 5
-
 1
1 -
 2
2 -
 3
3 -
 4
4 -
 5
5 -
 6
6 -
 7
7 -
 8
8 -
 9
9 -
 10
10 -
 11
11 -
12
-
13
-
14
-
15
-
16
-
17
-
18
-
19
-
20
-
21
-
22
-
23
-
24
-
25
-
26
-
27
-
28
-
29
-
30
-
31
-
32
-
33
-
34
-
35
-
36
-
37
-
38
-
39
-
40
-
41
-
42
-
43
-
44
-
45
-
46
-
47
-
48
-
49
-
50
-
51
-
52
-
53
-
54
-
55
-
56
-
57
-
58
-
59
-
60
-
61
-
62
-
63
-
64
 |
 |
