Epson EPL-6000 User Manual - Page 46
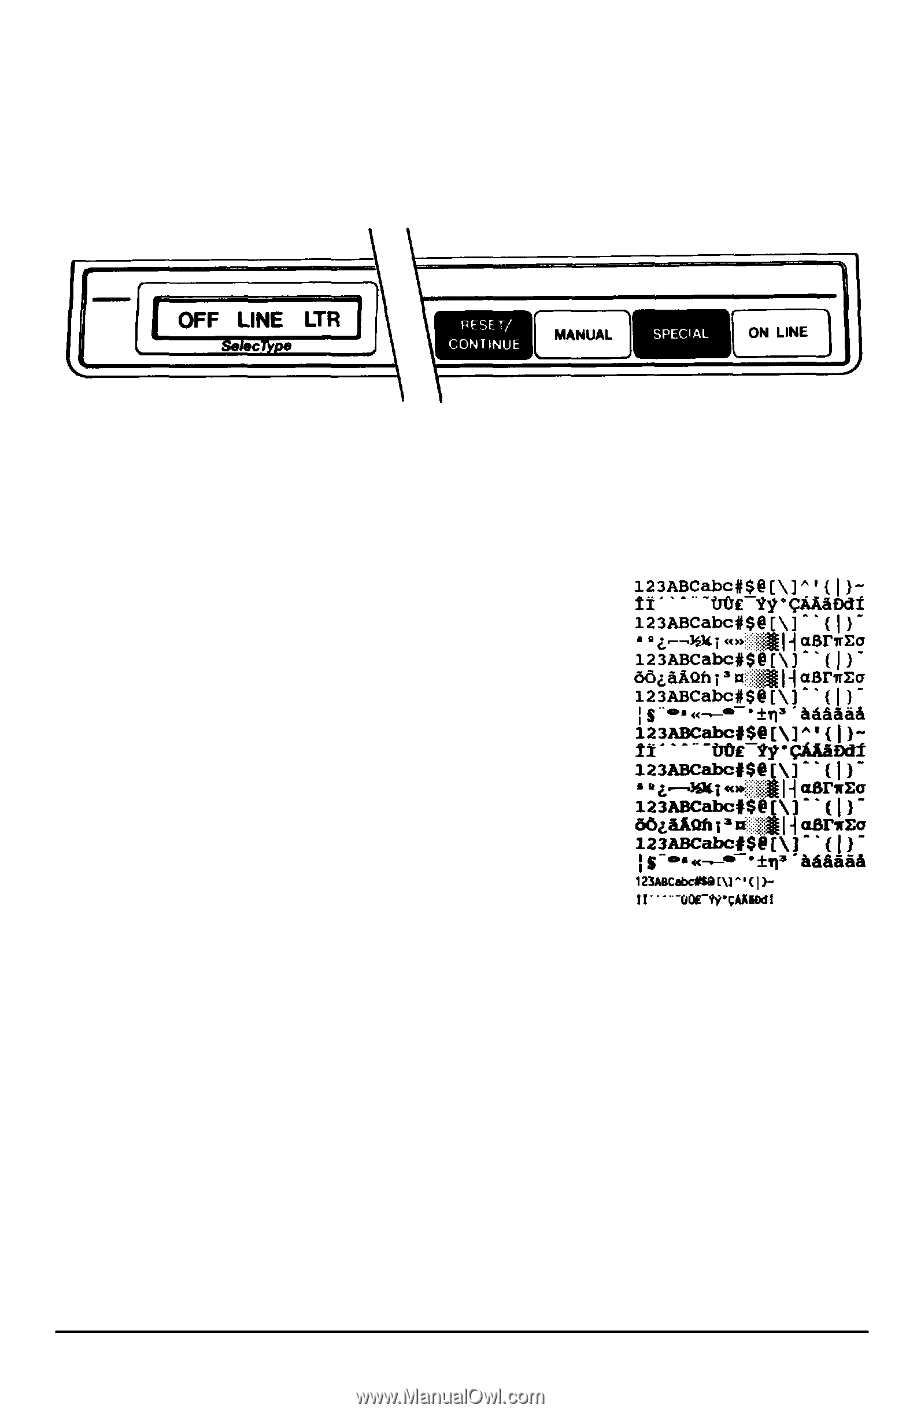
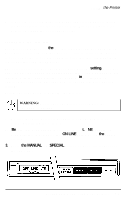
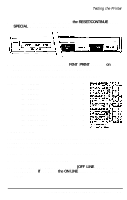
the RESET/CONTINUE, SPEClAL, F0NT PRINT, OFF LINE, the ON LINE, Status print test
 |
View all Epson EPL-6000 manuals
Add to My Manuals
Save this manual to your list of manuals |
Page 46 highlights
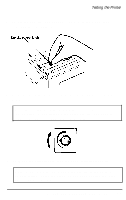
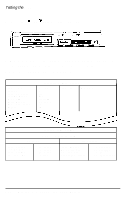
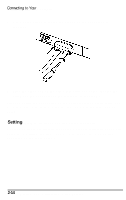
Testing the Printer 3. To perform the font print test, press the RESET/CONTINUE and the SPEClAL buttons at the same time. 4. When you release the buttons, F0NT PRINT appears on the display and the printer outputs a font print test. A portion of the font print test printout is shown below. Internal IOO COURIER I01 COURIER I02 COURIER I03 COURIER I04 COURIER BOLD I05 COURIER BOLD I06 COURIER BOLD I07 COURIER BOLD I08 LINE PRINTER 10 12 8U 10 12 10u 10 12 11u 10 12 ON 10 12 8U 10 12 10u 10 12 11u 10 12 ON 16.6 8.5 8U Status print test The status print test gives you information on current printer settings, such as paper size, number of copies selected, and font source and number. Follow the steps below to perform the status print test: 1. Be sure that your printer is plugged in and the power is on. 2. Be sure that your printer is off line. (OFF LINE appears on your display.) If not, press the ON LINE button to set the printer off line. Testing and Connecting Your Printer 2-9
-
 1
1 -
2
-
3
-
4
-
5
-
6
-
7
-
8
-
9
-
10
-
11
-
12
-
13
-
14
-
15
-
16
-
17
-
18
-
19
-
20
-
21
-
22
-
23
-
24
-
25
-
26
-
27
-
28
-
29
-
30
-
31
-
32
-
33
-
34
-
35
-
36
-
37
-
38
-
39
-
40
-
 41
41 -
 42
42 -
 43
43 -
 44
44 -
 45
45 -
 46
46 -
 47
47 -
 48
48 -
 49
49 -
 50
50 -
 51
51 -
52
-
53
-
54
-
55
-
56
-
57
-
58
-
59
-
60
-
61
-
62
-
63
-
64
-
65
-
66
-
67
-
68
-
69
-
70
-
71
-
72
-
73
-
74
-
75
-
76
-
77
-
78
-
79
-
80
-
81
-
82
-
83
-
84
-
85
-
86
-
87
-
88
-
89
-
90
-
91
-
92
-
93
-
94
-
95
-
96
-
97
-
98
-
99
-
100
-
101
-
102
-
103
-
104
-
105
-
106
-
107
-
108
-
109
-
110
-
111
-
112
-
113
-
114
-
115
-
116
-
117
-
118
-
119
-
120
-
121
-
122
-
123
-
124
-
125
-
126
-
127
-
128
-
129
-
130
-
131
-
132
-
133
-
134
-
135
-
136
-
137
-
138
-
139
-
140
-
141
-
142
-
143
-
144
-
145
-
146
-
147
-
148
-
149
-
150
-
151
-
152
-
153
-
154
-
155
-
156
-
157
-
158
-
159
-
160
-
161
-
162
-
163
-
164
-
165
-
166
-
167
-
168
-
169
-
170
-
171
-
172
-
173
-
174
-
175
-
176
-
177
-
178
-
179
-
180
-
181
-
182
-
183
-
184
-
185
-
186
-
187
-
188
-
189
-
190
-
191
-
192
-
193
-
194
-
195
-
196
-
197
-
198
-
199
-
200
-
201
-
202
-
203
-
204
-
205
-
206
-
207
-
208
-
209
-
210
-
211
-
212
-
213
-
214
-
215
-
216
-
217
-
218
-
219
 |
 |