Epson FX 890 Service Manual - Page 46
Repairing The Printer Mechanism - printing problems
 |
UPC - 010343846746
View all Epson FX 890 manuals
Add to My Manuals
Save this manual to your list of manuals |
Page 46 highlights
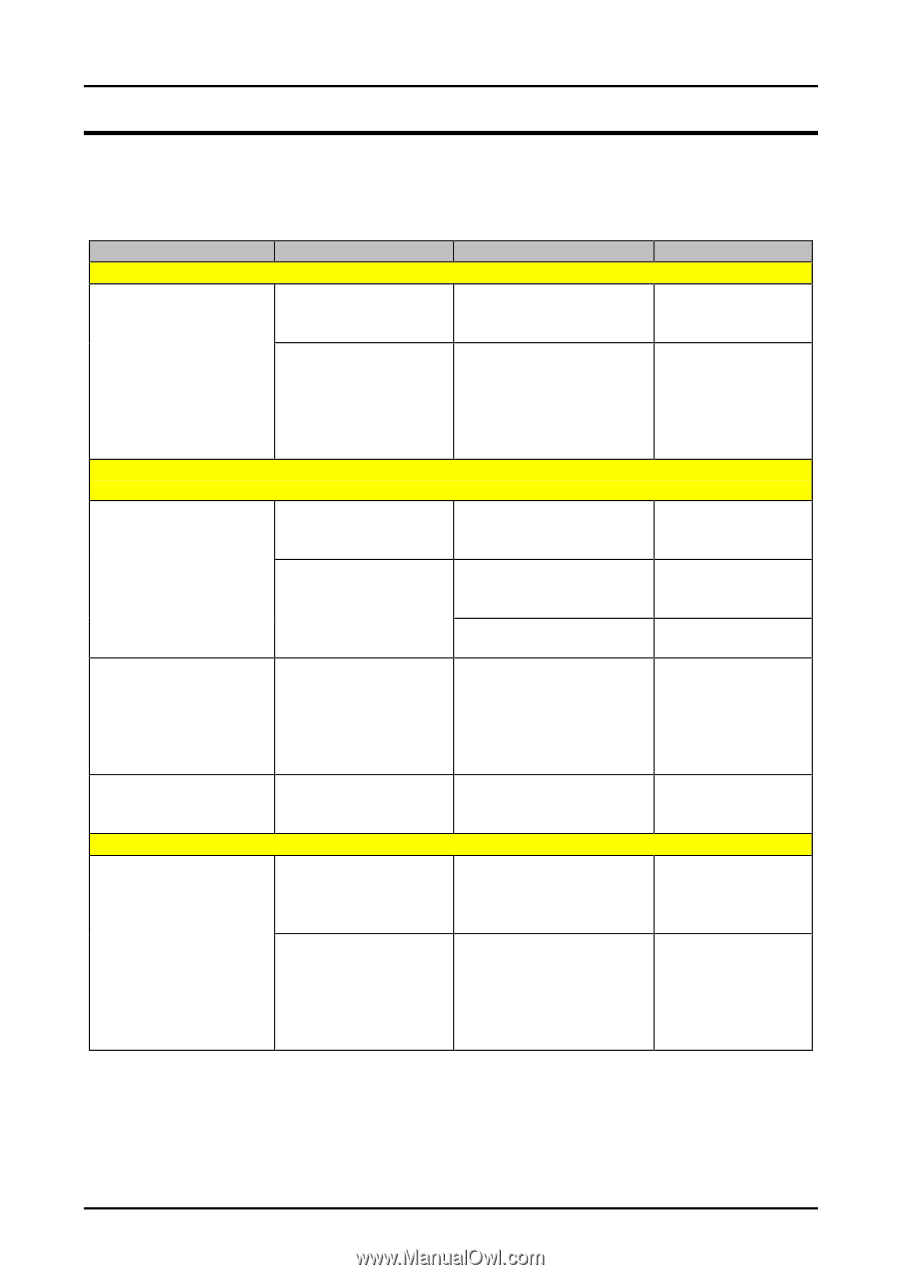
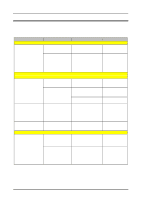
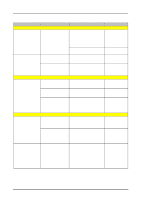
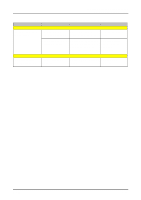
FX-1180/FX-880 Service Manual Chapter 3 Troubleshooting 3.5 REPAIRING THE PRINTER MECHANISM For detailed procedures for replacing or adjusting matter, refer to Chapter 4, Disassembly and Assembly and Chapter 5, adjustments. If a problem or symptom occurs, refer to the following tables and find out other potential causes. Table 3-12. Repairing the Printer Mechanism Symptom Cause Checkpoint Solution w Problem: The CR motor fails to operate. The CR motor fails to Foreign matter is Manually move the Remove the drive the timing belt lodged in the timing belt to see if the foreign substance. after power on. mechanism. motor can rotate freely. The CR motor is Measure the motor coil Replace the CR defective. resistance. It should be motor (and main about 16 ohms. If the board, if coil is shorted, check CR necessary). motor driver IC8 on the main board. w Problem: The carriage dose not operate at power on (after carriage has been manually centered prior to power on). The CR motor rotates, The belt drive or Check the pulleys which Replace the but the carriage dose driven pulley is are broken or worn. pulleys. not move. defective. The timing belt is Check if the timing belt Reset the belt to defective. is correctly set to the the carriage. carriage. Check if the timing belt Replace the belt. is broken. The carriage moves to The carriage Check if the carriage Clean and the left slightly, then movement is not moves smoothly as you lubricate the CR stops. smooth. move it manually. guide shaft or frame. Otherwise, replace the CR motor. The carriage moves to The HP detector is Check the HP detector Replace the HP the left or right end, defective. using a multi meter. detector. then stops. w Problem: Self test printing is not executed. The carriage moves, The printhead FFC Check whether FFC is Connect the FFC but dose not print. common wires are properly connected to to the printhead or disconnected. the printhead or the the main board main board. correctly. The printhead is Measure the printhead Replace the defective. coil resistance. It should printhead, (and be about 8 ohms. If the drivers , if printhead is shorted, necessary). check the drivers on the main board. Rev. B 3-16
-
 1
1 -
2
-
3
-
4
-
5
-
6
-
7
-
8
-
9
-
10
-
11
-
12
-
13
-
14
-
15
-
16
-
17
-
18
-
19
-
20
-
21
-
22
-
23
-
24
-
25
-
26
-
27
-
28
-
29
-
30
-
31
-
32
-
33
-
34
-
35
-
36
-
37
-
38
-
39
-
40
-
 41
41 -
 42
42 -
 43
43 -
 44
44 -
 45
45 -
 46
46 -
 47
47 -
 48
48 -
 49
49 -
 50
50 -
 51
51 -
52
-
53
-
54
-
55
-
56
-
57
-
58
-
59
-
60
-
61
-
62
-
63
-
64
-
65
-
66
-
67
-
68
-
69
-
70
-
71
-
72
-
73
-
74
-
75
-
76
-
77
-
78
-
79
-
80
-
81
-
82
-
83
-
84
-
85
-
86
-
87
-
88
-
89
-
90
-
91
-
92
-
93
-
94
-
95
-
96
-
97
-
98
-
99
-
100
-
101
-
102
-
103
-
104
-
105
-
106
 |
 |