Epson MovieMate 72 Quick Reference Guide - Page 12
Fine-Tuning the Image Size, Adjusting the Color - manual
 |
View all Epson MovieMate 72 manuals
Add to My Manuals
Save this manual to your list of manuals |
Page 12 highlights
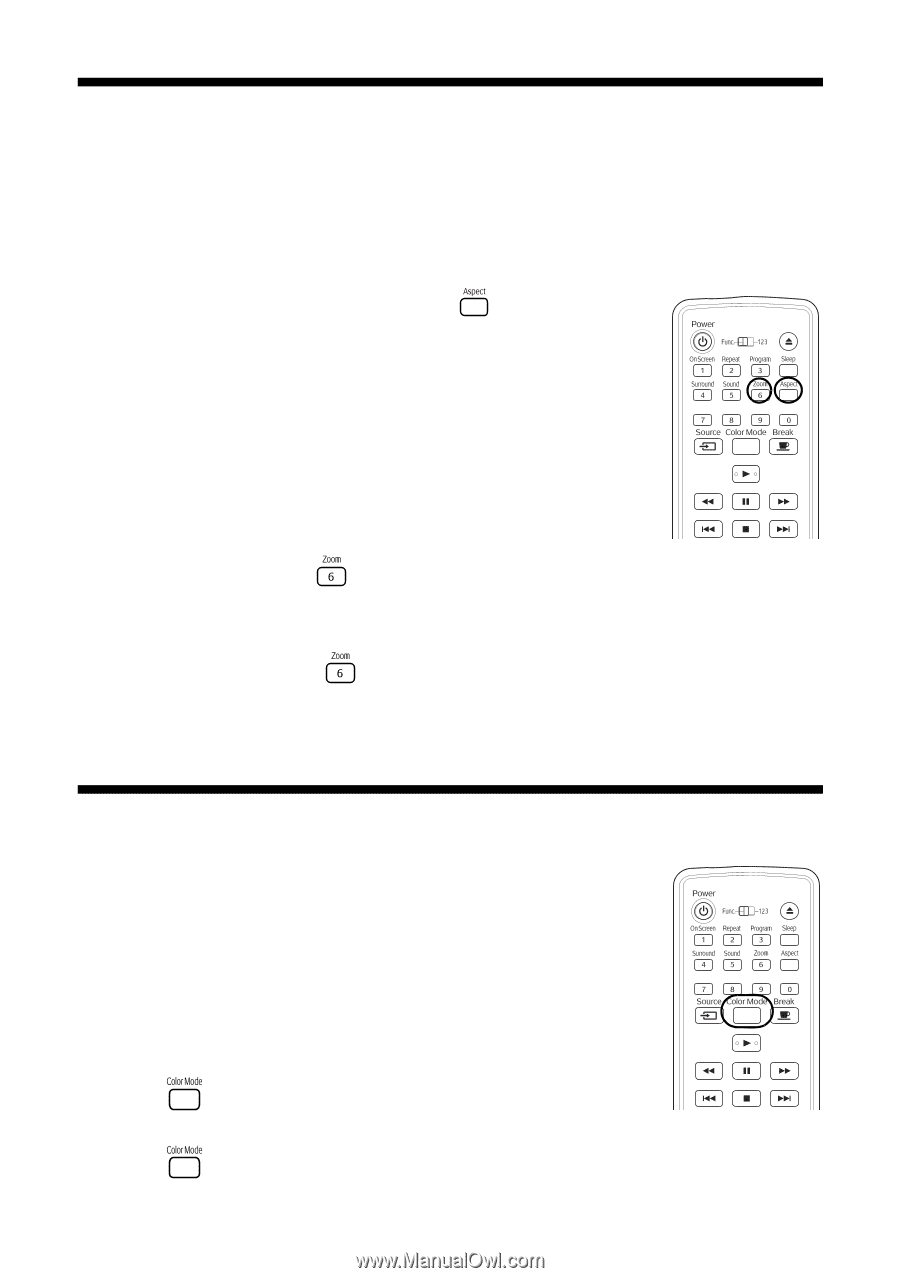
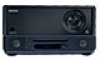
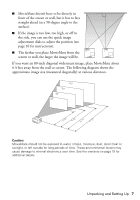
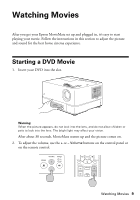
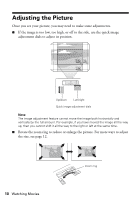
Fine-Tuning the Image Size Most of the time MovieMate adjusts the picture automatically for wide-screen or normal video. However, you can adjust the width to height proportion (aspect ratio) manually if necessary. You can also zoom in or out. ■ For non-widescreen DVDs, press the button on the remote control and select Full, Zoom, or Normal. Full projects a widescreen image (16:9 aspect ratio) that is slightly stretched. Zoom projects a widescreen image (16:9 aspect ratio), with the top and bottom slightly cut off. Normal projects the image in its original proportions (4:3 aspect ratio). ■ To zoom in, press the button on the remote control. Continue pressing to zoom in up to 5 times. The edges will be cut off, but you can use the arrow buttons on the remote to pan around the picture. Continue pressing the button to zoom out to 1/4 size, then back to the original size. Adjusting the Color You can change the color mode to optimize picture quality based on the lighting conditions in the room. For example, the Dynamic color mode provides the brightest picture, and works best when you use MovieMate outdoors or in a well-lit room. However, when you use MovieMate in a darkened room, one of the other color modes will improve the colors in your image. 1. Press . The currently selected color mode is displayed on the screen. 2. Press again to change the color mode, then wait a moment until you see the picture quality change. 12 Watching Movies
-
 1
1 -
2
-
3
-
4
-
5
-
6
-
 7
7 -
 8
8 -
 9
9 -
 10
10 -
 11
11 -
 12
12 -
 13
13 -
 14
14 -
 15
15 -
 16
16 -
 17
17 -
18
-
19
-
20
-
21
-
22
-
23
-
24
 |
 |