Epson Stylus Pro 7600 - UltraChrome Ink Quick Reference Guide - Page 4
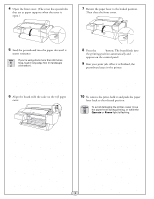
Pause, READY, appears on the control panel.
 |
View all Epson Stylus Pro 7600 - UltraChrome Ink manuals
Add to My Manuals
Save this manual to your list of manuals |
Page 4 highlights
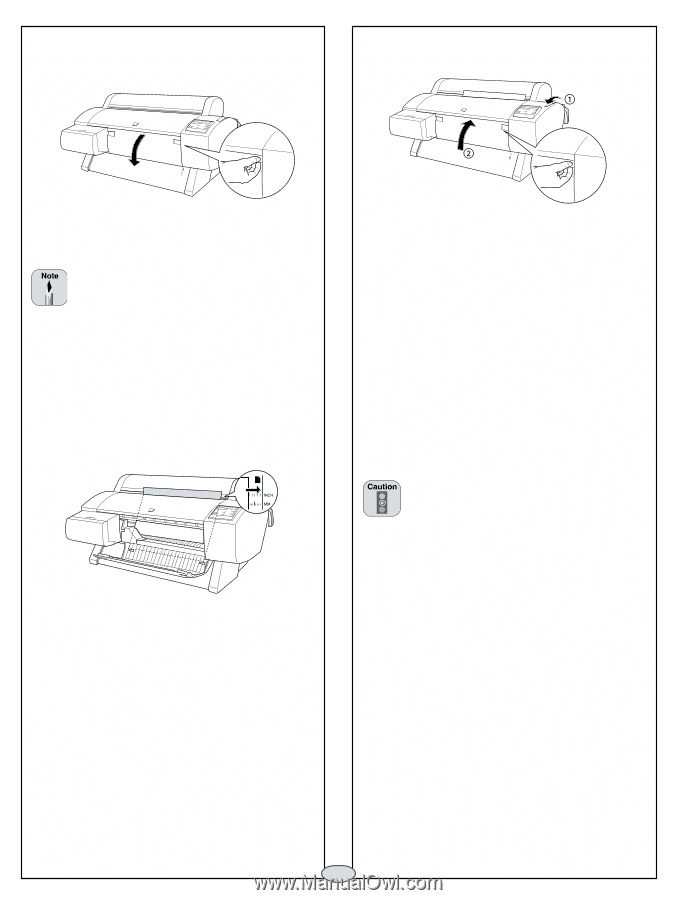
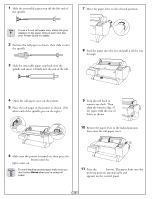
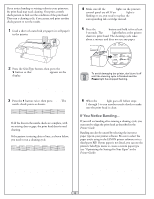
4 Open the front cover. (The cover has special tabs that act as paper supports when the cover is open.) 7 Return the paper lever to the locked position. Then close the front cover. 5 Feed the posterboard into the paper slot until it meets resistance. If you're using stock more than 39 inches long, load it long edge first (in landscape orientation). 8 Press the Pause button. The board feeds into the printing position automatically and READY appears on the control panel. 9 Run your print job. After it is finished, the posterboard stays in the printer. 6 Align the board with the scale on the roll paper cover. 10 To remove the print, hold it and push the paper lever back to the released position. To avoid damaging the printer, never move the paper lever during printing, or while the Operate or Pause light is flashing. 3
-
 1
1 -
 2
2 -
 3
3 -
 4
4 -
 5
5 -
 6
6 -
 7
7 -
 8
8 -
 9
9 -
 10
10 -
11
 |
 |