GE JM250DFCC Installation Instructions - Page 2
Warning
 |
View all GE JM250DFCC manuals
Add to My Manuals
Save this manual to your list of manuals |
Page 2 highlights
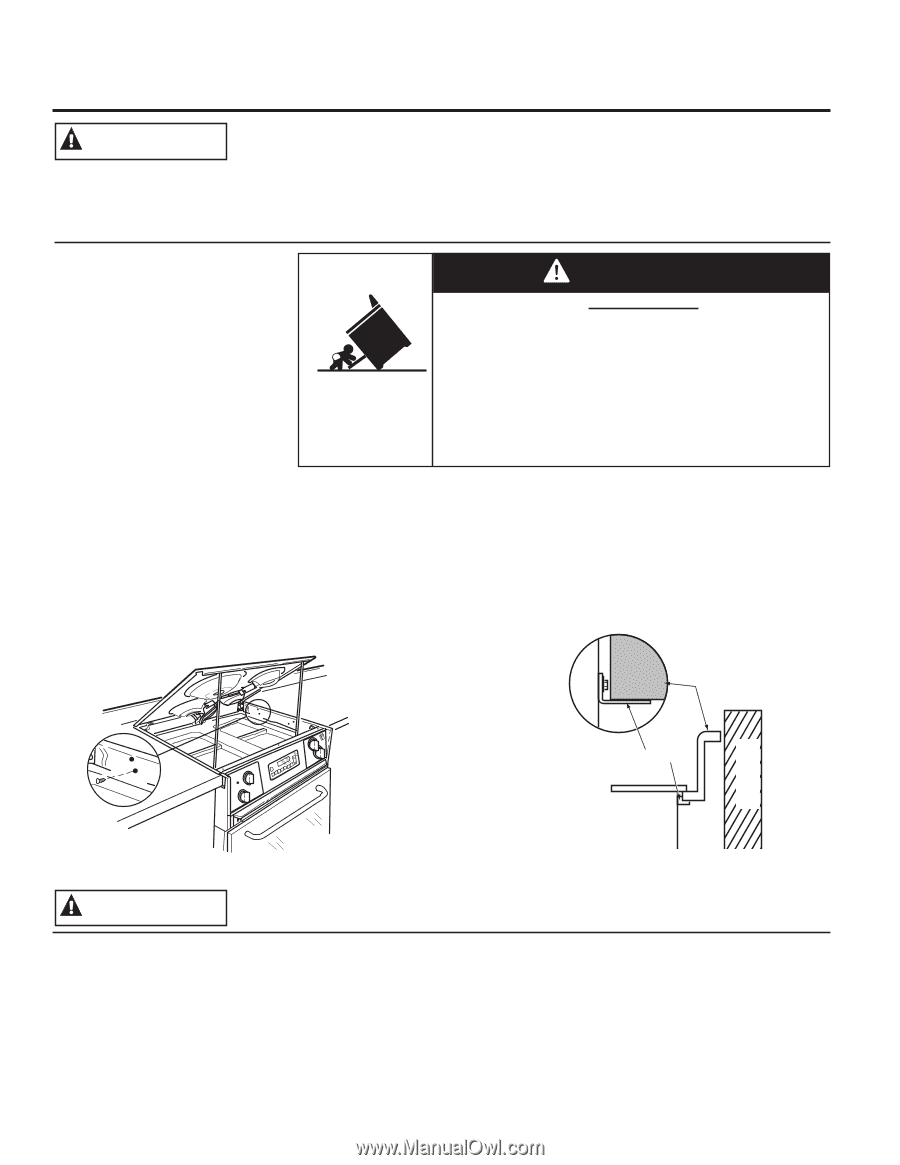
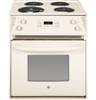
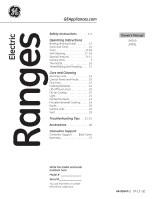
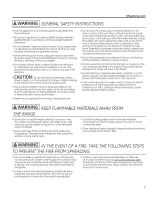
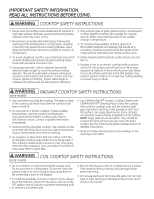
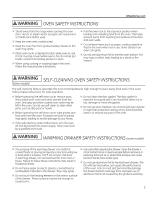
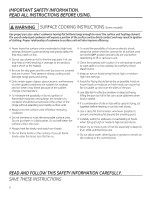
IMPORTANT SAFETY INFORMATION. READ ALL INSTRUCTIONS BEFORE USING. WARNING For your safety, the information in this manual must be followed to minimize the risk of fire, electric shock, or to prevent property damage, personal injury, or loss of life. ANTI-TIP DEVICE To reduce the risk of tipping the range, the range must be secured by a properly installed anti-tip bracket. See installation instructions shipped with the oven for complete details before attempting to install. Two methods of securing the range are provided. Follow the instructions below, to check if the range is properly secured. If the range is pulled away from the wall for any reason, always repeat this procedure to verify the range is properly secured. WARNING Tip-Over Hazard A child or adult can tip the range and be killed. Verify the anti-tip bracket has been properly installed and engaged. Ensure the anti-tip bracket is re-engaged when the range is moved. Do not operate the range without the anti-tip bracket in place and engaged. Failure to follow these instructions can result in death or serious burns to children or adults. Method 1 Raise the lift-up cooktop and support it with the cooktop support rod. Confirm that there are 4 screws (2 on each side) that secure the range to the contertop. See picture below. Method 2 Slide the range forward, confirm the anti-tip bracket is securely attached to the rear of the range. Slide the range back so that the anti-tip bracket slides just under the wood block attached to the rear wall below. Countertop or Wood Block Anti-Tip Bracket Rear Wall Oven WARNING IMPORTANT SAFETY NOTICE The California Safe Drinking Water and Toxic Enforcement Act requires the Governor of California to publish a list of substances known to the state to cause cancer, birth defects or other reproductive harm, and requires businesses to warn customers of potential exposure to such substances. The fiberglass insulation in self-clean ovens gives off a very small amount of carbon monoxide during the cleaning cycle. Exposure can be minimized by venting with an open window or using a ventilation fan or hood. 2
-
 1
1 -
 2
2 -
 3
3 -
 4
4 -
 5
5 -
 6
6 -
 7
7 -
 8
8 -
9
-
10
-
11
-
12
-
13
-
14
-
15
-
16
-
17
-
18
-
19
-
20
-
21
-
22
-
23
-
24
-
25
-
26
-
27
-
28
 |
 |