GE PGCS1RKZSS Use and Care Manual - Page 9
About the additional features., About the shelves and bins.
 |
UPC - 084691085461
View all GE PGCS1RKZSS manuals
Add to My Manuals
Save this manual to your list of manuals |
Page 9 highlights
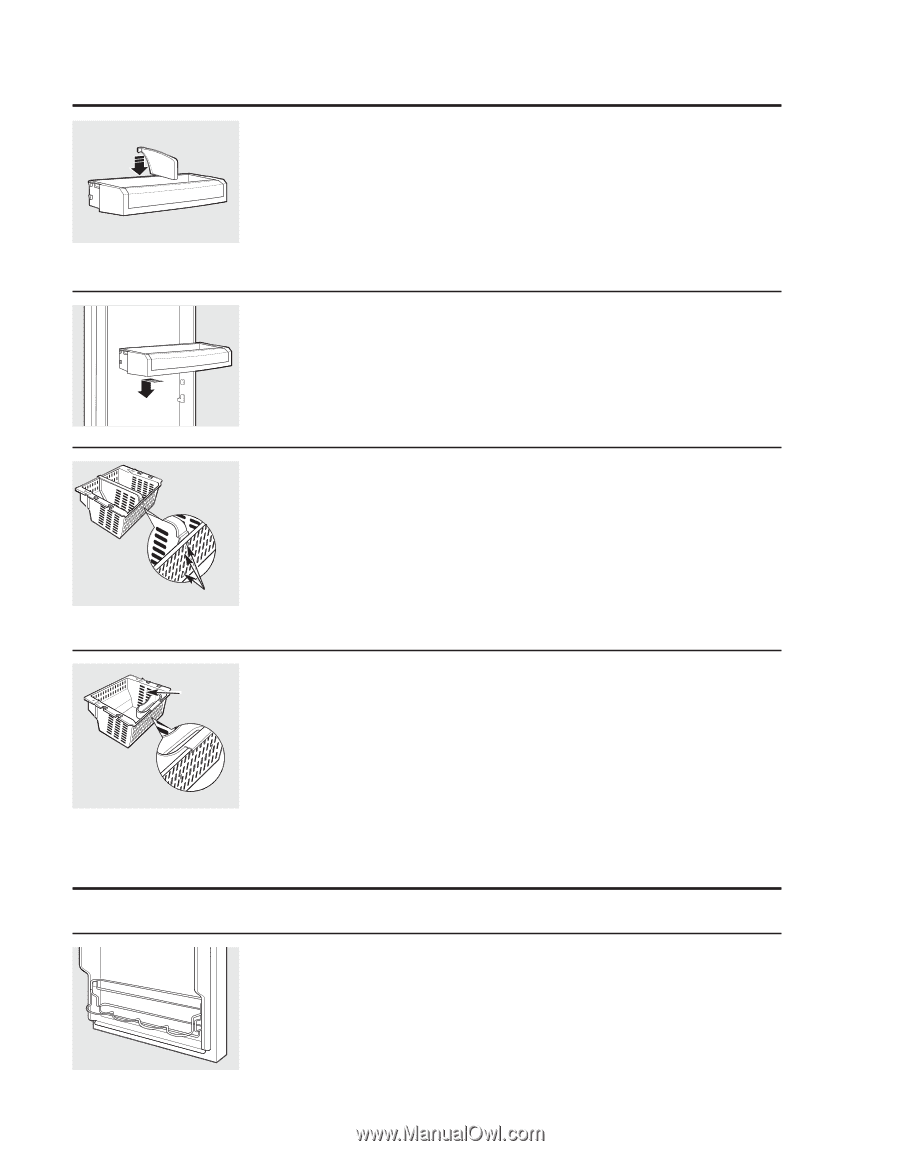
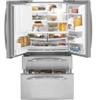
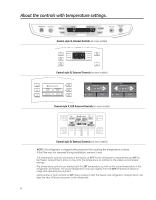
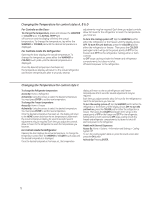
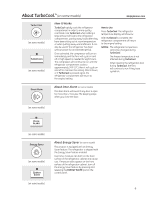
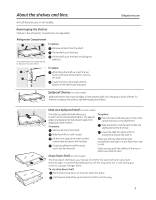
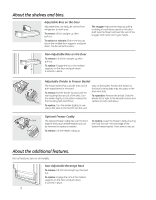
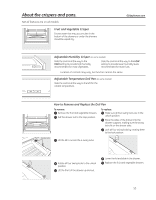
About the shelves and bins. Adjustable Bins on the Door Adjustable bins can easily be carried from refrigerator to work area. To remove: Lift bin straight up, then pull out. To replace or relocate: Slide in the bin just above the molded door supports, and push down. The bin will lock in place. The snugger helps prevent tipping, spilling or sliding of small items stored on the door shelf. Grip the finger hold near the rear of the snugger and move it to fit your needs. Non-Adjustable Bins on the Door To remove: Lift the bin straight up, then pull out. To replace: Engage the bin in the molded supports on the door and push down. It will lock in place. Adjustable Divider in Freezer Basket The freezer basket has a divider that can be slots on the basket. Position the divider so both repositioned or removed. the back locating tabs snap into place in the To remove: Pull the divider forward until the back vent slots. rear locating tabs are out of the slots. Turn To reposition: Remove the divider. Slide the the divider slightly to the side to release the divider left or right to the desired location and Tabs front locating tabs and lift out. replace as instructed above. To replace: Turn the divider slightly to one side so the tabs on the front fit into the vent Optional Freezer Caddy Caddy The optional freezer caddy fits over the front To replace: Lower the freezer Caddy ensuring edge of the bottom freezer basket and can the hook fits over the front edge of the be removed or added as needed. bottom freezer basket. Push down to secure. To remove: Lift the freezer caddy up. About the additional features. Not all features are on all models. Non-Adjustable Beverage Rack To remove: Lift the rack straight up, then pull out. To replace: Engage the rack in the molded supports on the door and push down. It will lock in place. 9
-
 1
1 -
2
-
3
-
 4
4 -
 5
5 -
 6
6 -
 7
7 -
 8
8 -
 9
9 -
 10
10 -
 11
11 -
 12
12 -
 13
13 -
 14
14 -
15
-
16
-
17
-
18
-
19
-
20
-
21
-
22
-
23
-
24
-
25
-
26
-
27
-
28
-
29
-
30
-
31
-
32
-
33
-
34
-
35
-
36
-
37
-
38
-
39
-
40
-
41
-
42
-
43
-
44
-
45
-
46
-
47
-
48
-
49
-
50
-
51
-
52
-
53
-
54
-
55
-
56
-
57
-
58
-
59
-
60
-
61
-
62
-
63
-
64
-
65
-
66
-
67
-
68
-
69
-
70
-
71
-
72
-
73
-
74
-
75
-
76
-
77
-
78
-
79
-
80
-
81
-
82
-
83
-
84
-
85
-
86
-
87
-
88
-
89
-
90
-
91
-
92
-
93
-
94
-
95
-
96
-
97
-
98
-
99
-
100
-
101
-
102
-
103
-
104
-
105
-
106
-
107
-
108
-
109
-
110
-
111
-
112
-
113
-
114
-
115
-
116
-
117
-
118
-
119
-
120
-
121
-
122
-
123
-
124
-
125
-
126
-
127
-
128
-
129
-
130
-
131
-
132
-
133
-
134
-
135
-
136
 |
 |