HP Deskjet 610/612c (English International) User's Guide - C6450-90002 - Page 7
English, What do you want to print, What you need to
 |
View all HP Deskjet 610/612c manuals
Add to My Manuals
Save this manual to your list of manuals |
Page 7 highlights
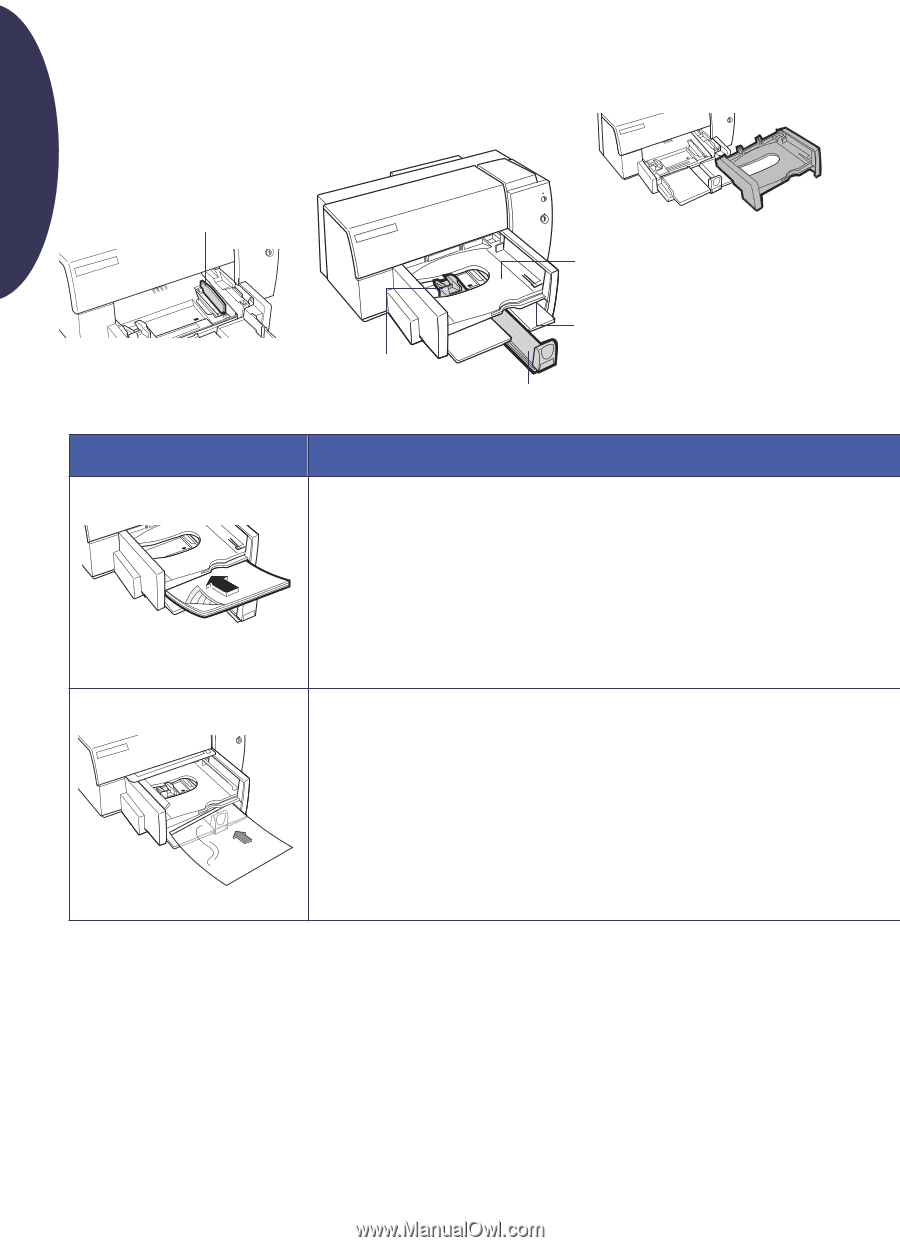
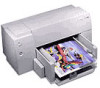
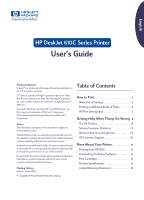
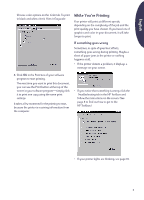
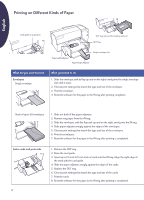
English Printing on Different Kinds of Paper Card guide in up position OUT tray removed for loading cards, etc. OUT Tray Single envelope slot Paper-width Adjuster Paper-length Adjuster What do you want to print Labels Transparencies What you need to do 1. Slide out both of the paper adjusters. 2. Fan the edges of the label sheets to separate them, then even the edges. 3. Insert up to 25 label sheets (label side down) on top of about 5 sheets of plain paper of the same size. 4. Slide the paper adjusters snugly against the sheets. 5. Choose print settings that match the type, size, and orientation of the labels. 6. Print the labels. 7. Reset the software for the paper in the IN tray after printing is completed. 1. Slide out both of the paper adjusters. 2. Fan the edges of the transparency sheets to separate them, then even the edges. 3. Insert up to 1/2 inch (1 cm) stack of transparency sheets. Load the rough side down with the adhesive strip forward. 4. Slide the paper adjusters snugly against the transparencies. 5. Choose print settings that match the type and size of the transparencies. 6. Print the transparency. 7. Reset the software for the paper in the IN tray after printing is completed. Note: You can also access HP's convenient online manual from the HP Software CD. At any time while using your computer, you can insert the CD and find a wealth of information at your fingertips. 6
-
 1
1 -
 2
2 -
 3
3 -
 4
4 -
 5
5 -
 6
6 -
 7
7 -
 8
8 -
 9
9 -
 10
10 -
 11
11 -
 12
12 -
13
-
14
-
15
-
16
-
17
-
18
 |
 |