HP HP-380467-003 Creating Disc Labels with LightScribe - Page 8
To create a label with, Sonic Express Labeler
 |
UPC - 846084030171
View all HP HP-380467-003 manuals
Add to My Manuals
Save this manual to your list of manuals |
Page 8 highlights
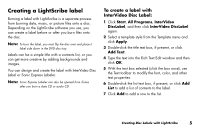
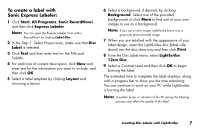
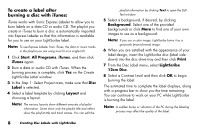
To create a label with Sonic Express Labeler: 1 Click Start, All Programs, Sonic RecordNow!, and then click Express Labeler. Note: You can open the Express Labeler from within RecordNow! by clicking Label Disc. 2 In the Step 1: Select Project area, make sure that Disc Label is selected. 3 Click Text and then enter text for the Title and Subtitle. 4 For each line of content description, click New and enter text for the information you want to include, and then click OK. 5 Select a label template by clicking Layout and choosing a layout. 6 Select a background, if desired, by clicking Background. Select one of the provided backgrounds or click More to find one of your own images to use as a background. Note: If you use a color image, LightScribe burns it as a greyscale (monochrome) image. 7 When you are satisfied with the appearance of your label design, insert the LightScribe disc (label side down) into the disc drive tray and then click Print. 8 From the Disc Label menu, select LightScribe 12cm Disc. 9 Select a Contrast Level and then click OK to begin burning the label. The estimated time to complete the label displays, along with a progress bar to show you the time remaining. You can continue to work on your PC while LightScribe is burning the label. Note: A sudden bump or vibration of the PC during the labeling process may affect the quality of the label. Creating Disc Labels with LightScribe 7
-
 1
1 -
2
-
 3
3 -
 4
4 -
 5
5 -
 6
6 -
 7
7 -
 8
8 -
 9
9 -
 10
10
 |
 |
