Insignia NS-50L240A13 User Manual (Spanish) - Page 55
Usando una unidad flash USB, Cambio al modo USB, Examinando fotos
 |
View all Insignia NS-50L240A13 manuals
Add to My Manuals
Save this manual to your list of manuals |
Page 55 highlights
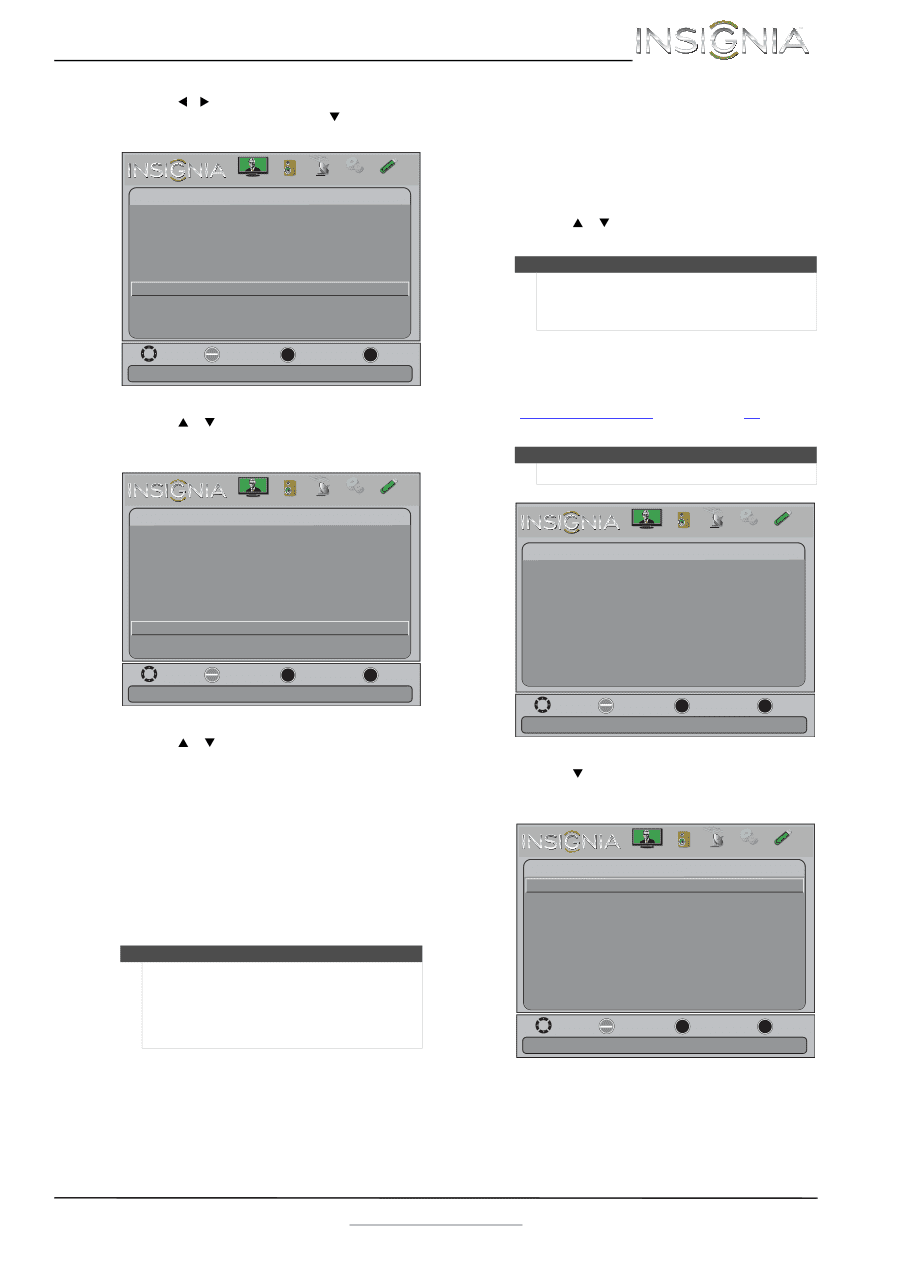
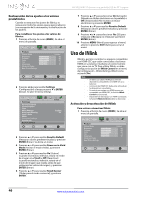
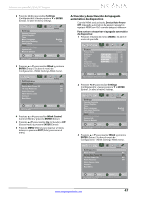
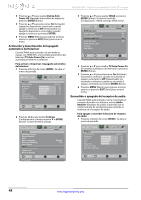
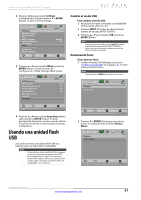
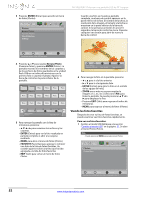
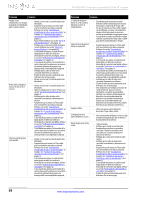
Televisor con pantalla LCD de 50" Insignia 2 Presione Wo X para resaltar Settings (Configuración) y luego presione T o ENTER (Entrar). Se abre el menú Settings. Picture Settings Parental Controls Closed Caption Time Menu Language Auto Input Sensing Input Labels INlink Computer Settings System Info Reset to Default Audio Channels Settings Photos English Off Move OK ENTER Select MENU Previous EXIT Exit Allow the TV to automatically control CEC devices connected to the TV via HDMI 3 Presione S o T para resaltar INlink y presione ENTER (Entrar). Se abre el menú de Configuración - INlink (Settings-INlink menu). Picture Settings-INlink INlink Control Device Auto Power Off TV Auto Power On Audio Receiver INlink Device Lists Connect Root Menu Audio Channels Settings Photos On On On On Cambio al modo USB Para cambiar al modo USB: 1 Asegúrese de haber conectado la unidad flash USB al puerto USB en su TV. 2 Presione INPUT (Entrada). Se abre la lista de fuentes de entrada (INPUT SOURCE). 3 Presione S o T para resaltar USB y presione ENTER (Entrar). Nota Para salir del modo USB presione INPUT (Entrada) para abrir la lista de fuentes (INPUT SOURCE) y seleccione otra fuente de entrada o presione un botón de selección rápida. Examinando fotos Para examinar fotos: 1 Cambio al modo USB Refiérase a la sección "Cambio al modo USB" en la página 51. Se abre el menú Photos (Fotos). Nota Puede presionar MENU para seleccionar Photos. Photos Photos Menu Picture Audio Channels Settings Photos Move OK ENTER Select MENU Previous Control the menu of the HDMI CEC device with the TV remote control EXIT Exit 4 Presione S o T para resaltar Root Menu (Menú raíz) y presione ENTER (Entrar). El menú principal del dispositivo se abre y puede utilizar el control remoto de su televisor para controlar el dispositivo. Usando una unidad flash USB Se puede conectar una unidad flash USB a su televisor para ver fotos JPEG compatibles. Notas • • Nunca extraiga una unidad flash USB ni apague su televisor mientras este viendo fotos JPEG. El visualizador de fotos JPEG sólo soporta el formato de imágenes JPEG (con la extensión de archivo ".jpg") y no todos los archivos JPEG son compatibles con su televisor. Move OK ENTER Select MENU Previous EXIT Exit View files from a USB flash drive that is connected to the TV 2 Presione T o ENTER (Entrar) para acceder al menú. Se resalta el menú de fotos (Photos Menu ). Photos Photos Menu Picture Audio Channels Settings Photos Move OK ENTER Select MENU Previous EXIT Exit View files from a USB flash drive that is connected to the TV www.insigniaproducts.com 51
-
 1
1 -
2
-
3
-
4
-
5
-
6
-
7
-
8
-
9
-
10
-
11
-
12
-
13
-
14
-
15
-
16
-
17
-
18
-
19
-
20
-
21
-
22
-
23
-
24
-
25
-
26
-
27
-
28
-
29
-
30
-
31
-
32
-
33
-
34
-
35
-
36
-
37
-
38
-
39
-
40
-
41
-
42
-
43
-
44
-
45
-
46
-
47
-
48
-
49
-
 50
50 -
 51
51 -
 52
52 -
 53
53 -
 54
54 -
 55
55 -
 56
56 -
 57
57 -
 58
58 -
 59
59 -
 60
60 -
61
-
62
-
63
-
64
-
65
-
66
 |
 |