KitchenAid KFIS29BBBL Installation Guide - Page 8
Connect Water Supply
 |
View all KitchenAid KFIS29BBBL manuals
Add to My Manuals
Save this manual to your list of manuals |
Page 8 highlights
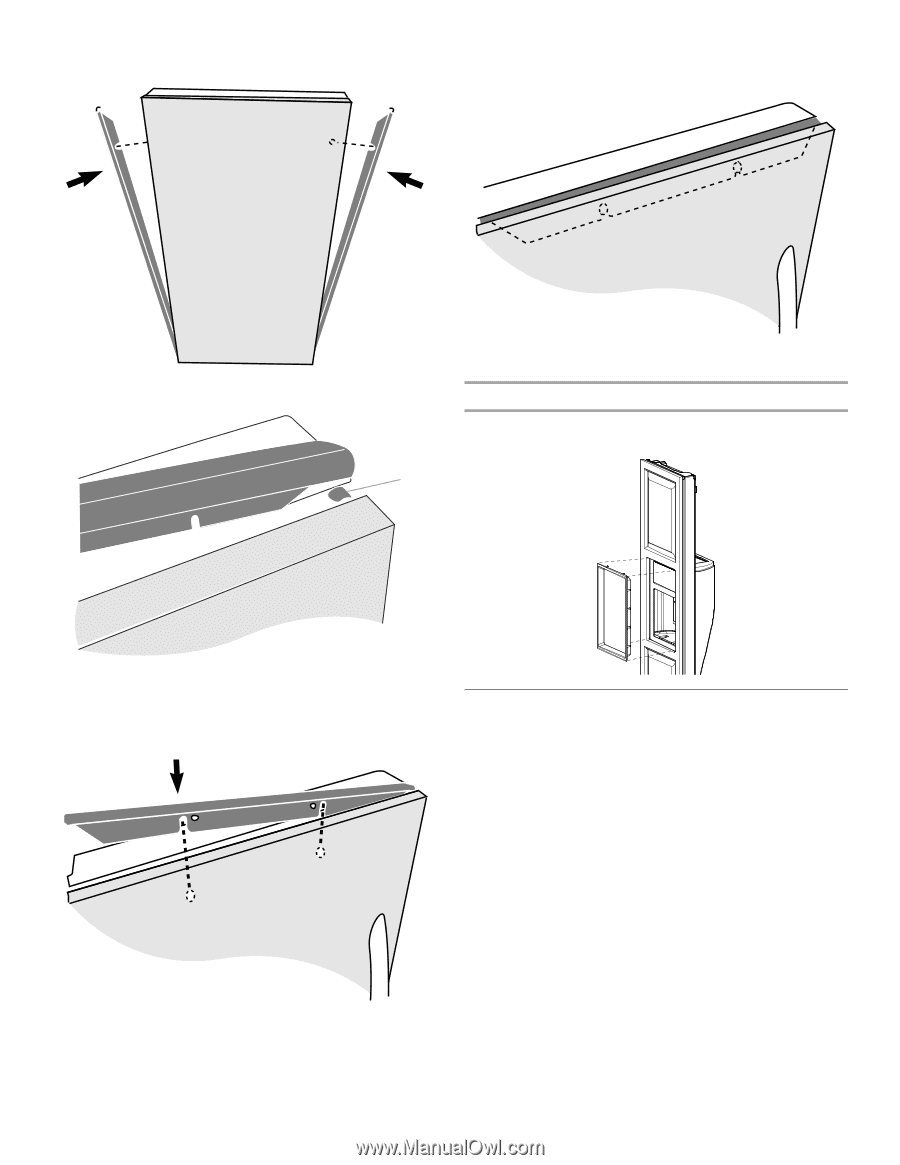
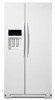
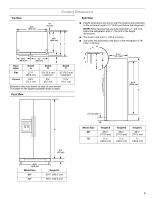
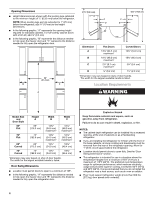
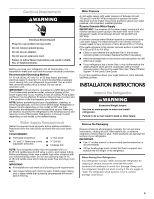
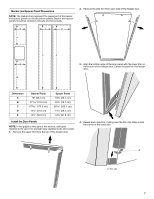
5. With the side trims properly seated in the lower trim, slide each trim into the door panel groove. 8. When fully seated, the upper trim should be nearly flush with the top of the freezer door, completely covering both side trim clips. 6. Align the upper trim with the trim clips at the top of each side trim. 9. Repeat the previous steps to install the refrigerator door panel. Install Dispenser Frame (dispenser models only) After installing the custom door panels, snap the dispenser frame onto the freezer door as shown. A A. Trim clip 7. Slide the upper trim into the door panel groove by applying firm downward pressure. Be sure that the grooves on the upper trim are properly aligned with the rivets on the door panel. 8 Connect Water Supply Read all directions before you begin. IMPORTANT: ■ Plumbing shall be installed in accordance with the International Plumbing Code and any local codes and ordinances. ■ The gray water tubing on the back of the refrigerator (which is used to connect to the household water line) is a PEX (cross-linked polyethylene) tube. Copper and PEX tubing connections from the household water line to the refrigerator are acceptable, and will help avoid off-taste or odor in your ice or water. Check for leaks. If PEX tubing is used instead of copper, we recommend the following Whirlpool Part Numbers: W10505928RP (7 ft [2.14 m] jacketed PEX), 8212547RP (5 ft [1.52 m] PEX), or W10267701RP (25 ft [7.62 m] PEX). ■ Install tubing only in areas where temperatures will remain above freezing. TOOLS NEEDED: Gather the required tools and parts before starting installation. ■ Flat-blade screwdriver and ¹⁄₂" open-end wrenches or two adjustable wrenches nut driver
-
 1
1 -
2
-
 3
3 -
 4
4 -
 5
5 -
 6
6 -
 7
7 -
 8
8 -
 9
9 -
 10
10 -
 11
11 -
 12
12 -
 13
13 -
14
-
15
-
16
-
17
-
18
-
19
-
20
-
21
-
22
-
23
-
24
-
25
-
26
-
27
-
28
-
29
-
30
-
31
-
32
-
33
-
34
-
35
-
36
 |
 |