Konica Minolta bizhub PRESS C6000 bizhub PRESS C6000/C7000 Security User Guide - Page 22
Setting], and [Upper].
 |
View all Konica Minolta bizhub PRESS C6000 manuals
Add to My Manuals
Save this manual to your list of manuals |
Page 22 highlights
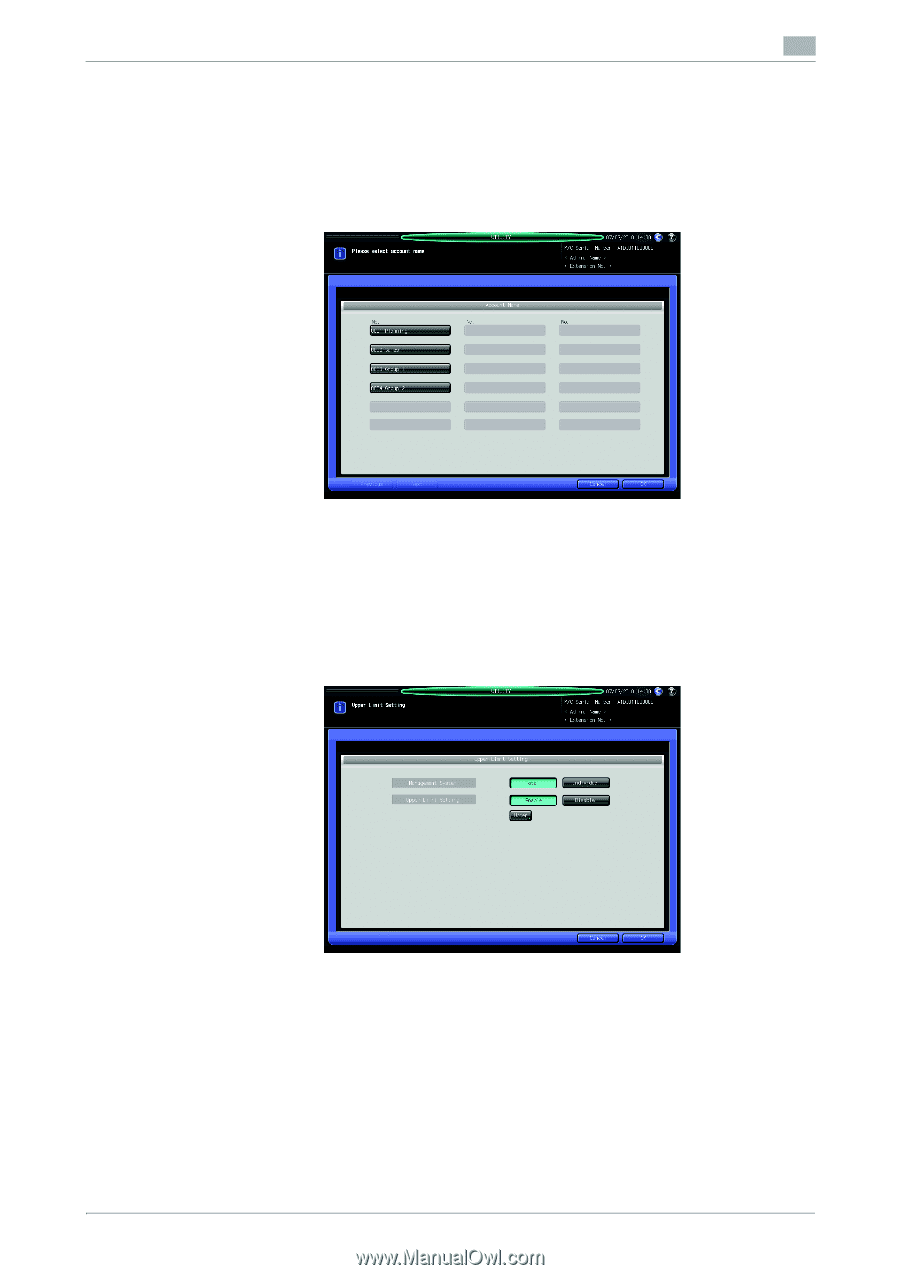
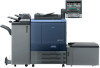
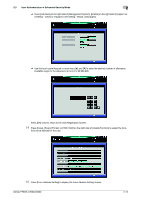
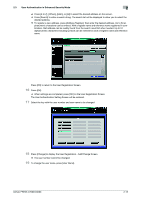
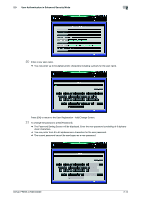
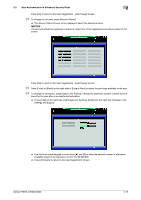
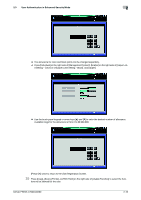
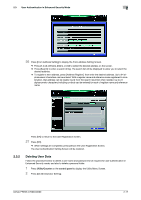
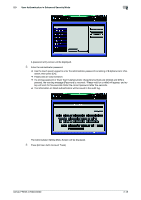
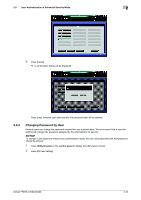
2.3 User Authentication in Enhanced Security Mode 2 Press [OK] to return to the User Registration - Add/Change Screen. 22 To change the account, press [Account Name]. % The Account Name Screen will be displayed. Select the desired account. NOTICE The account should be registered in advance. Select one of the registered accounts provided on the screen. Press [OK] to return to the User Registration - Add/Change Screen. 23 Press [Color] or [Black] on the right side of [Output Allow] to select the print type available to the user. 24 To change the allowance, press [Upper Limit Setting]. Change the maximum number of prints to be al- lowed for the user after a successful authentication. % Press [Total] on the right side of [Management System], [Enable] on the right side of [Upper Limit Setting], and [Upper]. % Use the touch panel keypad or arrow keys [+] and [,] to enter the desired number of allowance. Available range for the allowance is from 0 to 99,999,999. % Press [OK] twice to return to the User Registration Screen. bizhub PRESS C7000/C6000 2-15
-
 1
1 -
2
-
3
-
4
-
5
-
6
-
7
-
8
-
9
-
10
-
11
-
12
-
13
-
14
-
15
-
16
-
 17
17 -
 18
18 -
 19
19 -
 20
20 -
 21
21 -
 22
22 -
 23
23 -
 24
24 -
 25
25 -
 26
26 -
 27
27 -
28
-
29
-
30
-
31
-
32
-
33
-
34
-
35
-
36
-
37
-
38
-
39
-
40
-
41
-
42
-
43
-
44
 |
 |