Kyocera ECOSYS M6526cdn ECOSYS Model Printer Driver User Guide Rev 16.18.2013. - Page 75
Halftone Screen, Setting the Halftone Screen, Graphics Settings
 |
View all Kyocera ECOSYS M6526cdn manuals
Add to My Manuals
Save this manual to your list of manuals |
Page 75 highlights
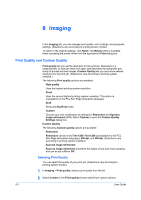
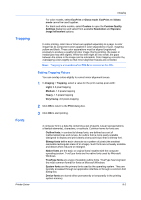
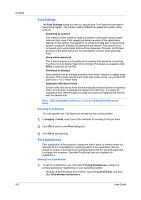
Imaging This setting reduces the pen width by a value of 1 for vertical, horizontal, and diagonal line used in barcodes or line drawings. Correct fine lines by device Enables correction of pen width by the device rather than by the driver, to improve the quality of barcode printing. This feature is available only on supported models. Halftone Screen For some color models, Halftone screen appears near the top of the Graphics Settings dialog box. This feature improves the print quality of images, lines, and characters. Halftone images simulate the look of a continuous tone image by placing a series of dots in a specific pattern. This feature is unavailable if PDF is selected in the PDL Settings dialog box. For some black and white models, the Halftone Screen button appears at the bottom of the Graphics Settings dialog box. This feature lets an experienced user print different shades of gray as are found in photographs. Shades are produced by printing dots of various sizes and shapes, and by spacing them closer or farther apart. Shading can also be adjusted by the number of rows of data, the angle of the rows, and the shape of the data. This feature is available when KPDL is selected in the PDL Settings dialog box. It is unavailable when GDI compatible mode is selected in the PDL Settings dialog box. Setting the Halftone Screen Halftone Screen is available in different versions for color models and for black and white models. Color models 1 In Imaging > Graphics, select from available options in the Halftone screen list: Normal Select to print standard documents (recommended for most types of documents). Gradation priority Select to print documents with a smooth, continuous gradation of colors and grays. Resolution priority Select to print documents with sharp lines and characters. High definition Select to print documents with thin lines and small characters. 2 Click OK to return to the Print dialog box. 3 Click OK to start printing. Black and white models 1 In Imaging > Graphics, click Halftone Screen. 2 Clear the Use printer's default screens check box. Printer Driver 8-6
-
 1
1 -
2
-
3
-
4
-
5
-
6
-
7
-
8
-
9
-
10
-
11
-
12
-
13
-
14
-
15
-
16
-
17
-
18
-
19
-
20
-
21
-
22
-
23
-
24
-
25
-
26
-
27
-
28
-
29
-
30
-
31
-
32
-
33
-
34
-
35
-
36
-
37
-
38
-
39
-
40
-
41
-
42
-
43
-
44
-
45
-
46
-
47
-
48
-
49
-
50
-
51
-
52
-
53
-
54
-
55
-
56
-
57
-
58
-
59
-
60
-
61
-
62
-
63
-
64
-
65
-
66
-
67
-
68
-
69
-
 70
70 -
 71
71 -
 72
72 -
 73
73 -
 74
74 -
 75
75 -
 76
76 -
 77
77 -
 78
78 -
 79
79 -
 80
80 -
81
-
82
-
83
-
84
-
85
-
86
-
87
-
88
-
89
-
90
-
91
-
92
-
93
-
94
-
95
-
96
-
97
-
98
-
99
-
100
-
101
-
102
-
103
-
104
-
105
-
106
-
107
-
108
-
109
-
110
-
111
-
112
-
113
-
114
-
115
-
116
-
117
-
118
-
119
-
120
-
121
 |
 |
