Lexmark 18S0100 User's Guide - Page 63
Cleaning the inside of the machine, Cleaning the machine
 |
UPC - 734646386883
View all Lexmark 18S0100 manuals
Add to My Manuals
Save this manual to your list of manuals |
Page 63 highlights
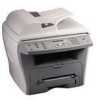
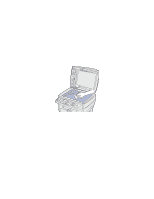
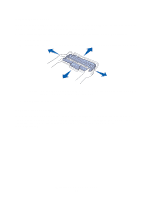
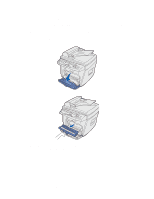
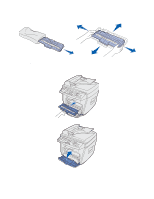
Cleaning the inside of the machine During the printing process, paper, toner, and dust particles can accumulate inside the machine. This buildup can cause print quality problems, such as toner specks or smearing. Cleaning the inside of the machine eliminates or reduces these problems. 1 Turn the machine off, unplug the power cord, and then wait for the machine to cool down. 2 Open the front cover and remove the toner cartridge. Warning: Do not touch the photoconductor drum located on the bottom of the toner cartridge. 3 Place the toner cartridge on a clean, dry surface. 4 With a dry, lint-free cloth, wipe away any dust and spilled toner from the toner cartridge area and the toner cartridge cavity. Warning: • To prevent damage to the toner cartridge, do not expose it to light for more than a few minutes. Cover it with a piece of paper, if necessary. • Do not touch the black transfer roller. Cleaning the machine 63
-
 1
1 -
2
-
3
-
4
-
5
-
6
-
7
-
8
-
9
-
10
-
11
-
12
-
13
-
14
-
15
-
16
-
17
-
18
-
19
-
20
-
21
-
22
-
23
-
24
-
25
-
26
-
27
-
28
-
29
-
30
-
31
-
32
-
33
-
34
-
35
-
36
-
37
-
38
-
39
-
40
-
41
-
42
-
43
-
44
-
45
-
46
-
47
-
48
-
49
-
50
-
51
-
52
-
53
-
54
-
55
-
56
-
57
-
 58
58 -
 59
59 -
 60
60 -
 61
61 -
 62
62 -
 63
63 -
 64
64 -
 65
65 -
 66
66 -
 67
67 -
 68
68 -
69
-
70
-
71
-
72
-
73
-
74
-
75
-
76
-
77
-
78
-
79
-
80
-
81
-
82
-
83
-
84
-
85
-
86
-
87
-
88
-
89
-
90
-
91
-
92
-
93
-
94
-
95
-
96
-
97
 |
 |
