Lexmark 502n User's Guide - Page 68
Setting the number of rings before receiving a fax automatically, Setting up to fax while behind a PBX
 |
UPC - 734646054515
View all Lexmark 502n manuals
Add to My Manuals
Save this manual to your list of manuals |
Page 68 highlights
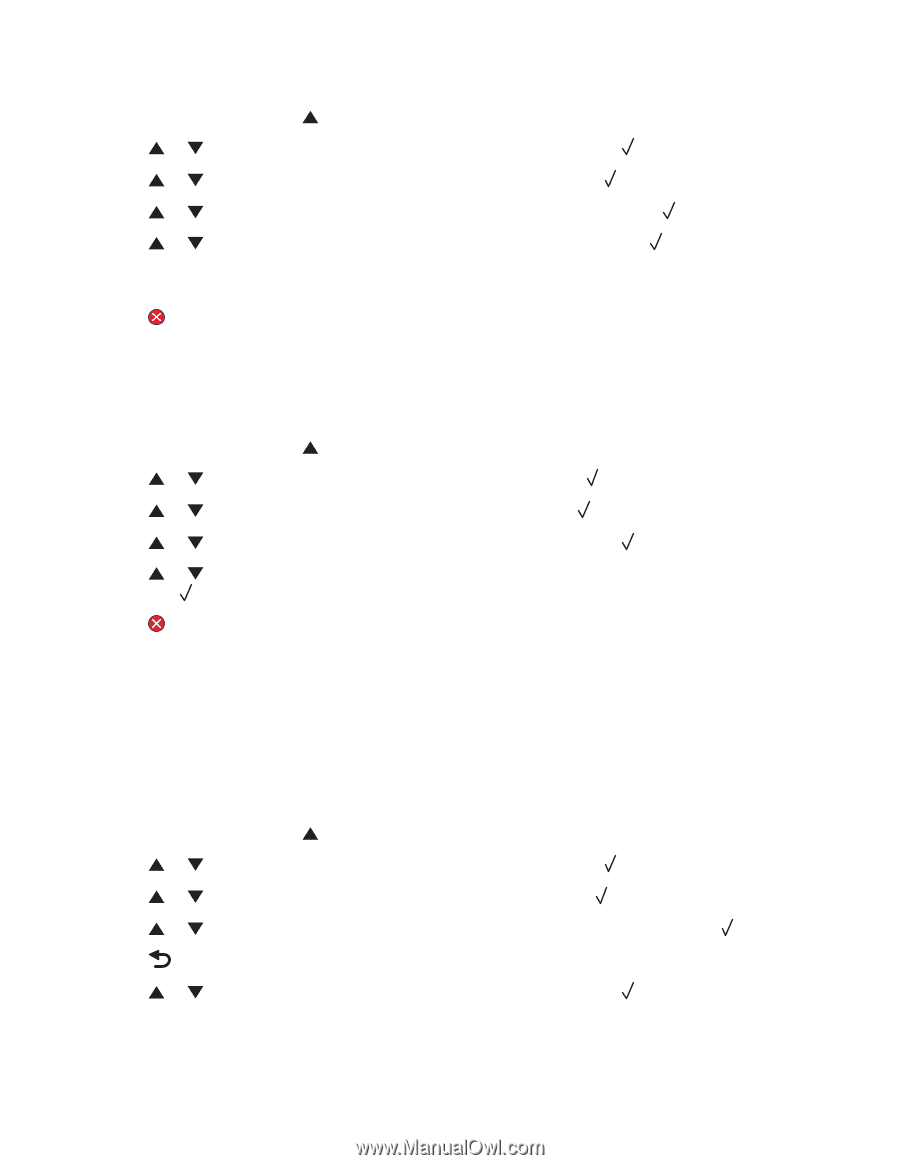
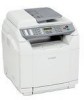
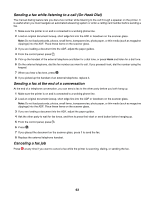
To set the volume for any of the above settings: 1 From the control panel, press . 2 Press or repeatedly until Machine Settings appears, and then press . 3 Press or repeatedly until Speaker Volume appears, and then press . 4 Press or repeatedly until the volume setting you want appears, and then press . 5 Press or repeatedly until the volume level you want appears, and then press . Note: Volume levels range from 0-3, with 0 being silent and 3 being the loudest volume. The factory default setting is 0. 6 Press to return to the Ready state. Setting the number of rings before receiving a fax automatically The Ring Count Delay sets the number of times the phone line rings before the printer answers in Fax Only mode. If you have extension phones on the same line as the printer, or subscribe to the telephone company's Distinctive Ring service, keep the Ring Count Delay setting at 4. 1 From the control panel, press . 2 Press or repeatedly until Fax Settings appears, and then press . 3 Press or repeatedly until RX Settings appears, and then press . 4 Press or repeatedly until Ring Count Delay appears, and then press . 5 Press or repeatedly to set how many times the phone line rings before the printer answers (0-99), and then press . 6 Press to return to the Ready state. When the number of rings you set is detected, the printer automatically receives the incoming fax. Set the Ring Count Delay to 0 to disable the line from ringing. Setting up to fax while behind a PBX If the printer is being used in a business or office, it may be connected to a Private Branch Exchange (PBX) telephone system. Ordinarily, when dialing a fax number, the printer waits to recognize the dial tone and then dials the fax number. However, this method of dialing may not work if the PBX telephone system uses a dial tone that is not recognizable to most fax machines. PBX Selection enables the printer to dial the fax number without waiting to recognize the dial tone. 1 From the control panel, press . 2 Press or repeatedly until Admin Settings appears, and then press . 3 Press or repeatedly until PBX Selection appears, and then press . 4 Press or repeatedly until the type of PBX connection you want appears, and then press . 5 Press to exit the PBX selection menu. 6 Press or repeatedly until PBX Access Digit appears, and then press . 68
-
 1
1 -
2
-
3
-
4
-
5
-
6
-
7
-
8
-
9
-
10
-
11
-
12
-
13
-
14
-
15
-
16
-
17
-
18
-
19
-
20
-
21
-
22
-
23
-
24
-
25
-
26
-
27
-
28
-
29
-
30
-
31
-
32
-
33
-
34
-
35
-
36
-
37
-
38
-
39
-
40
-
41
-
42
-
43
-
44
-
45
-
46
-
47
-
48
-
49
-
50
-
51
-
52
-
53
-
54
-
55
-
56
-
57
-
58
-
59
-
60
-
61
-
62
-
 63
63 -
 64
64 -
 65
65 -
 66
66 -
 67
67 -
 68
68 -
 69
69 -
 70
70 -
 71
71 -
 72
72 -
 73
73 -
74
-
75
-
76
-
77
-
78
-
79
-
80
-
81
-
82
-
83
-
84
-
85
-
86
-
87
-
88
-
89
-
90
-
91
-
92
-
93
-
94
-
95
-
96
-
97
-
98
-
99
-
100
-
101
-
102
-
103
-
104
-
105
-
106
-
107
-
108
-
109
-
110
-
111
-
112
-
113
-
114
-
115
-
116
-
117
-
118
-
119
-
120
-
121
-
122
-
123
-
124
-
125
-
126
-
127
-
128
-
129
-
130
-
131
-
132
-
133
-
134
-
135
-
136
-
137
-
138
-
139
-
140
-
141
-
142
-
143
-
144
-
145
-
146
-
147
-
148
-
149
-
150
 |
 |