Lexmark BDX5495HSN3 Fax Guide - Page 31
Understanding the Fax menu, Fax Mode, Start Color, Start Black
 |
UPC - 836367004401
View all Lexmark BDX5495HSN3 manuals
Add to My Manuals
Save this manual to your list of manuals |
Page 31 highlights
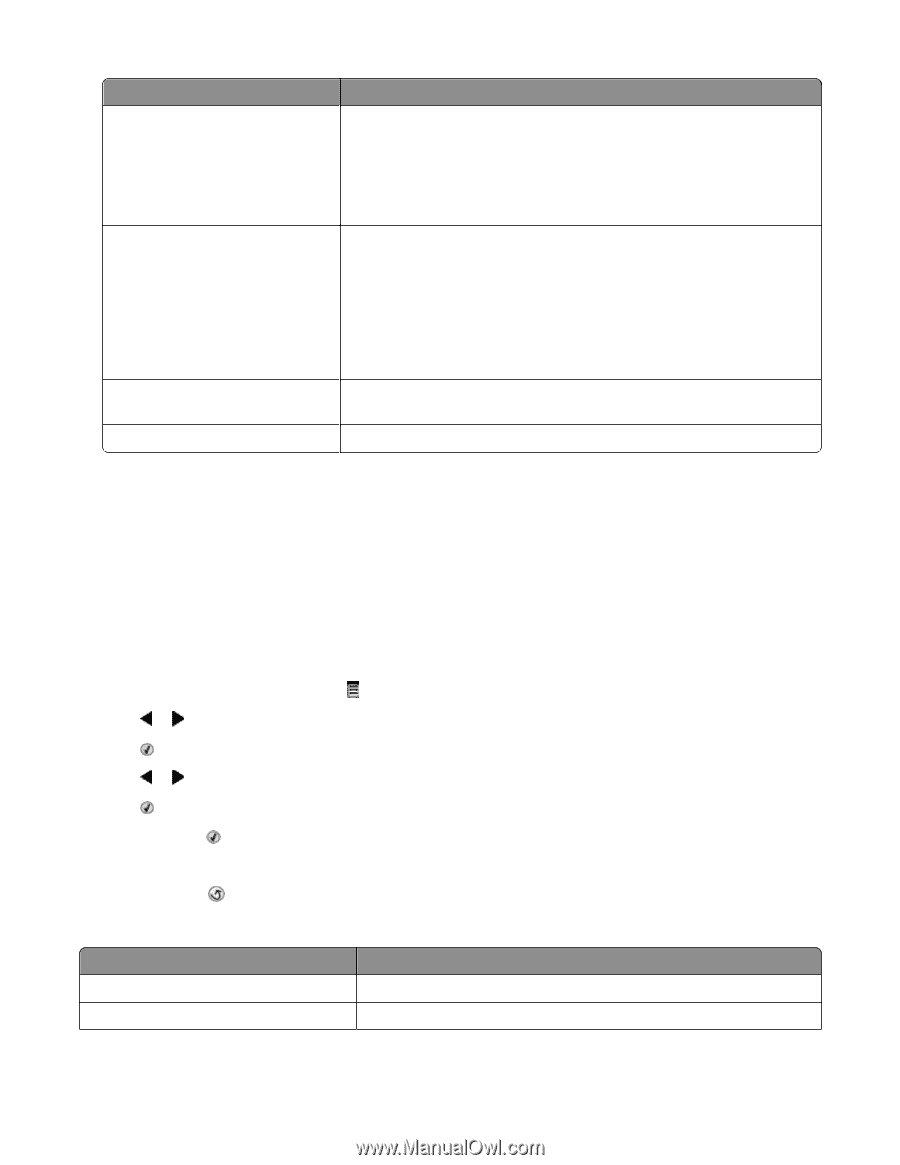
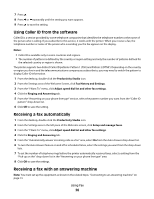
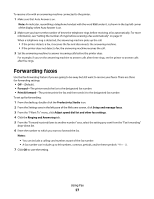
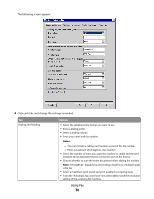
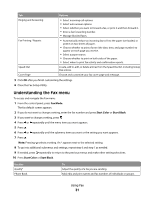
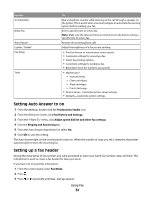
Tab Options Ringing and Answering • Select incoming call options. • Select auto answer options. • Select whether you want to forward a fax, or print it and then forward it. • Enter a fax forwarding number. • Manage blocked faxes. Fax Printing / Reports Speed Dial Cover Page • Automatically reduce an incoming fax to fit to the paper size loaded, or print it on two sheets of paper. • Choose whether to print a footer (the date, time, and page number) to appear on each page you receive. • Select a paper source. • Choose whether to print on both sides of the paper. • Select when to print fax activity and confirmation reports. Create, add to, edit, or delete entries from the Speed Dial list, including Group Dial entries. Choose and customize your fax cover page and message. 5 Click OK after you finish customizing the settings. 6 Close the Fax Setup Utility. Understanding the Fax menu To access and navigate the Fax menu: 1 From the control panel, press Fax Mode. The fax default screen appears. 2 If you do not want to change a setting, enter the fax number and press Start Color or Start Black. 3 If you want to change a setting, press . 4 Press or repeatedly until the menu item you want appears. 5 Press . 6 Press or repeatedly until the submenu item you want or the setting you want appears. 7 Press . Note: Pressing selects a setting. An * appears next to the selected setting. 8 To go into additional submenus and settings, repeat step 6 and step 7 as needed. 9 If needed, press repeatedly to return to the previous menus and make other setting selections. 10 Press Start Color or Start Black. Use this Quality* Phone Book To Adjust the quality of a fax you are sending. Add, edit, and print names and fax numbers of individuals or groups. Using Fax 31
-
 1
1 -
2
-
3
-
4
-
5
-
6
-
7
-
8
-
9
-
10
-
11
-
12
-
13
-
14
-
15
-
16
-
17
-
18
-
19
-
20
-
21
-
22
-
23
-
24
-
25
-
 26
26 -
 27
27 -
 28
28 -
 29
29 -
 30
30 -
 31
31 -
 32
32 -
 33
33 -
 34
34 -
 35
35 -
 36
36 -
37
-
38
-
39
-
40
-
41
-
42
-
43
-
44
-
45
-
46
-
47
-
48
-
49
-
50
-
51
-
52
 |
 |