Lexmark C540 Maintenance Guide - Page 9
Replacing a black imaging kit, Imaging Kit
 |
View all Lexmark C540 manuals
Add to My Manuals
Save this manual to your list of manuals |
Page 9 highlights
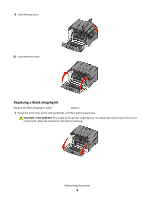
9 Close the top door. 10 Close the front door. Replacing a black imaging kit Replace the black imaging kit when Imaging Kit appears. 1 Grasp the front door at the side handholds, and then pull it toward you. CAUTION-HOT SURFACE: The inside of the printer might be hot. To reduce the risk of injury from a hot component, allow the surface to cool before touching. Maintaining the printer 9
-
 1
1 -
2
-
3
-
 4
4 -
 5
5 -
 6
6 -
 7
7 -
 8
8 -
 9
9 -
 10
10 -
 11
11 -
 12
12 -
 13
13 -
 14
14 -
15
-
16
-
17
-
18
-
19
-
20
-
21
-
22
-
23
-
24
-
25
-
26
-
27
-
28
 |
 |
9
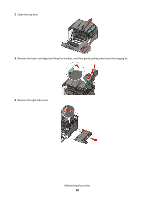
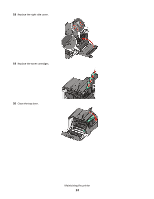
Close the top door.
10
Close the front door.
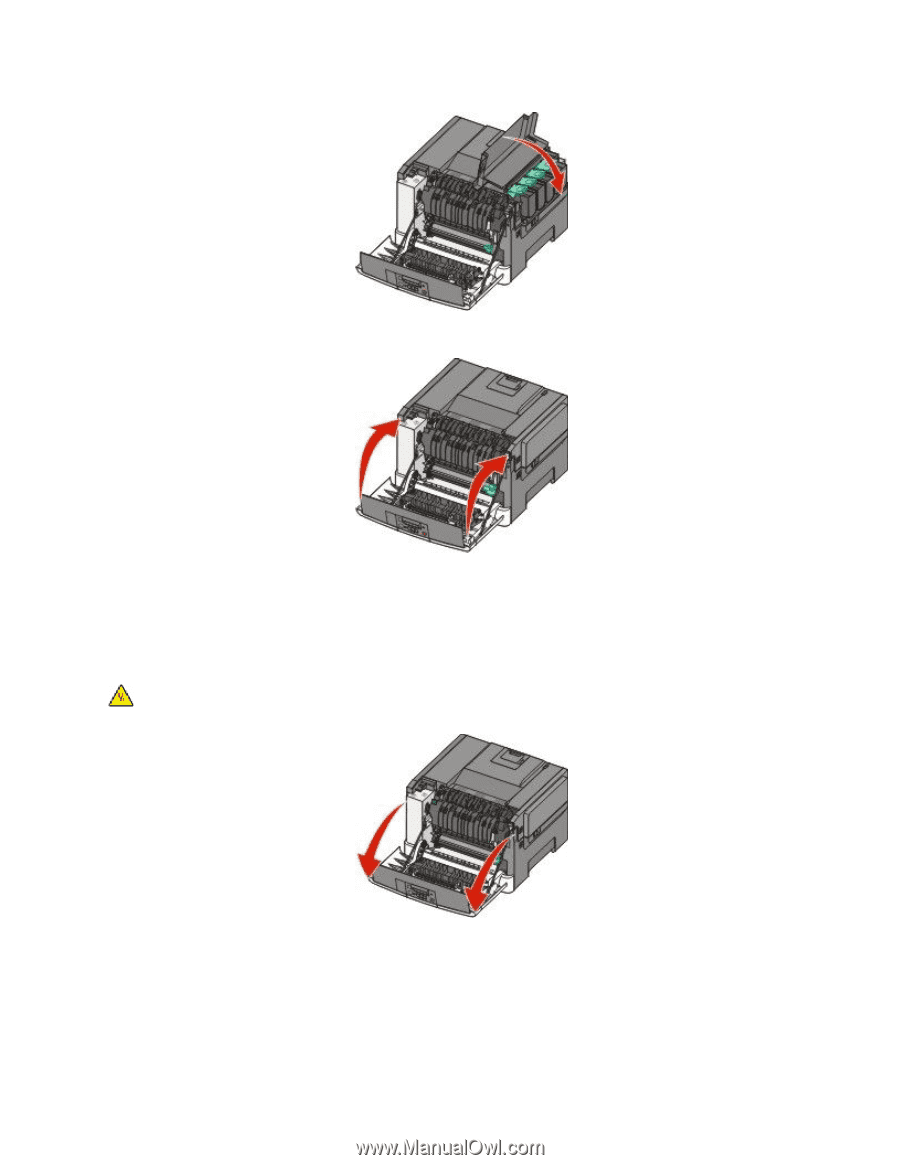
Replacing a black imaging kit
Replace the black imaging kit when
Imaging Kit
appears.
1
Grasp the front door at the side handholds, and then pull it toward you.
CAUTION—HOT SURFACE:
The inside of the printer might be hot. To reduce the risk of injury from a hot
component, allow the surface to cool before touching.
Maintaining the printer
9