Lexmark T642 Troubleshooting Guide - Page 4
Print quality, troubleshooting, Solving print quality, problems - toner
 |
UPC - 734646722001
View all Lexmark T642 manuals
Add to My Manuals
Save this manual to your list of manuals |
Page 4 highlights
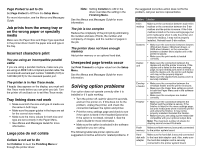
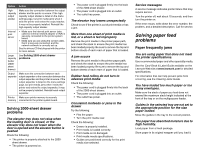
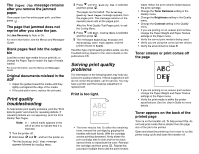
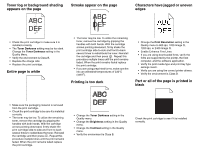
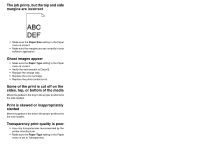
The Paper Jam message remains after you remove the jammed paper. Clear paper from the entire paper path, and then press . The page that jammed does not reprint after you clear the jam. Set Jam Recovery to Auto or On. For more information, see the Menus and Messages Guide Blank pages feed into the output bin Load the correct type media for your print job, or change the Paper Type to match the type of media loaded. For more information, see the Menus and Messages Guide. Original documents misfeed in the ADF • Adjust the guides toward the media until they lightly rest against the edge of the media. • If the pick pad is worn, replace the pick pad. Print quality troubleshooting To help isolate print quality problems, print the "Print defects guide" and check for repeating defects. If repeating defects are not appearing, print the Print Quality Test Pages. Note: A (check mark) appears to the left of an item to indicate that it is selected. 1 Turn the printer off. 2 Hold down and , and turn the printer on. The Performing Self Test message appears followed by Config Menu. 3 Press until Prt Quality Pgs is selected, and then press . The pages are formatted. The Printing Quality Test Pages message appears, then the pages print. The message remains on the operator panel until all the pages print. After the Print Quality Test Pages print, to exit the Config Menu: 4 Press until Exit Config Menu is selected, and then press . 5 The messages Resetting Printer and Performing Self Test appear, and the printer returns to Ready. If another type of print quality problem exists, see the Troubleshooting chapter in the User's Guide on the publications CD. Solving print quality problems The information in the following table may help you solve print quality problems. If these suggestions still do not correct the problem, call for service. You may have a printer part that requires adjustment or replacement. Print is too light. • The toner may be low. To utilize the remaining toner, remove the cartridge by gripping the handles with both hands. With the cartridge arrows pointing downward, firmly shake the print cartridge side-to-side and front-to-back several times to redistribute the toner. Reinstall the cartridge and then press . Repeat this procedure multiple times until the print remains faded. When the print remains faded replace the print cartridge. • Change the Toner Darkness setting in the Quality menu. • Change the Brightness setting in the Quality menu. • Change the Contrast setting in the Quality menu. • If you are printing on an uneven print surface, change the Paper Weight and Paper Texture settings in the Paper menu. • Verify the correct print media is being used. • Verify you are using the correct printer drivers. • Verify the environment is Class B. Toner smears or print comes off the page • If you are printing on an uneven print surface, change the Paper Weight and Paper Texture settings in the Paper menu. • Verify the print media is within the printer specifications. See the User's Guide for more details. Toner appears on the back of the printed page Toner is on the transfer roll. To help prevent this, do not load print media that is smaller than the page size of the job to be printed. Open and close the printer top front cover to run the printer setup cycle and clean the transfer roll.
-
 1
1 -
 2
2 -
 3
3 -
 4
4 -
 5
5 -
 6
6
 |
 |