Lexmark X560n Quick Reference - Page 3
Copying - user guide
 |
View all Lexmark X560n manuals
Add to My Manuals
Save this manual to your list of manuals |
Page 3 highlights
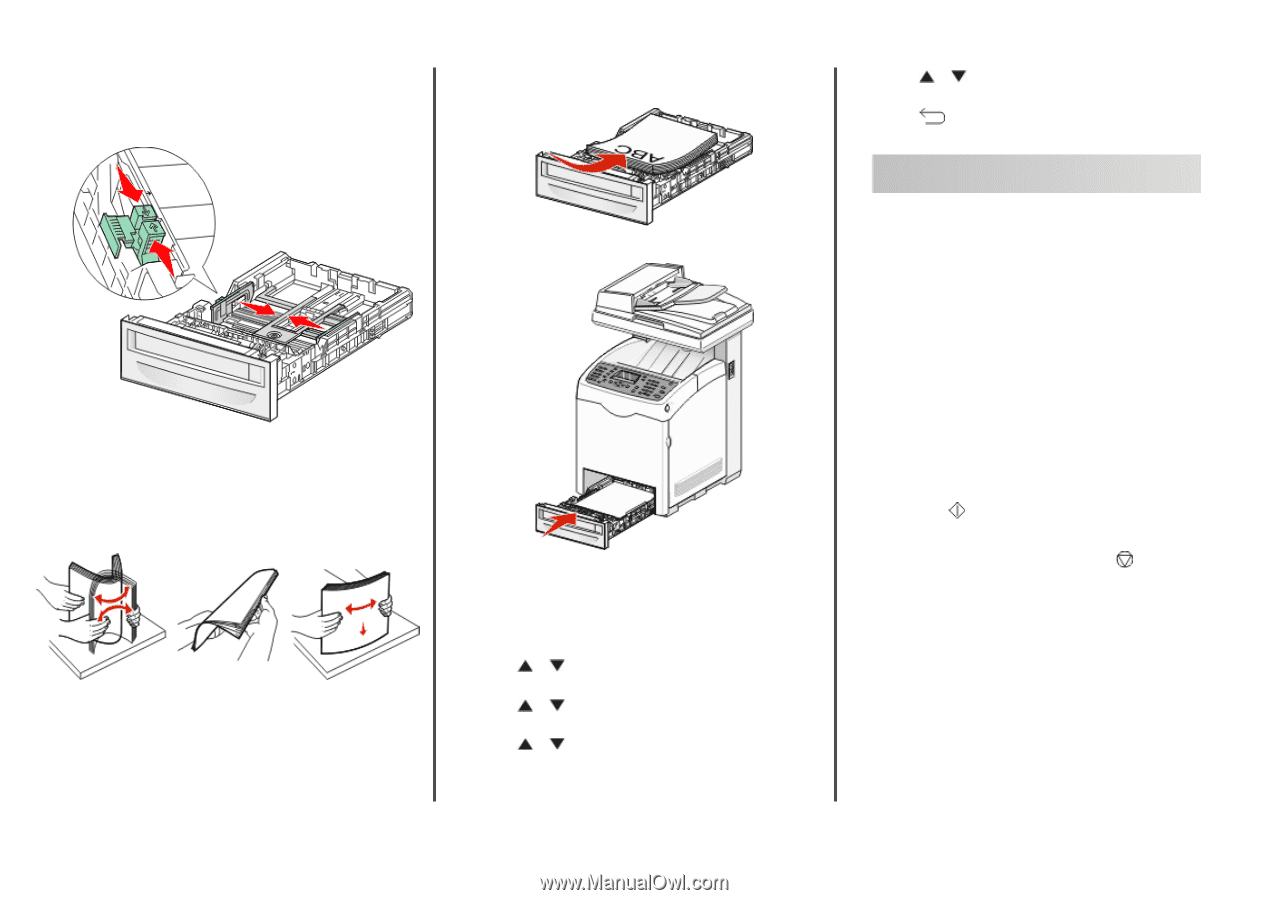
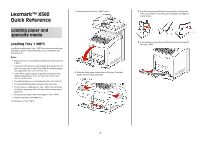
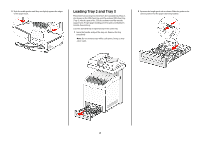
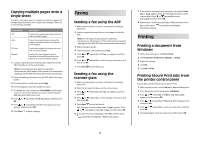
3 Squeeze the width guide tabs together as shown, and slide the width guide to the correct position for the paper size being loaded. Note: Notice the load line label on the side of the tray which indicates the maximum stack height for your paper. 4 Flex the sheets back and forth to loosen them, and then fan them. Do not fold or crease the paper. Straighten the edges on a level surface. 5 Load the paper stack with the recommended print side faceup. Load the stack toward the back of the tray as shown. When loading preprinted letterhead, place the header toward the front of the tray. 6 Align the tray, and insert it. Setting the Paper Type 1 Make sure the printer is on and Select Function appears. 2 From the printer control panel, press System. 3 Press or repeatedly until Tray Settings appears, and then press OK. 4 Press or repeatedly until the desired tray appears, and then press OK. 5 Press or repeatedly until Paper Type appears, and then press OK. 6 Press or repeatedly to select the desired paper type, and then press OK. 7 Press repeatedly until Select Function appears. Copying Making a copy 1 Load an original document faceup, short edge first into the ADF or facedown on the scanner glass. Note: Do not load postcards, photos, small items, transparencies, photo paper, or thin media (such as magazine clippings) into the ADF. Place these items on the scanner glass. 2 If you are loading a document into the ADF, adjust the paper guides. 3 From the printer control panel, press Copy. 4 Use the keypad to enter the number of copies. 5 To change the color mode, press Color Mode until the light comes on next to the selection you want. Choose between B&W (black and white) and Color. 6 Adjust the copy options. 7 Press Start Notes: to begin copying. • To cancel the copy function, press Stop at any time. • Print jobs are interrupted when users make copies. Printing continues while the printer scans the originals. When the copies are ready to print, the print job pauses, the copies print, and then the print job resumes. Copies cannot be made while printing a received fax. 3
-
 1
1 -
 2
2 -
 3
3 -
 4
4 -
 5
5
 |
 |