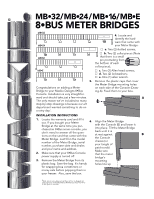
Mackie 24.8Bus Meter Bridge - Page 3
L/R MIX. Turn up the L/R MIX fader.
 |
View all Mackie 24.8Bus manuals
Add to My Manuals
Save this manual to your list of manuals |
Page 3 highlights
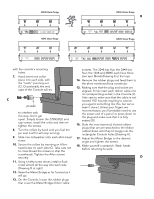
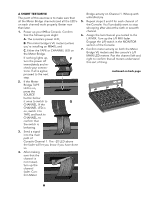
A SHORT TEST-DRIVE The point of this exercise is to make sure that all the Meter Bridge channels (and all the LED's on each channel) work properly. Better now than later. 1. Power up your 8•Bus Console. Confirm that the following are alight: A. The console's power LED; B. The meter bridge's VU meters (unless you're installing an MB•E); and C. Either the TAPE or CHANNEL LED on the Meter Bridge. If nothing lights up, F turn the power off immediately and re- check your connec- tions. If all is aglow, proceed to the next step. Bridge activity on Channel 1. Whoop with unbridled joy. 5. Repeat steps 3 and 4 for each channel of the Console. You'll probably want to stop whooping after about the sixth or seventh channel. 6. Assign the last channel you tested to the L/R MIX. Turn up the L/R MIX fader. Engage the L/R switch in the MONITOR section of the Console. 7. Confirm meter activity on both the Meter Bridge VU meters and the console's L/R MAIN LED meters. Pan the channel left and right to confirm that all meters understand this sort of thing. continued on back page 2. If the Meter Bridge TAPE LED is on, press the SOURCE button below it once to switch to G CHANNEL. If the CHANNEL LED is on, switch it to TAPE and back to CHANNEL, to confirm that the switch is behaving. 3. Send a signal into the main path of Console Channel 1. The -20 LED above the fader will let you know if you have done so. 4. After making sure that the channel is not muted, turn up the channel fader. Confirm Meter H
-
 1
1 -
 2
2 -
 3
3 -
 4
4
 |
 |
