McAfee IIP-M80K-ISAA Quick Start Guide - Page 4
Intrushield Getting Started Guide, Intrushield Sensor, Configuration Guide-using ISM, Intrushield - quick start guide
 |
View all McAfee IIP-M80K-ISAA manuals
Add to My Manuals
Save this manual to your list of manuals |
Page 4 highlights
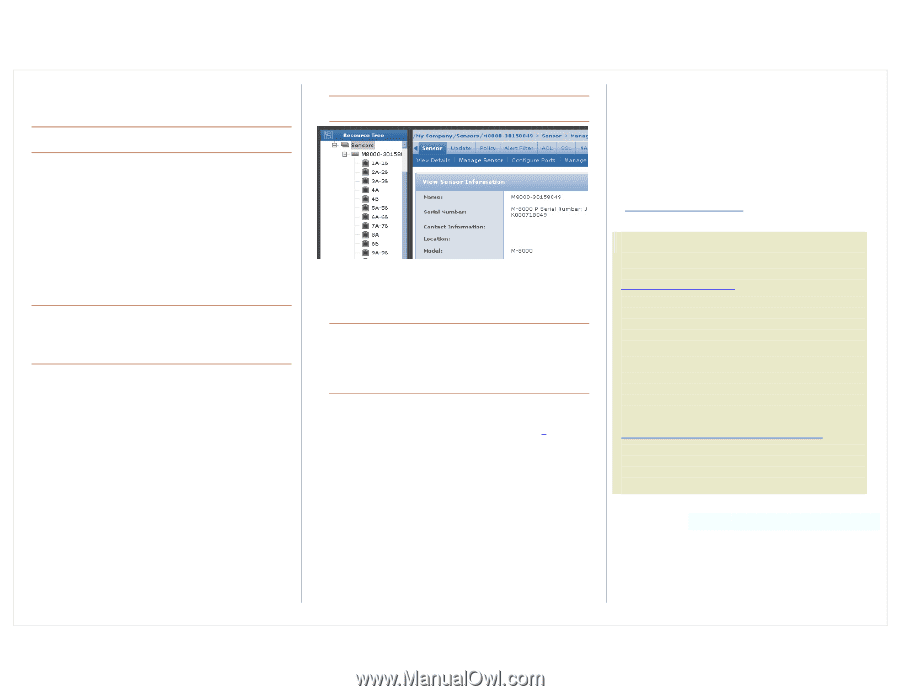
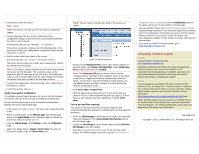
8. If prompted, reboot the sensor: Type: reboot Note: The sensor can take up to five minutes to complete its reboot. 9. Ping the Manager from the sensor to determine if your configuration settings to this point have successfully established the sensor on the network: At the prompt, type: ping If the ping is successful, continue with the following steps. If not, type show to verify your configuration settings and check that the information is correct. 10. Set the shared secret key value for the sensor: At the prompt, type: set sensor sharedsecretkey. The sensor then prompts you to enter and, subsequently, confirm the shared secret key value. Note: This value is used to establish a trust relationship between the sensor and the Manager. The secret key value can be between 8 and 25 characters of any ASCII text. The shared key value is case-sensitive. Make sure the value matches the shared secret key value you provided in the Manager interface. 11. To verify the configuration information, type show. Check that all information is correct. 12. To exit the session, type exit. Verify successful installation A handshake process begins between the sensor and the Manager. The devices will take a few seconds to establish communication. Perform the following steps to verify successful communication between the sensor and the Manager. 1. In the sensor CLI, type: status. The status report appears similar to this 2. Return to the Manager. In the ISM Home page, view the Manager status in the System Health section. Manager status should be up, and sensor status should be active. 3. From the ISM Home page, click Configure to open the Configuration page. 4. Select your added sensor: Sensors > Sensor_Name. The ports for this sensor appear under the Sensor_Name node. Note: "Sensor_Name" indicates the name of the sensor you added. Figure 15: Sensor and ports 5. A policy named Default Inline IPS is active upon sensor addition. To view this policy, click Policies > IPS Policy Editor. Select Default Inline IPS from the list and then click View/Edit. Note: The Default Inline IPS policy contains attacks already configured with a "blocking" sensor response action; if any attack in the policy is triggered, the sensor automatically blocks the attack. To tune this or any other McAfee-provided policies, you can clone the policy and then customize it as described in the Policies Configuration Guide. 6. Click Sensor_Name > Configure Ports. 7. Click the button representing the ports on the sensor that you cabled in STEP1, Cable the Monitoring ports (on page 2). Ensure that your port settings match the cabling (for example, In-line mode). You're up and the running! Your sensor is actively monitoring connected segments and communicating with the Manager for administration and management operations. Check the ISM home page for alert statistics as attacks are detected. These are displayed in the Unacknowledged Alert Summary area of the ISM Home page. Launch the Alert Manager from the Home page by clicking Real-time Alert Manager to see alert details. Read the Intrushield Getting Started Guide for an overview of the system. For detailed usage instructions, see the Intrushield Sensor Configuration Guide-using ISM, or click the Detailed Help buttons in the upper-right corner of each window in the Manager. Having problems? Check the Intrushield Troubleshooting Guide for troubleshooting information. Note that most deployment problems stem from configuration mismatches the sensor and the network devices to which it is connected. Check your duplex and auto-negotiation settings on both devices to ensure and stood are synchronized. If you need to contact Technical Support, go to https://mysupport.mcafee.com. Contacting Technical Support On-line Contact McAfee Technical Support http://mysupport.mcafee.com. Registered customers can obtain up-to-date documentation, technical bulletins, and quick tips on McAfee's 24x7 comprehensive KnowledgeBase. In addition, customers can also resolve technical issues with the online case submit, software downloads, and signature updates. Phone Technical Support is available 7:00 A.M. to 5:00 P.M. PST Monday-Friday. Extended 24x7 Technical Support is available for customers with Gold or Platinum service contracts. Global phone contact numbers can be found at McAfee Contact Information http://www.mcafee.com/us/about/contact/index.html page. Note: McAfee requires that you provide your GRANT ID and the serial number of your system when opening a ticket with Technical Support. You will be provided with a user name and password for the online case submission. 700-2080-00-G Copyright ® 2001 - 2009 McAfee, Inc. All Rights Reserved.
-
 1
1 -
 2
2 -
 3
3 -
 4
4
 |
 |