Netgear FVG318v1 FVG318 to NETGEAR VPN Client
Netgear FVG318v1 - ProSafe 802.11g Wireless VPN Firewall Switch Manual
 |
View all Netgear FVG318v1 manuals
Add to My Manuals
Save this manual to your list of manuals |
Netgear FVG318v1 manual content summary:
- Netgear FVG318v1 | FVG318 to NETGEAR VPN Client - Page 1
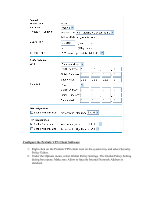
Configure VPN between ProSafe VPN Client Software and FVG318 The following configuration is tested with: NETGEAR FVG318 with firmware version 1.0.41 NETGEAR ProSafe VPN Client Software version 10.5.1 Configure the FVG318 1. Log into the FVG318's admin GUI. 2. Click on VPN Wizard on the left panel - Netgear FVG318v1 | FVG318 to NETGEAR VPN Client - Page 2
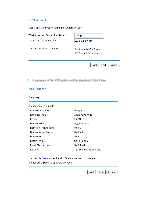
5. A summary of the VPN policy will be displayed. Click Done. - Netgear FVG318v1 | FVG318 to NETGEAR VPN Client - Page 3
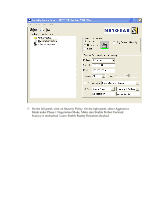
6. You can review the IKE policy and VPN policy by clicking on IKE Policies. 7. And VPN Policies under VPN. In most cases, you can just leave them as it. - Netgear FVG318v1 | FVG318 to NETGEAR VPN Client - Page 4
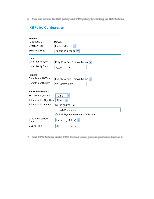
Security Policy Editor. 2. Under the Options menu, select Global Policy Settings. The Global Policy Setting dialog box opens. Make sure Allow to Specify Internal Network Address is checked. - Netgear FVG318v1 | FVG318 to NETGEAR VPN Client - Page 5
will be created. You can rename the connection name by double click on the name. On the right panel, under Remote Party Identity and Addressing, select IP Subnet as ID Type, enter the LAN subnet on the FVG318 as Subnet and enter the LAN subnet mask as Mask. Choose All for Protocol - Netgear FVG318v1 | FVG318 to NETGEAR VPN Client - Page 6
5. On the left panel, click on Security Policy. On the right panel, select Aggressive Mode under Phase 1 Negotiation Mode. Make sure Enable Perfect Forward Secrecy is unchecked. Leave Enable Replay Detection checked. - Netgear FVG318v1 | FVG318 to NETGEAR VPN Client - Page 7
name will be testvpn1.fvg_remote.com. Another VPN client user can use testvpn2.fvg_remote.com as domain name. For Virtual Adapter, select Disabled. Enter 0.0.0.0 for Internal Network IP Address. Select Any for Internet Interface. If you cannot find Domain Name under ID Type, you may not have select - Netgear FVG318v1 | FVG318 to NETGEAR VPN Client - Page 8
7. Click on the Pre-Shared Key button, and Click Enter Key. Enter the same preshared key you've entered when configure the FVG318. Click OK. - Netgear FVG318v1 | FVG318 to NETGEAR VPN Client - Page 9
8. On the left panel, expand Security Policy and Authentication (Phrase 1) and click on Proposal 1. On the right panel, you can keep everything as default. Make sure they match the screen below. 9. On the left panel, expand on Key Exchange (Phrase 2) and click on Proposal 1. On the right panel, left - Netgear FVG318v1 | FVG318 to NETGEAR VPN Client - Page 10
won't be able to ping the LAN interface IP address of the FVG318. 14. If the VPN will not connect, double check the parameters in both the FVG318 and the VPN Client Policy, make sure they are matching on both side. 15. For more troubleshooting, you can review the VPN log on the - Netgear FVG318v1 | FVG318 to NETGEAR VPN Client - Page 11
-
 1
1 -
 2
2 -
 3
3 -
 4
4 -
 5
5 -
 6
6 -
 7
7 -
8
-
9
-
10
-
11
 |
 |
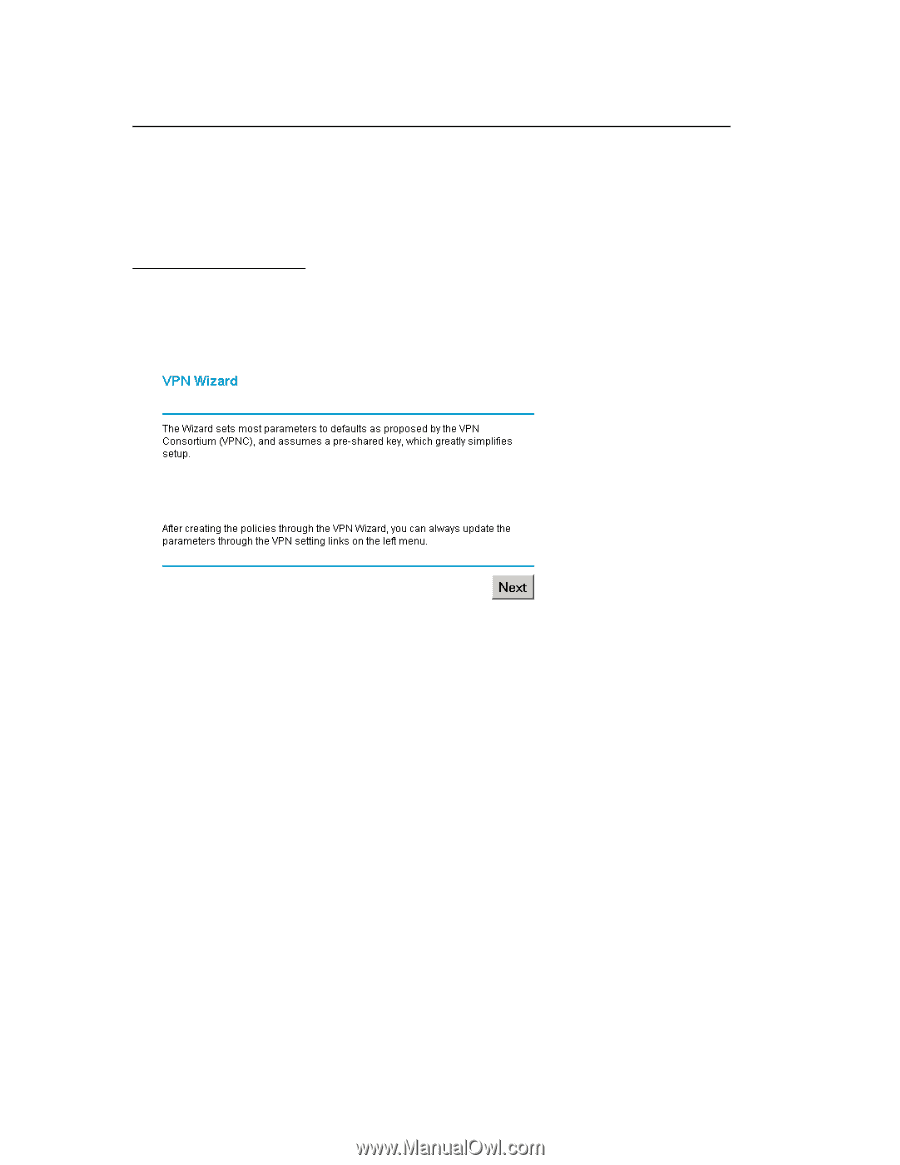
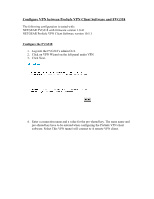
Configure VPN between ProSafe VPN Client Software and FVG318
The following configuration is tested with:
NETGEAR FVG318 with firmware version 1.0.41
NETGEAR ProSafe VPN Client Software version 10.5.1
Configure the FVG318
1.
Log into the FVG318’s admin GUI.
2.
Click on VPN Wizard on the left panel under VPN.
3.
Click Next.
4.
Enter a connection name and a value for the pre-shared key. The same name and
pre-shared key have to be entered when configuring the ProSafe VPN client
software. Select This VPN tunnel will connect to A remote VPN client.