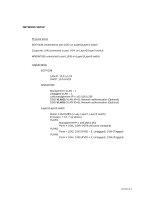
Netgear WNDAP350 Layer 2/Layer and WNDAP330 to host a multi-SSID and multi-VL - Page 6
Access Point Configuration, Vlan2, Vlan3
 |
UPC - 606449064643
View all Netgear WNDAP350 manuals
Add to My Manuals
Save this manual to your list of manuals |
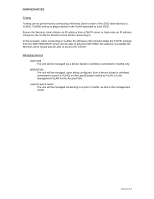
Page 6 highlights
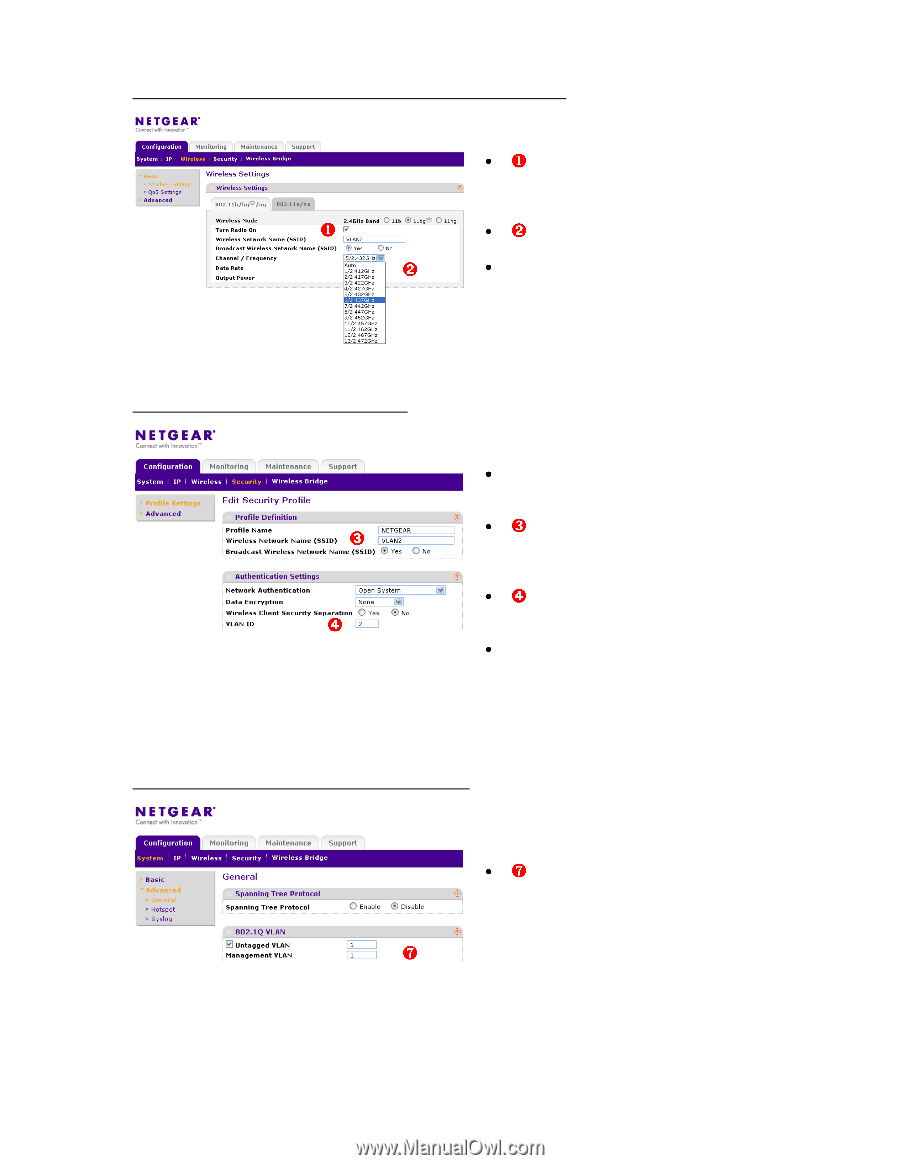
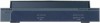
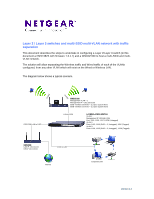
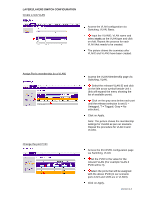
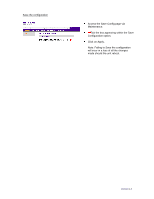
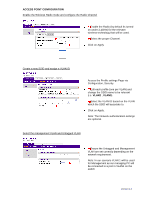
ACCESS POINT CONFIGURATION Enable the Wireless Radio mode and configure the Radio Channel Enable the Radio (by default its turned on under 2.4GHz) for the relevant wireless technology that will be used. Select the proper Channel. Click on Apply Create a new SSID and assign a VLAN ID Access the Profile settings Page via Configuration, Security. Edit each profile (one per VLAN) and change the SSID name to be relevant (i.e. VLAN2 , VLAN3). Select the VLAN ID based on the VLAN which the SSID will associate to. Click on Apply. Note: The Network authentication settings are optional. Select the management VLAN and Untagged VLAN Ensure the Untagged and Management VLAN are set correctly depending on the network requirement. Note: In our scenario VLAN 1 will be used for Management as our managing PC will be connected to a port in VLAN1 on the switch Version 1.0
-
 1
1 -
 2
2 -
 3
3 -
 4
4 -
 5
5 -
 6
6 -
 7
7
 |
 |