Nextar I4-BC User Guide
Nextar I4-BC - Automotive GPS Receiver Manual
 |
UPC - 714129937269
View all Nextar I4-BC manuals
Add to My Manuals
Save this manual to your list of manuals |
Nextar I4-BC manual content summary:
- Nextar I4-BC | User Guide - Page 1
: If you are not experienced in working with electrical wiring, you should seriously consider having your reversing camera installed by a professional. Refer to service manual for servicing instructions. To reduce the risk of fire or electric shock, do not expose this apparatus to rain or moisture - Nextar I4-BC | User Guide - Page 2
Install in accordance with the manufacturer's instructions. 8) Do not install near your outlet, consult an electrician for replacement of the obsolete outlet. 10) . 14) Refer all servicing to qualified service personnel. Servicing is required when the GPS from being damaged, be sure to keep the - Nextar I4-BC | User Guide - Page 3
replaced. Replace only with the same or equivalent type. The batteries (or batteries installed) shall not be exposed to excessive heat such as sunshine, fire or the like. Underwriters Laboratories Inc. ("UL") has not tested the performance or reliability of the Global Positioning System ("GPS - Nextar I4-BC | User Guide - Page 4
and used in accordance with the instructions, may cause harmful interference to radio receiver. Connect the equipment into an outlet on a circuit different from that to which the receiver is connected. 3. Consult the dealer or an experienced radio/TV technician for help. The images in this manual - Nextar I4-BC | User Guide - Page 5
Accessories Accessories List ITEM NAME Instruction Manual Reversing Camera (With fitting parts) AC Adaptor QTY 2 1 1 Car Adaptor 1 Mounting Bracket 1 USB Cable 1 Mounting Cradle 1 Stylus 1 Dashboard Mount Disk 1 Pouch 1 NOTE Accessories and their parts numbers - Nextar I4-BC | User Guide - Page 6
Contents Important Safety Instructions Accessories View of Main Unit System Connections Power Supply Preparation General Setup Playing Music Photo Viewer GPS Unit Installation Reversing Camera Troubleshooting Specifications 1 5 7 8 10 12 16 18 20 21 26 28 6 - Nextar I4-BC | User Guide - Page 7
speaker will be turned off automatically. 4. DC 5V Input Jack Used to connect to the supplied adaptor. 5. LCD Screen 6. Grooves Used to connect the receiver located in the mount cradle for reversing camera signal input. 7. USB Port Used to connect to the USB device. 8. ON/OFF Switch Used to switch - Nextar I4-BC | User Guide - Page 8
with a USB port which allows you to connect the unit to a PC for map updating. See the figure below for details: System requirements: -Windows 98SE, ME, 2000 and XP (Driver required for Windows 98SE) -DVD Rom Drive (for map upgrade purposes) -Intel Pentium II 233 MHz -64 MB RAM -50 MB available hard - Nextar I4-BC | User Guide - Page 9
System Connections Inserting SD Card The unit is designed with an SD Card slot which allows you to insert an SD card into the unit as - Nextar I4-BC | User Guide - Page 10
power off before unplugging. When using the adaptor, the LCD screen will be brighter than with the rechargeable battery. Using the Car Adaptor The unit is supplied with a the vehicle. Your portable GPS unit comes with a built-in rechargeable battery. Please see details in the following segment. 10 - Nextar I4-BC | User Guide - Page 11
product on a bed, sofa or anything that may block ventilation to the product. When the battery is weak, an indication menu will appear on the LCD screen and the unit will power off automatically after a while. Charging the Battery Pack The battery must be charged by using the supplied adaptors. 11 - Nextar I4-BC | User Guide - Page 12
exit the program now, as shown below. In the confirmation screen, tap and the system main menu appears. In the main menu, there are four items for selecting. Touch the corresponding item to enter. Tap to enter navigation mode; tap to enter the MP3 player; tap to enter the Photo Viewer; tap - Nextar I4-BC | User Guide - Page 13
General Setup Language Tap in the settings menu to enter Language settings menu for language selecting, as shown below: Tap the cancel. buttons to select language. Then tap to confirm or tap to Backlight Tap in the settings menu to enter Backlight settings menu for backlight adjusting, as shown - Nextar I4-BC | User Guide - Page 14
change the corresponding time. Tap to return. buttons of buttons of Time Power Tap in the settings menu to enter Power menu for the current battery status, as shown below: The power menu will display the current - Nextar I4-BC | User Guide - Page 15
General Setup Screen Tap in the settings menu, the screen will display as below: This item is used to calibrate the sensitivity of the touch screen. Tap the center of "+" as it moves around the screen. If you touch the center of "+" every time, it will disappear after having moved through a cycle ( - Nextar I4-BC | User Guide - Page 16
slot. You can insert an SD card with MP3 and WMA files. It supports MP3 and WMA files playback. Note: Do not store MP3, WWA files in the Flash storage, for the flash storage is used to store map data, any attempt to open the Flash storage may result in missing and - Nextar I4-BC | User Guide - Page 17
Playing Music When you open the play list, the system will look for MP3 files on its SD memory card and create a play list Tap to pause the playback, and then tap to resume the playback. Tap to go back to the previous song; tap to skip to the next song. Use to adjust the volume of the speaker. - Nextar I4-BC | User Guide - Page 18
SD card slot. You can insert the SD card with JPG files. It supports JPG format files playback. Note: Do not store JPG format files in the Flash storage, for the flash storage is used to store map data, any attempt to open the Flash storage may result in missing and lost - Nextar I4-BC | User Guide - Page 19
it on screen, as shown below. On the playback screen, the Photo Viewer has following playback features: Tap to rotate the picture. Tap to go back to the previous picture; tap to switch to the next picture. Tap , to zoom the picture in or out. Tap to play the picture in - Nextar I4-BC | User Guide - Page 20
bracket, mount cradle, etc.): Fig 1 Fig 2 Fig 3 1. See Fig. 1. Fix the unit on mount cradle. There is one wireless receiver in the mount cradle. It can receive the signal sent by the emitter in the Reversing Camera and input these signals into the GPS unit by the combination of the unit and the - Nextar I4-BC | User Guide - Page 21
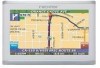
INTRODUCTION TO YOUR REVERSING CAMERA: Your navigation system comes equip with a wireless reversing camera. Upon placing the vehicle in reverse, the reversing camera engages and an image of behind your vehicle is displayed on the 4.3 inch LCD screen. This view will aid you in backing up your vehicle - Nextar I4-BC | User Guide - Page 22
side up or else the picture will be displayed upside down on your LCD screen. If this occurs, you must remove the camera from the license plate and turn it the other way around. To assist you in avoiding this problem, the reversing camera has a yellow sticker with an arrow pointing which way the - Nextar I4-BC | User Guide - Page 23
. From the inside of the hole, pull the wire all the way through until there is enough slack to allow proper placement of the reversing camera to the vehicle body with license plate. CAUTION: Drilling into the body of your vehicle could cause damage to vital vehicle components such as electrical - Nextar I4-BC | User Guide - Page 24
Repeat steps i. - iii. with the second screw into the other lower portion license plate hole; and v. Now tighten both screws/bolts until the reversing camera and license plate are firmly secured to the vehicle body. B STEP THREE: Accessing the Power Source. You must now determine a route to run your - Nextar I4-BC | User Guide - Page 25
on your LCD screen is upside down, you must exit the vehicle, detach the reversing camera from the license plate, turn it clockwise or counterclockwise (180 degrees), and affix the camera to the license plate. For further troubleshooting suggestions, please see the back pages of the I4-BC manual. 25 - Nextar I4-BC | User Guide - Page 26
Troubleshooting Take steps described in the tables below to solve simple problems before contacting customer service. If you suspect something wrong with the unit, immediately turn the power off and disconnect the power connector from the unit. Never try to repair - Nextar I4-BC | User Guide - Page 27
Troubleshooting PROBLEM POSSIBLE CAUSE POSSIBLE SOLUTION The unit can receive signals now but can't then; signals received are not stable. The unit may be reset the player. If the problems still exist, please cut off the power supply and consult your service center or a qualified technician. 27 - Nextar I4-BC | User Guide - Page 28
- Nextar I4-BC | User Guide - Page 29
-
 1
1 -
 2
2 -
 3
3 -
 4
4 -
 5
5 -
 6
6 -
 7
7 -
8
-
9
-
10
-
11
-
12
-
13
-
14
-
15
-
16
-
17
-
18
-
19
-
20
-
21
-
22
-
23
-
24
-
25
-
26
-
27
-
28
-
29
 |
 |
1
,
POWER SUPPLY:
Connect the supplied adaptor to the side of the unit in the slot marked “DC 5V IN”. Plug
the two-prong end of the power cord into an AC outlet or the cigarette lighter socket of
the vehicle. If you have difficulty inserting the plug, turn it over and reinsert it. If the unit is
not used for a long time, disconnect the plug from the socket.
NOTE:
Before plugging the power cord into an AC outlet or a cigarette lighter socket of vehicle,
make sure that all the connections have been made.
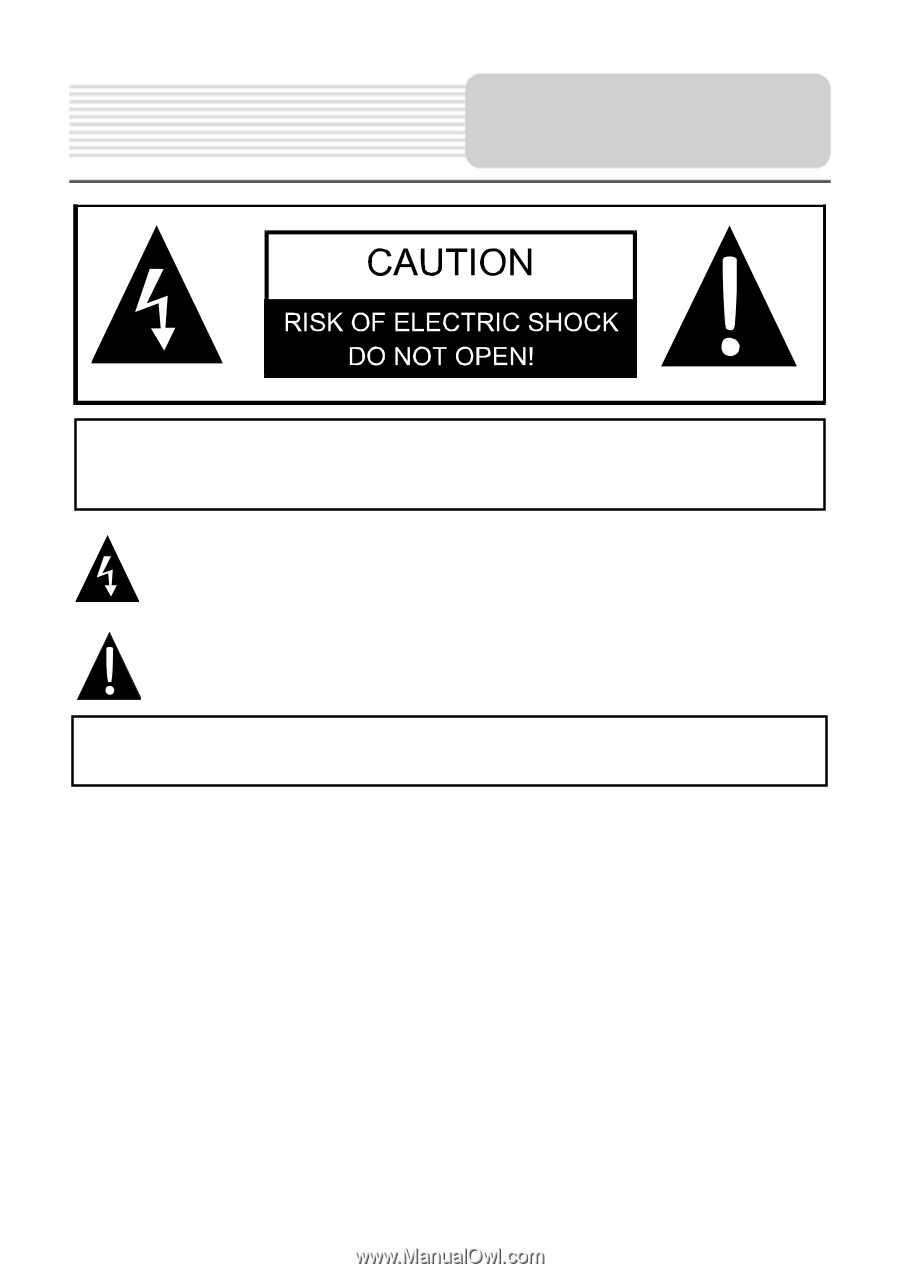
CAUTION:
To reduce the risk of electric shock, do not perform any servicing other than
that contained in the operation instructions unless you are qualified to do so.
CAUTION:
If you are not experienced in working with electrical wiring, you should
seriously consider having your reversing camera installed by a professional.
Refer to service manual for servicing instructions. To reduce the risk of fire or electric
shock, do not expose this apparatus to rain or moisture.
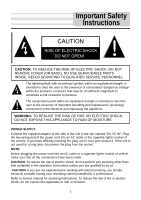
CAUTION:
TO REDUCE THE RISK OF ELECTRIC SHOCK, DO NOT
REMOVE COVER (OR BACK). NO USE-SERVICEABLE PARTS
INSIDE. REFER SERVICING TO QUALIFIED SERVICE PERSONNEL.
The lightning flash with arrowhead symbol, within an equilateral triangle, is
intended to alert the user to the presence of uninsulated “dangerous voltage”
within the product’s enclosure that may be of sufficient magnitude to
constitute a risk of electric to persons.
The exclamation point within an equilateral triangle is intended to alert the
user to the presence of important operating and maintenance (servicing)
instructions in the literature accompanying the appliance.
WARNING:
TO REDUCE THE RISK OF FIRE OR ELECTRIC SHOCK,
DO NOT EXPOSE THIS APPLIANCE TO RAIN OF MOISTURE.
Important Safety
Instructions