Olympus 2500L C-2500L Digital Camera Instructions (English) - Page 53
EE-47
 |
UPC - 050332295131
View all Olympus 2500L manuals
Add to My Manuals
Save this manual to your list of manuals |
Page 53 highlights
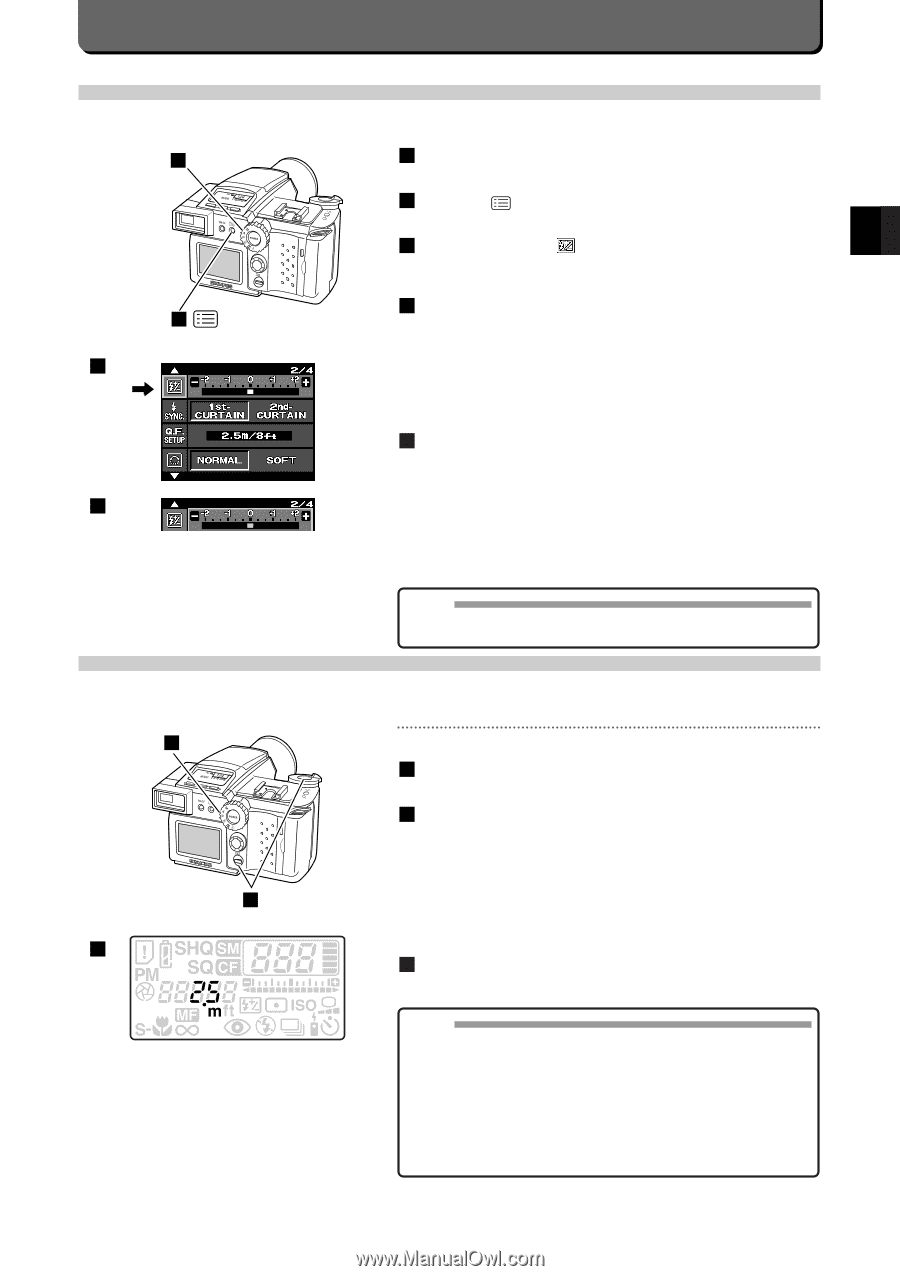
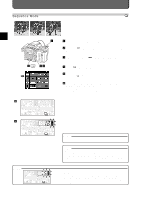
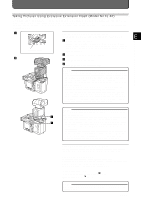
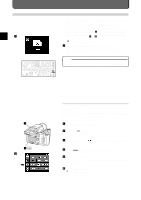
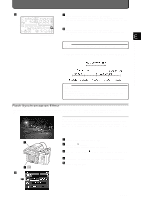
Other Ways to Use Your Camera Setting Flash Control Flash control is set as follows. 1 2 3 1 Set the mode dial to "P", "A" or "M". 2 Press the [ ] button. 3 Align the cursor with with the top / bottom point of the but- E ton. 4 Set exposure compensation with the right / left point of the jog dial. Pressing the left point of the jog dial moves the cursor to the direction of (-) compensation by 1/3 EV steps. Pressing the right point of the jog dial moves the cursor to the direction of (+) compensation by 1/3 EV steps. Exposure compensation is in the range of ±2EV. 5 Press the [OK] button. Automatic Flash Control 4 The amount of flash is controlled for both the extension flash and the built-in flash when you select the "TTL-AUTO" mode and use them simul- taneously. The amount of flash is controlled for the built-in flash only when you select the "MANUAL" mode and use them simultaneously. NOTE • When the shutter speed is fast, the camera does not fully effect this function. Quick Focus Quick focus lets you focus on objects easily. The focal distance must be set in advance from its menu. 1 Taking Quick Focus Pictures 1 Set the mode dial to "P", "A" or "M". 2 While holding down the [OK] button, press the shutter release button down halfway. Focus will be locked at the set focal distance (P. 48), and the green lamp will light in the viewfinder. The focal distance will be displayed on the control panel. 2 If the focal distance of manual focus is displayed, however, the focal distance of quick focus will not be displayed. 3 3 Press the shutter release button down all the way. The picture will be taken at the set focal distance. MEMO • Quick focus cannot be used if the shutter release button is pressed down halfway before holding down the [OK] button. • If using a flash, take the picture within the flash illumination range for the flash illumination range, see "Flash illumination Range" (P. 20). • This function is convenient for taking images of hard-to-auto focus subjects. • Sudden temperature change or other external effect may cause the focus setting to deviate. If this happens, try to take pictures with the focus setting one step closer or farther. E-47
-
 1
1 -
2
-
3
-
4
-
5
-
6
-
7
-
8
-
9
-
10
-
11
-
12
-
13
-
14
-
15
-
16
-
17
-
18
-
19
-
20
-
21
-
22
-
23
-
24
-
25
-
26
-
27
-
28
-
29
-
30
-
31
-
32
-
33
-
34
-
35
-
36
-
37
-
38
-
39
-
40
-
41
-
42
-
43
-
44
-
45
-
46
-
47
-
 48
48 -
 49
49 -
 50
50 -
 51
51 -
 52
52 -
 53
53 -
 54
54 -
 55
55 -
 56
56 -
 57
57 -
 58
58 -
59
-
60
-
61
-
62
-
63
-
64
-
65
-
66
-
67
-
68
-
69
-
70
-
71
-
72
-
73
-
74
-
75
-
76
-
77
-
78
-
79
-
80
-
81
-
82
-
83
-
84
-
85
-
86
-
87
-
88
-
89
-
90
-
91
-
92
-
93
-
94
-
95
 |
 |