Optoma HD8600 User's Manual - Page 35
System
 |
View all Optoma HD8600 manuals
Add to My Manuals
Save this manual to your list of manuals |
Page 35 highlights
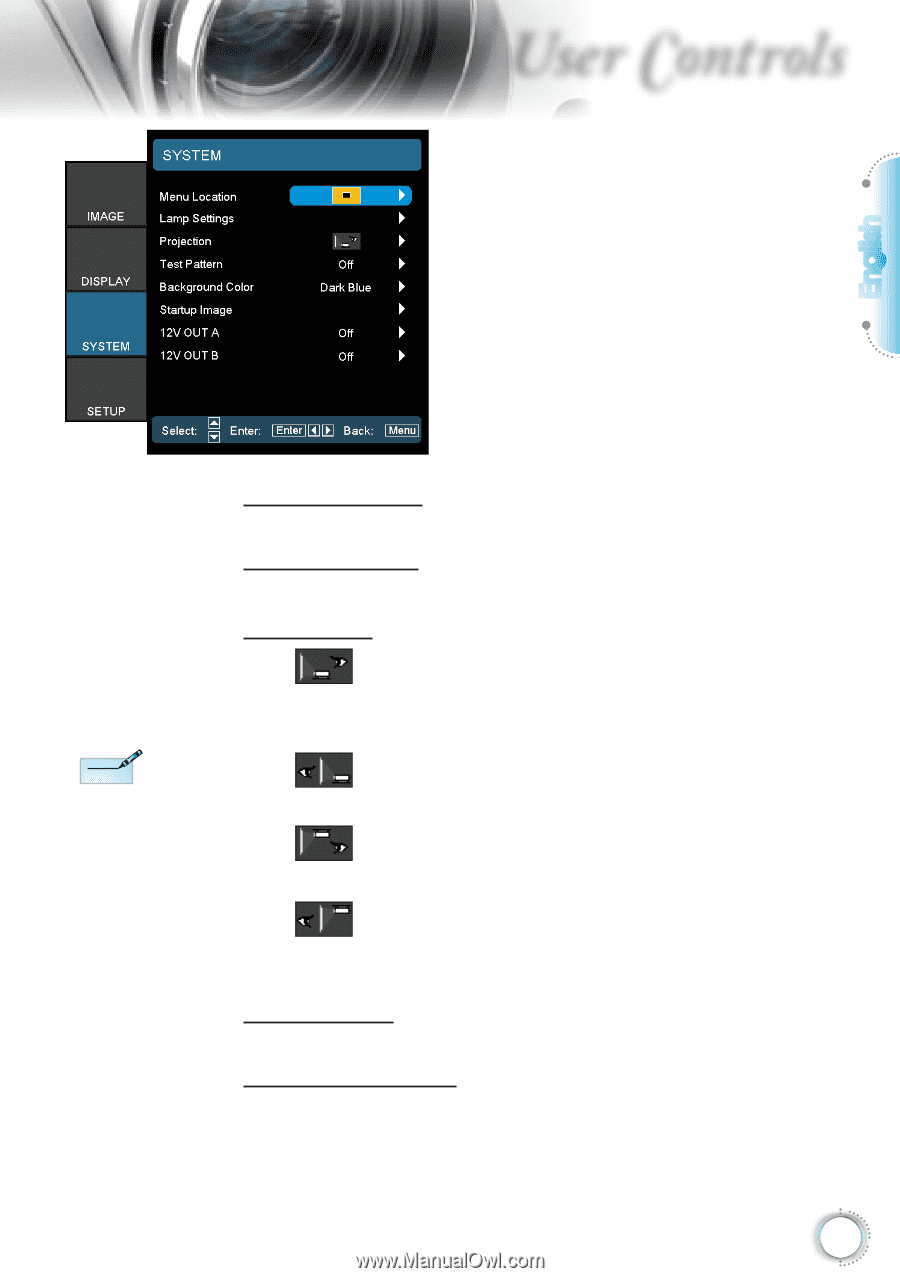
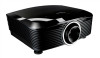
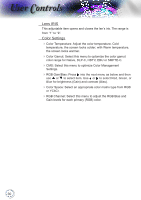
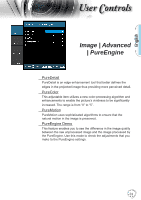
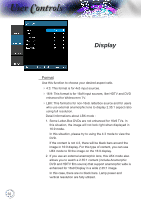
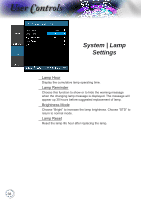
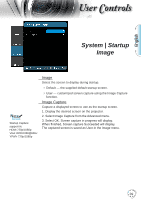
User Controls English System Menu Location Choose the menu location on the display screen. Lamp Settings Choose this menu to adjust your desired lamp setting. Projection Noottee Rear-Desktop and Rear-Ceiling are to be used with a translucent screen. Front-Projection This is the default selection. The image is projected straight on the screen. Rear-Desktop When selected, the image will appear reversed. Front-Ceiling When selected, the image will turn upside down. Rear-Ceiling When selected, the image will appear reversed in upside down position. Test Pattern Display a test pattern. There are Grid, White pattern and None. Background Color Use this feature to display a "Dark Blue", "Gray", or "Black" screen when no signal is available. 35
-
 1
1 -
2
-
3
-
4
-
5
-
6
-
7
-
8
-
9
-
10
-
11
-
12
-
13
-
14
-
15
-
16
-
17
-
18
-
19
-
20
-
21
-
22
-
23
-
24
-
25
-
26
-
27
-
28
-
29
-
 30
30 -
 31
31 -
 32
32 -
 33
33 -
 34
34 -
 35
35 -
 36
36 -
 37
37 -
 38
38 -
 39
39 -
 40
40 -
41
-
42
-
43
-
44
-
45
-
46
-
47
-
48
-
49
-
50
-
51
-
52
-
53
-
54
-
55
-
56
-
57
-
58
-
59
-
60
 |
 |